Have you ever found yourself staring into the freezer, wishing for a scoop of rich, creamy ice cream but not the sugar crash that comes with it? You’re not alone. Finding delicious desserts that fit a healthy lifestyle can feel like a tall order. But what if I told you that you could have decadent, flavorful ice cream that’s actually good for you? It’s totally possible, and the key is the Ninja Creami machine.
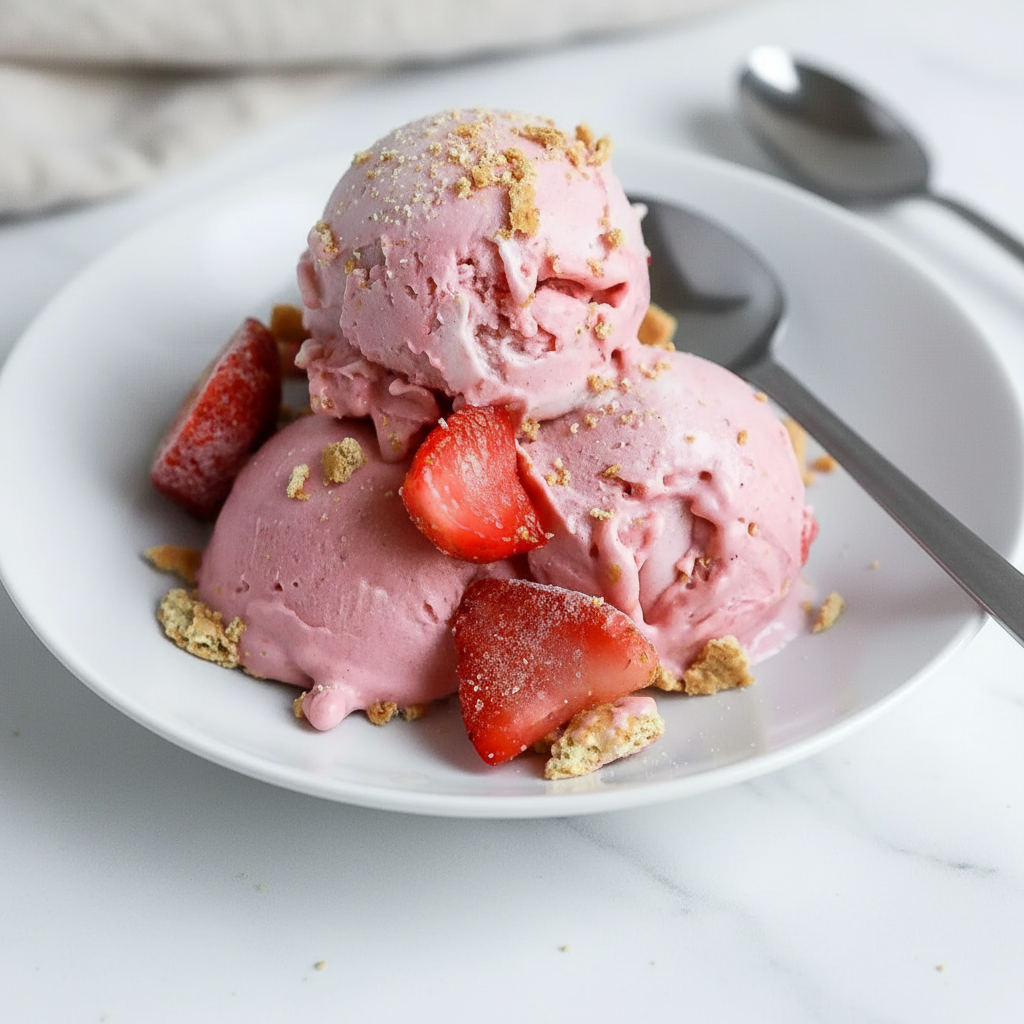
Get ready to change the way you think about frozen treats. We are diving deep into the world of Healthy Ninja Creami Ice Cream Recipes with a truly fantastic Strawberry Cheesecake flavor. It’s high in protein, low in sugar, and incredibly simple to make. This isn’t just another boring diet dessert; it’s a genuinely satisfying treat that will curb your sweet tooth and support your wellness goals. Let’s get churning!
Jump To:
Why You’ll Love This Recipe
Honestly, what’s not to love? This recipe is a game changer for anyone who loves ice cream but wants to stick to a healthier eating plan. First off, the flavor is out of this world. We’re talking about the sweet taste of strawberries blended with the tangy richness of cheesecake. It’s a classic combination that feels indulgent and special.
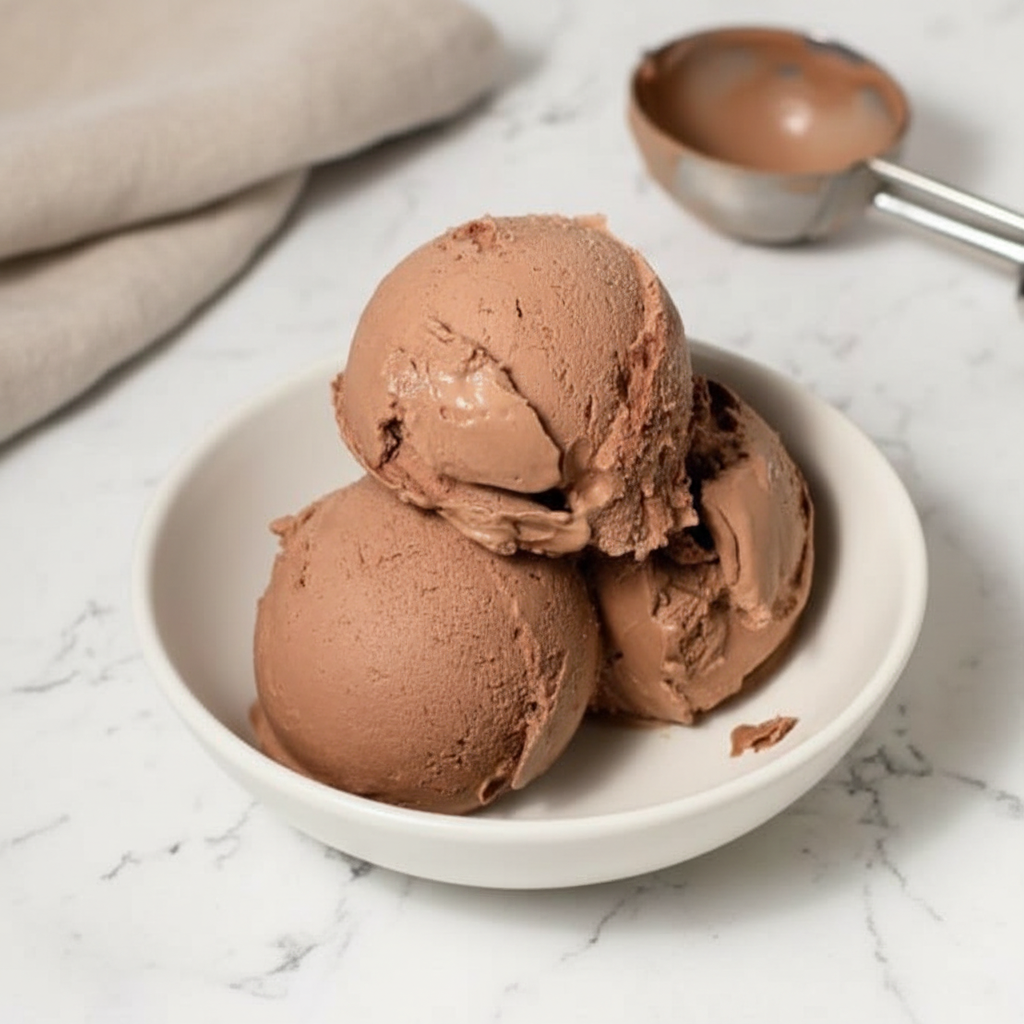
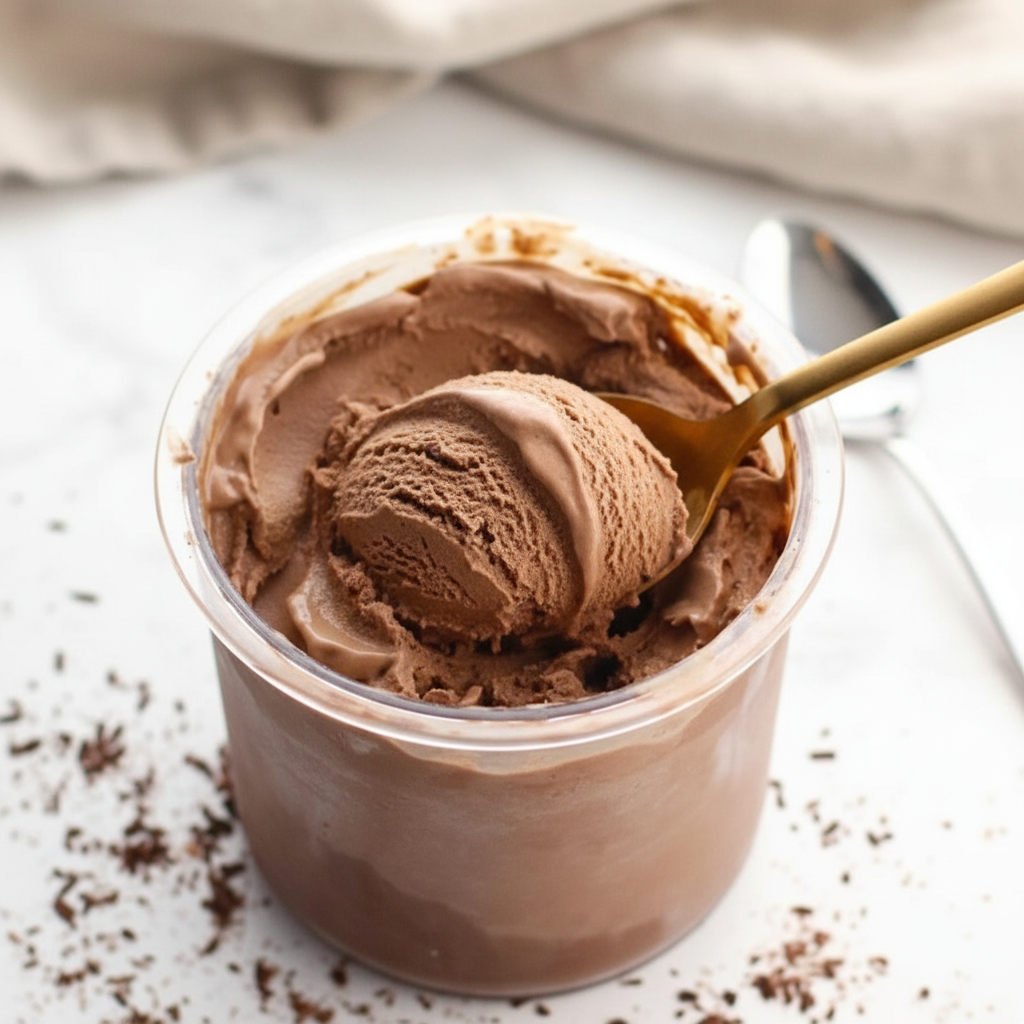
The texture is another huge win. Thanks to the magic of the Ninja Creami, you get an unbelievably smooth and creamy consistency. It’s hard to believe it’s not from a fancy ice cream parlor. There is no iciness or weird texture you sometimes find in homemade Healthy Food. It’s just pure, scoopable goodness.
But the best part? The nutrition facts. This recipe is packed with protein, which makes it a fantastic post workout snack or a guilt free evening treat. It keeps you feeling full and satisfied. Plus, it’s one of the best Ninja Creami Ice Cream Recipes Low Sugar you will find, using smart ingredients to deliver sweetness without the empty calories. It’s one of my favorite Healthy Snacks to keep on hand.
It is also incredibly easy to customize. You can swap out flavors, add different mix ins, or adjust the ingredients to fit your specific dietary needs. This recipe is more of a starting point for your own creative journey into Healthy Ninja Creami Ice Cream Recipes.
Ingredients
- 1 cup Fairlife skim milk
- ½ cup unsweetened almond milk
- 1 cup frozen sliced strawberries
- 1 tbsp sugar free vanilla pudding mix
- 1 tbsp light cream cheese
- 1 scoop strawberry cheesecake protein powder from PEScience
- Optional: graham wafers as a mix in
Let’s talk a little about why these specific ingredients work so well together in our Healthy Ninja Creami Ice Cream Recipes. The Fairlife milk is ultra filtered, which means it’s higher in protein and lower in sugar than regular milk. This contributes to a creamier base. The almond milk helps keep the calories down while adding liquid volume.
The sugar free pudding mix is a clever addition. It contains thickeners that prevent large ice crystals from forming, which is key to achieving that smooth texture we all want. The light cream cheese provides that authentic cheesecake tang and richness without adding a ton of fat. And of course, the protein powder is the star, giving us that strawberry cheesecake flavor and a huge protein boost.
Step-By-Step Instructions
Step 1: Mix The Base Ingredients
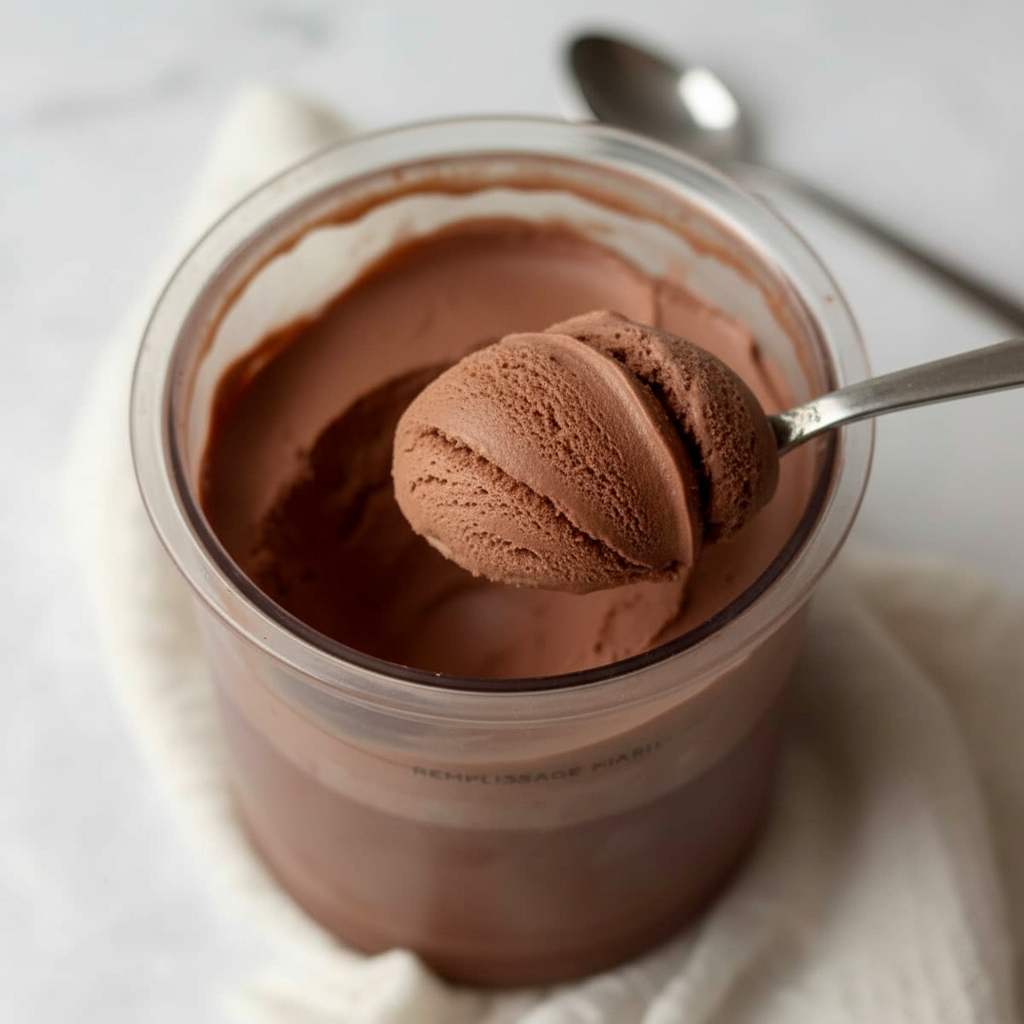
First things first, grab your Ninja Creami pint container. Pour in the Fairlife skim milk and the unsweetened almond milk. Then, add the frozen strawberries, the scoop of sugar free vanilla pudding mix, the light cream cheese, and finally, the strawberry cheesecake protein powder.
Now it is time to mix everything up. You want a well combined, smooth mixture. A handheld frother is an excellent tool for this job. It quickly whips everything together, breaking up any clumps from the protein powder or pudding mix. Mix until the base is uniform in color and consistency. Make sure you don’t fill the container past the max fill line.
Step 2: Freeze The Container
Once your base is perfectly mixed, pop the lid on the pint container and place it in the freezer. Here’s a very important tip for amazing Healthy Ninja Creami Ice Cream Recipes: make sure the container is on a flat surface. This ensures the base freezes evenly, which is crucial for the spinning process later.
You will need to freeze the pint for at least 24 hours. I know, waiting is the hardest part! But this extended freezing time allows the base to become completely solid. This solid state is what the Ninja Creami machine is designed to work with, shaving the frozen block into a creamy texture. Rushing this step can lead to a soupy result.
Step 3: Prepare For The First Spin
After a long 24 hours, your pint is finally ready for action. Take it out of the freezer. Sometimes the edges can freeze a little harder than the rest. To help the machine out, run the outside of the pint container under hot water for about 60 to 90 seconds. This slightly tempers the base and makes the first spin a bit smoother.
Next, remove the lid from the pint and place it into the outer bowl of your Ninja Creami. Then, install the outer bowl with the pint inside your machine. It should click into place securely. This is an exciting moment!
Step 4: The First Spin
With your pint locked and loaded, it’s time for the first spin. For this particular recipe, you are going to select the Lite Ice Cream button. This setting is designed for low sugar and low fat bases, making it the right choice for our creation. The machine will be loud, but don’t worry, that’s just the sound of magic happening.
The Lite Ice Cream cycle will run its course, and then the machine will stop. Once it’s finished, you can remove the outer bowl and take a look at your creation. This is a key step in mastering your Healthy Ninja Creami Ice Cream Recipes.
Step 5: Check Texture And Re-Spin
After the first spin, your ice cream might look a bit powdery or crumbly. This is completely normal! It just means the base needs a little more processing to become creamy. If you see that powdery texture, don’t panic. Simply put the pint back into the machine.
Now, press the Re-Spin button. This cycle is shorter and is specifically designed to smooth out the texture after the initial spin. Often, one re spin is all it takes to transform the powdery base into a perfectly creamy and smooth ice cream. It is a simple fix for many Ninja Creami Ice Cream Recipes Low Sugar.
If, after a re spin, it’s still not as creamy as you’d like, you can add a tablespoon of milk. Then, spin it one more time on the Re-Spin setting. This little bit of extra liquid usually does the trick to bring it all together into a silky smooth final product.
Step 6: Add Mix Ins And Enjoy
Once your ice cream has reached that ideal creamy consistency, you are on the home stretch. Now it’s time for the fun part: the mix ins! Using a spoon, dig a small hole in the center of your ice cream, about an inch wide, all the way to the bottom of the pint.
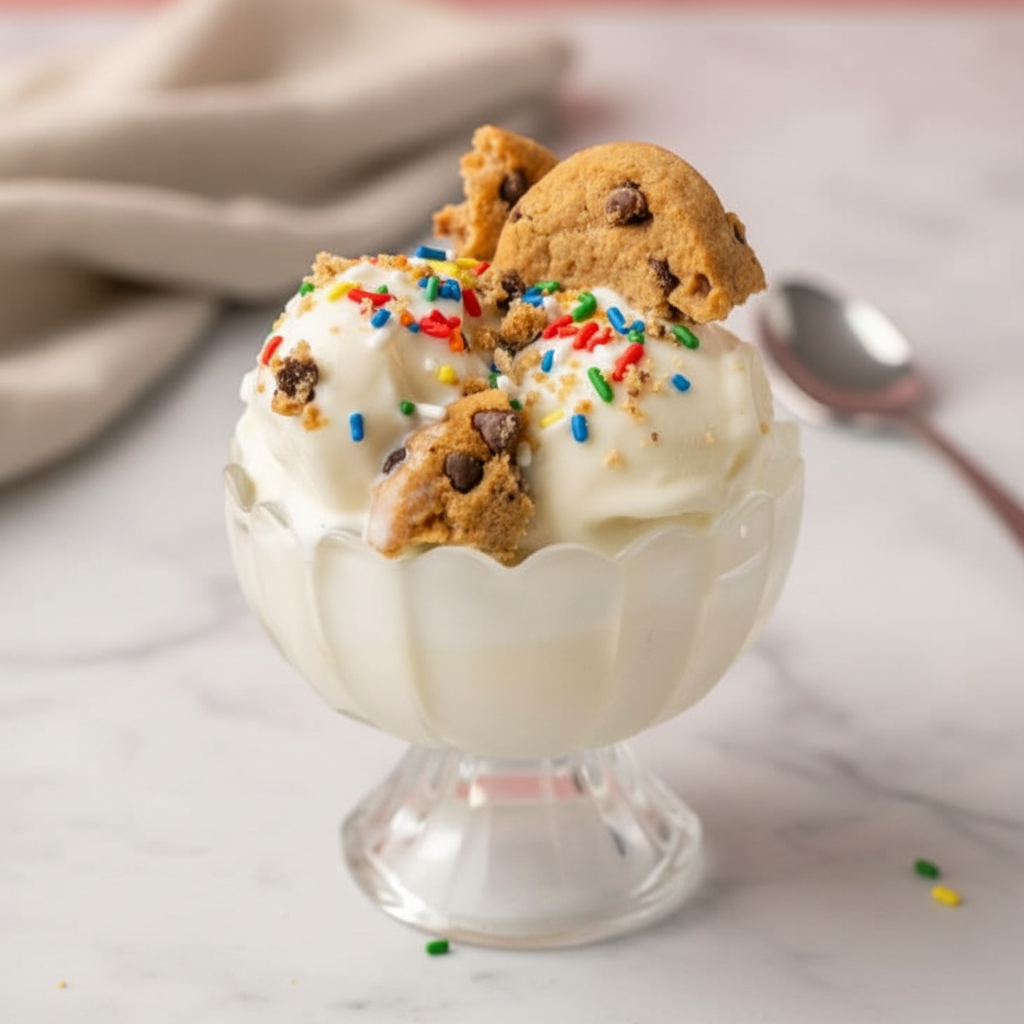
Add your crushed graham wafers into the hole you just created. This will give you that authentic strawberry cheesecake crust element. Place the pint back into the machine and this time, press the Mix In button. This cycle will gently fold the graham wafers throughout the ice cream. Once it’s done, your amazing homemade ice cream is ready to enjoy!
How To Store Leftovers
If you have any leftovers, which might be unlikely, storing them is easy. The first step is to smooth out the top surface of the ice cream in the pint as much as possible. A level surface will make it easier to process again later. Simply pop the storage lid back on and place it back into the freezer.
When you are ready for another serving, just take the pint out. It will be frozen solid again. To get back that fresh spun texture, you’ll need to repeat the process. Just place the pint back into the machine and run it on the Lite Ice Cream or Re-Spin setting. This is a fantastic feature for enjoying your Healthy Snacks over a few days.
Sometimes you may need to add a splash of milk to get it back to its original creamy state. This method ensures your leftover Healthy Ninja Creami Ice Cream Recipes taste just as good as when you first made them. No more icy, hard to scoop leftovers!
Tips
Want to make your ice cream experience even better? Here are a few tips I have learned along the way. First, the type of milk you use really does make a difference. While this recipe uses Fairlife skim milk for a lower calorie option, you can use Fairlife 2% milk instead. The higher fat content will result in an even richer and creamier ice cream. It’s a small change that can add a lot of decadence.
If you are in a hurry and didn’t freeze your pint for the full 24 hours, you can still make it work. If the base was only frozen for 12 to 16 hours, run the Lite Ice Cream cycle first. Then, instead of using the Re-Spin button, use the Mix In cycle. This gentler cycle prevents the less frozen base from getting overworked and turning soupy.
Always trust the Re-Spin button. If your ice cream comes out looking crumbly after the first spin, your first instinct might be to add more liquid. But hold off! Try the Re-Spin cycle first. More often than not, this is all that is needed to achieve a creamy texture without adding extra calories. It is a vital step for great Healthy Ninja Creami Ice Cream Recipes.
Finally, always prepare your mix ins ahead of time. I like to pre chop or crush things like graham wafers, cookies, or nuts before I even start the first spin. This way, as soon as the base is creamy, you are ready to add them in and enjoy your dessert without any delay.
Conclusion
And there you have it! A simple, delicious, and protein packed Strawberry Cheesecake ice cream that you can feel good about eating. Making Healthy Ninja Creami Ice Cream Recipes at home opens up a world of possibilities for tasty and nutritious treats. You get to control every single ingredient, from the type of milk to the amount of sweetness.
This recipe is a wonderful example of how you can enjoy your favorite desserts while staying on track with your health and fitness goals. Say goodbye to store bought options with long ingredient lists and hello to fresh, homemade goodness. I hope you love this recipe as much as I do. Happy churning and enjoy your amazing homemade Healthy Food!
FAQ
Can I Use A Different Protein Powder?
Absolutely! While this recipe was crafted with PEScience Strawberry Cheesecake protein powder for that specific flavor, you can definitely experiment with other brands and flavors. A vanilla or plain protein powder would work well, allowing the strawberry and cream cheese flavors to shine through. Just be mindful that different protein powders have different textures and sweetness levels, so you may need to adjust other ingredients slightly.
What If I Don’t Have Sugar Free Pudding Mix?
The sugar free pudding mix acts as a binder and stabilizer, helping to create a creamy texture and prevent ice crystals. If you don’t have it, you can try using a small amount, about a quarter teaspoon, of a gum like xanthan gum or guar gum. These ingredients perform a similar function. Just be sure to blend it very well to avoid clumping. This is a common swap in many Healthy Ninja Creami Ice Cream Recipes.
Is It Possible To Make This Dairy Free?
Yes, you can make a dairy free version. You would need to substitute the Fairlife milk with a high protein plant based milk, like a pea protein milk or soy milk. Use a dairy free cream cheese and a plant based protein powder. The final texture might be slightly different, but it will still be a delicious frozen treat. It might require an extra re spin to get it creamy.
Why Did My Ice Cream Turn Out Icy?
Iciness is usually caused by a few factors. The most common reason is not having enough fat, protein, or stabilizers in the base. This recipe uses pudding mix and protein powder to combat that. Another reason could be that the base was not frozen completely solid before spinning. Make sure you freeze it for the full 24 hours on a flat surface. Running an extra Re-Spin cycle can also help break down any remaining ice crystals.
Can I Use Fresh Strawberries Instead Of Frozen?
You can, but it’s generally better to use frozen fruit in your base. Frozen fruit helps the mixture start at a colder temperature, which contributes to a better final texture after freezing. If you only have fresh strawberries, I would recommend blending them into the milk mixture before pouring it into the pint to freeze. This will ensure the flavor is evenly distributed.
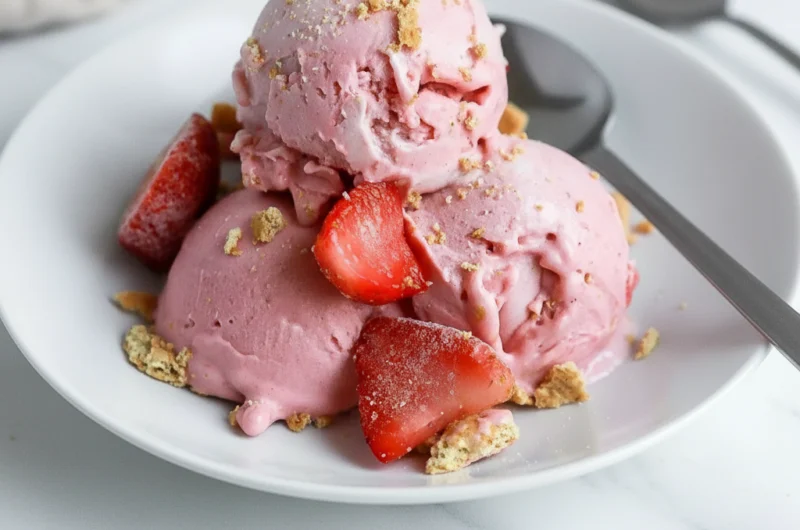
Healthy Strawberry Cheesecake Ninja Creami Ice Cream
A creamy, high-protein strawberry cheesecake ice cream made in the Ninja Creami. This simple recipe is low in sugar and makes a satisfying and healthy dessert or snack.
Ingredients
Instructions
- Mix The Base: In a Ninja Creami pint container, combine the Fairlife skim milk, unsweetened almond milk, frozen strawberries, vanilla pudding mix, light cream cheese, and protein powder. Use a handheld frother to mix everything until smooth. Do not fill past the max fill line.
- Freeze: Secure the lid on the pint and place it on a flat surface in the freezer. Freeze for at least 24 hours until the base is completely solid.
- Prepare to Spin: After freezing, remove the pint. Run the outside of the container under hot water for 60 to 90 seconds to slightly temper the base.
- First Spin: Place the pint into the outer bowl, lock it into your Ninja Creami machine, and select the ‘Lite Ice Cream’ button.
- Check and Re-Spin: After the first cycle, check the texture. If it appears powdery or crumbly, place it back in the machine and use the ‘Re-Spin’ button. This usually creates a creamy consistency.
- Add Mix-Ins: Once the ice cream is smooth and creamy, use a spoon to create a hole down the center. Add your crushed graham wafers, return the pint to the machine, and press the ‘Mix In’ button to incorporate them.
- Serve immediately and enjoy your homemade, healthy ice cream.
Notes
For an even richer and creamier result, you can substitute the skim milk with Fairlife 2% milk.
Always trust the Re-Spin button. It can often fix a crumbly texture without needing to add extra liquid.
Prepare your mix-ins (like crushing graham wafers) ahead of time so they are ready to go as soon as the ice cream base is creamy.
Nutrition
Calories
Sugar
Fat
Carbs