Have you ever wished for a dessert that was both delicious and good for you? It sounds like a dream, right? Well, get ready to turn that dream into a reality. The Ninja Creami machine has totally changed the game for homemade frozen treats. It makes creating custom ice creams at home so simple.
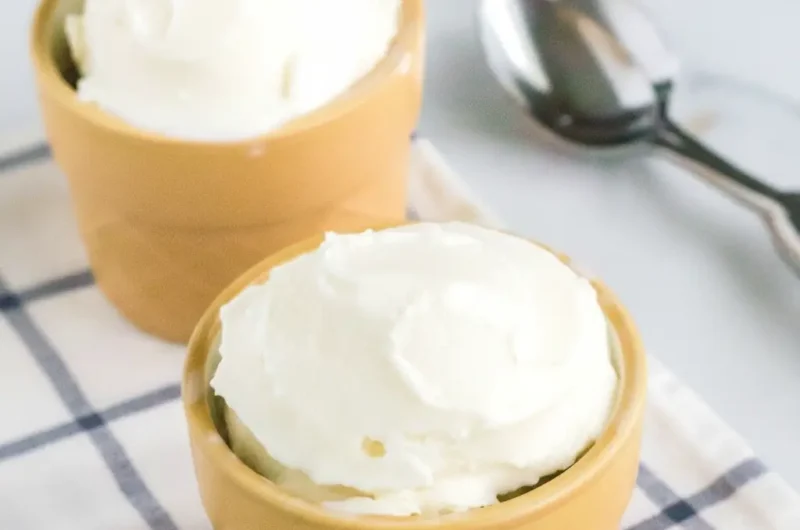
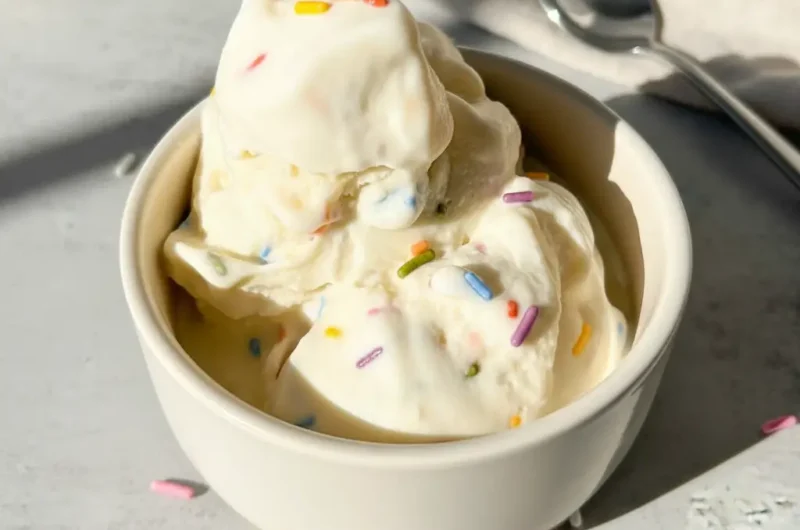
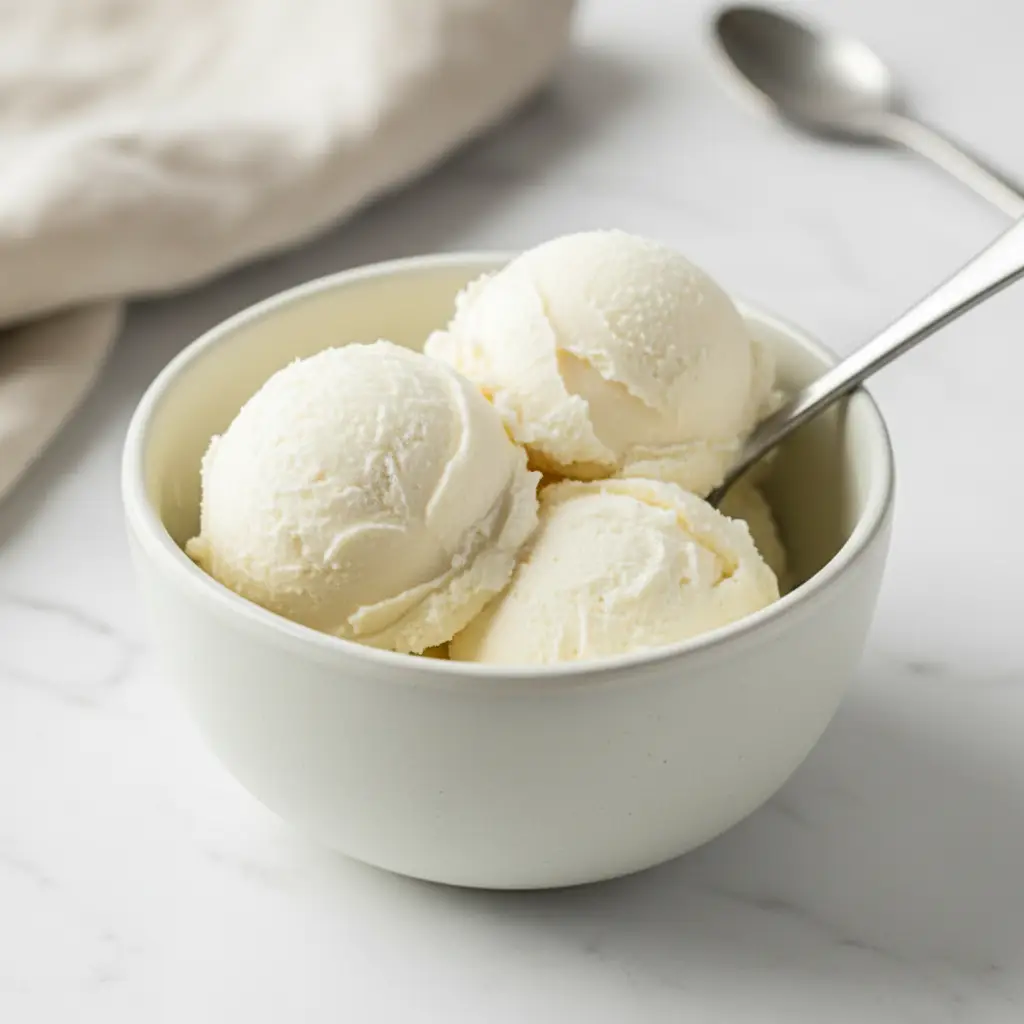
We are so excited to share one of our favorite Protein Ninja Creami Recipes with you. This vanilla ice cream is incredibly creamy, full of flavor, and so easy to make. You won’t believe it starts with such simple ingredients. Let’s get scooping!
Jump To:
Why You’ll Love This Recipe
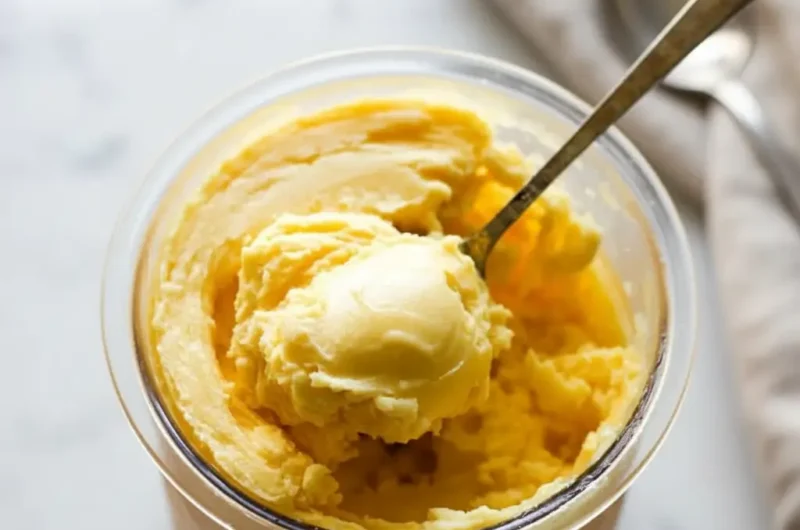
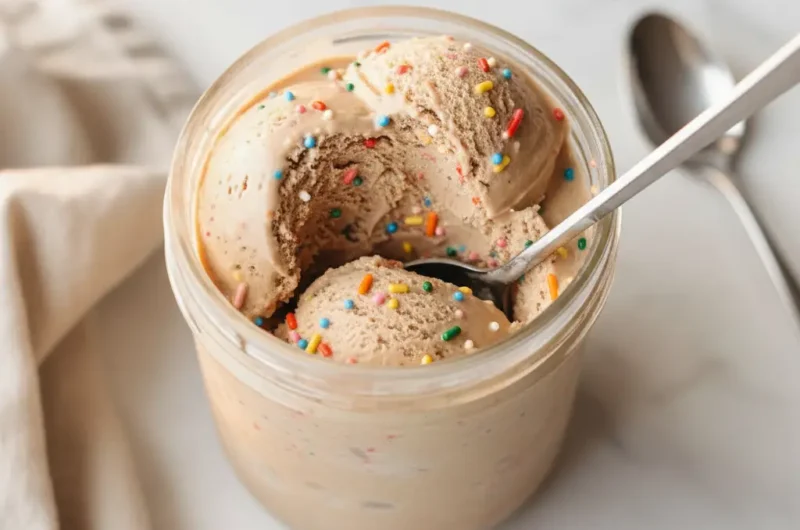
First off, the texture is just amazing. If you’ve ever had protein ice creams that were icy or chalky, you know the struggle. The Ninja Creami works its magic to create a super smooth and creamy consistency. It feels just like real, full fat ice cream from a shop.
This is one of those Ninja Ice Cream Recipes Healthy enough to enjoy anytime. It’s a fantastic way to satisfy your sweet tooth without feeling guilty. You get a tasty treat while also adding a little extra goodness to your day. What’s not to love about that?
Another great thing is how simple it is. You only need a few basic ingredients and a few minutes of prep time. The hardest part is just waiting for it to freeze. This makes it a great recipe for beginners who are just starting with their Ninja Creami.
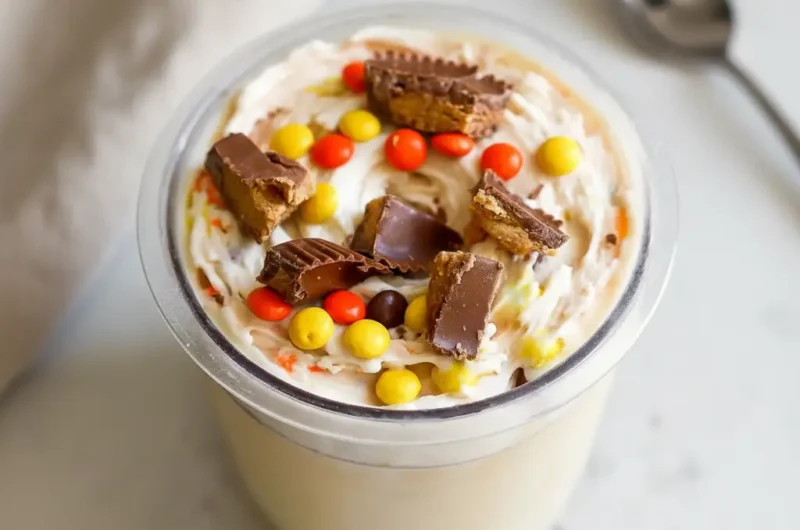
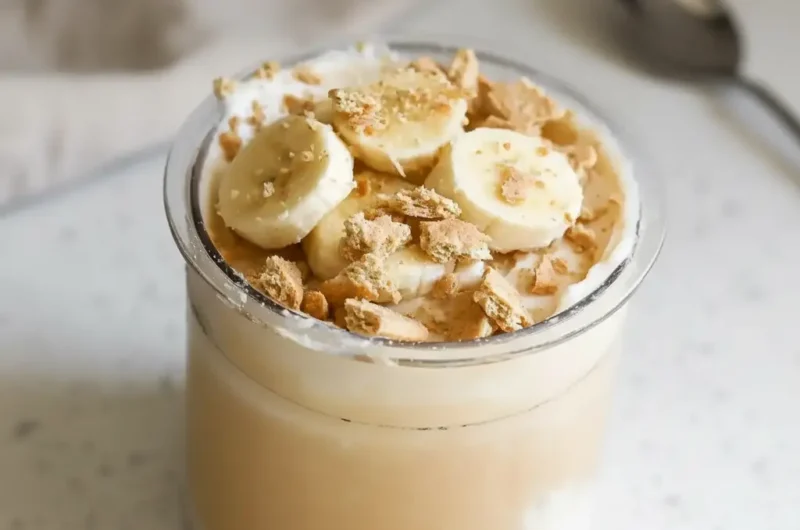
Plus, this recipe is so versatile. The simple vanilla base is a wonderful canvas for all your creative ideas. You can add different mix ins or toppings to make it your own. We will talk more about fun variations later on. It’s a base recipe you will come back to again and again.
It’s also a fantastic option for anyone with dietary restrictions. This version is dairy free, making it friendly for many people. You can finally enjoy a creamy dessert without any worries. This is truly one of the most adaptable Protein Ninja Creami Recipes you will find.
Lastly, it is just plain fun to make. There is something so satisfying about creating your own ice cream from scratch. The process is enjoyable, and the result is a delicious pint of homemade goodness. It’s a fun activity for a quiet afternoon.
Ingredients
The beauty of these Protein Ninja Creami Recipes lies in their simplicity. You do not need a long list of complicated items. Here is what you will need for this creamy vanilla dream. Each ingredient plays a special part.
The oat milk provides a neutral and creamy base. The instant pudding mix is our little trick for a thick, smooth texture. It helps prevent ice crystals from forming. Coconut cream adds richness and a luxurious mouthfeel. And of course, vanilla extract gives it that classic, comforting flavor.
- 1 1/2 cups oat milk, or your favorite non dairy milk
- 4 tablespoons instant vanilla pudding mix
- 1/2 cup coconut cream
- 1 teaspoon vanilla extract
Step-By-Step Instructions
Ready to make some magic? Following these steps will give you the best results. We’ve broken it down to be as clear as possible. Let’s start making some delicious Protein Ice Cream Recipes.
Step 1: Mix The Base
First, grab a medium sized bowl. Pour in the oat milk, instant vanilla pudding mix, coconut cream, and vanilla extract. Use a whisk to mix everything together. Keep whisking until the mixture is completely smooth and there are no lumps.
This step is very important. A smooth base means a smooth ice cream. Take your time to make sure that pudding mix is fully dissolved. You want a consistent liquid before you move on.
Step 2: Freeze The Mixture
Next, pour your smooth mixture into the Ninja Creami pint container. Make sure you don’t fill it past the max fill line. Secure the lid tightly on the container. Now for the waiting part. Place the pint on a level surface in your freezer.
Let it freeze for at least 24 hours. This long freeze time is essential for the machine to work correctly. A solid, frozen block is what you need for the creamiest outcome. Trying to rush this step will only lead to disappointment.
Step 3: Spin Your Ice Cream
Once your base is frozen solid, it’s time for the fun. Take the pint out of the freezer. Remove the lid and place the pint into the outer bowl of the Ninja Creami machine. Lock it into place and select the “Ice Cream” setting. Let the machine do its thing.
The process is a bit loud, but it is totally worth it. In just a couple of minutes, the machine will transform that frozen block into something that looks like ice cream. It is quite a sight to see the first time you do it.
Step 4: Check And Re-Spin If Needed
After the first spin, take the pint out and look at the texture. Sometimes it might look a little dry or crumbly. This is completely normal. It often happens with non dairy bases or recipes with lower fat content.
If it is crumbly, don’t worry. Just add a tablespoon or two of your non dairy milk. Place it back in the machine and press the “Re Spin” button. This second spin usually brings everything together into a perfectly smooth and creamy texture. Repeat if needed until it looks just right.
How To Store Leftovers
If you somehow have leftovers, storing them is easy. Simply smooth the top of the ice cream in the pint container with a spoon. Place the original lid back on securely. Pop the pint container right back into the freezer.
Your homemade ice cream can be stored for up to a week. When you are ready for another scoop, the texture will be very hard. You will need to process it in the Ninja Creami again. Just put it back in the machine and use the same setting you used before.
Sometimes it might need a re spin with a splash of milk, just like when you first made it. This will bring back that fresh, creamy texture you loved. It is one of the best features of the machine. Your leftovers will taste just as good as the first day.
Tips
Want to make your Protein Ninja Creami Recipes even better? Here are a few tips and tricks we have learned along the way. These ideas can help you customize your ice cream and get the best results every single time.
First, always freeze your pint on a flat surface. An angled base can sometimes cause issues with the machine’s blade. A level freezer shelf is your best friend for making perfect Ninja Ice Cream Recipes Healthy and delicious.
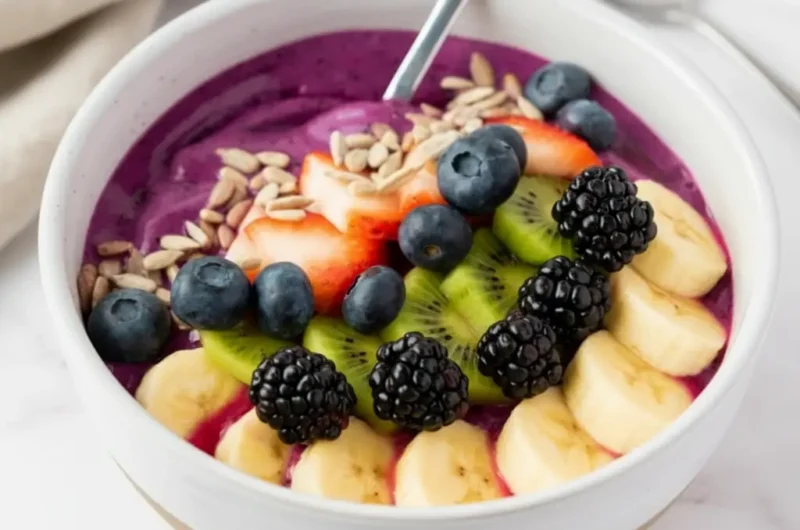
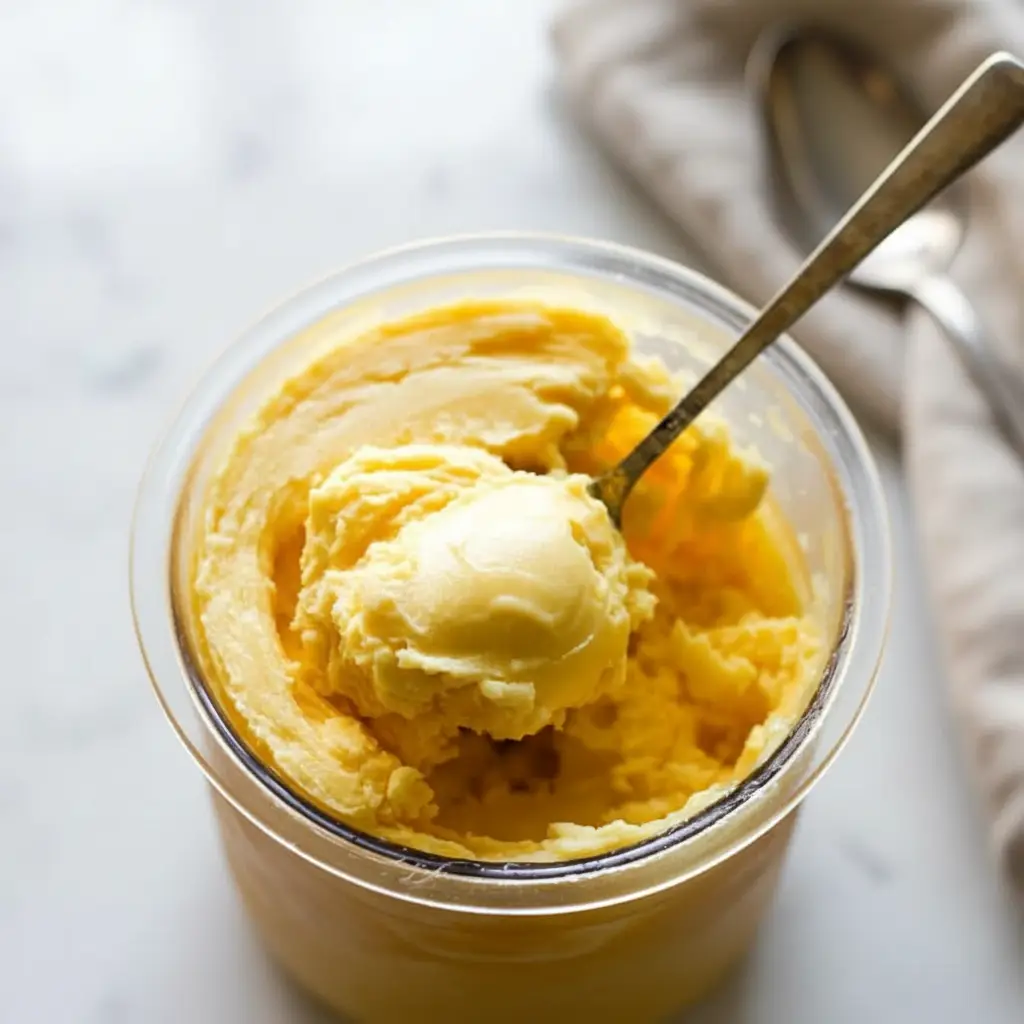
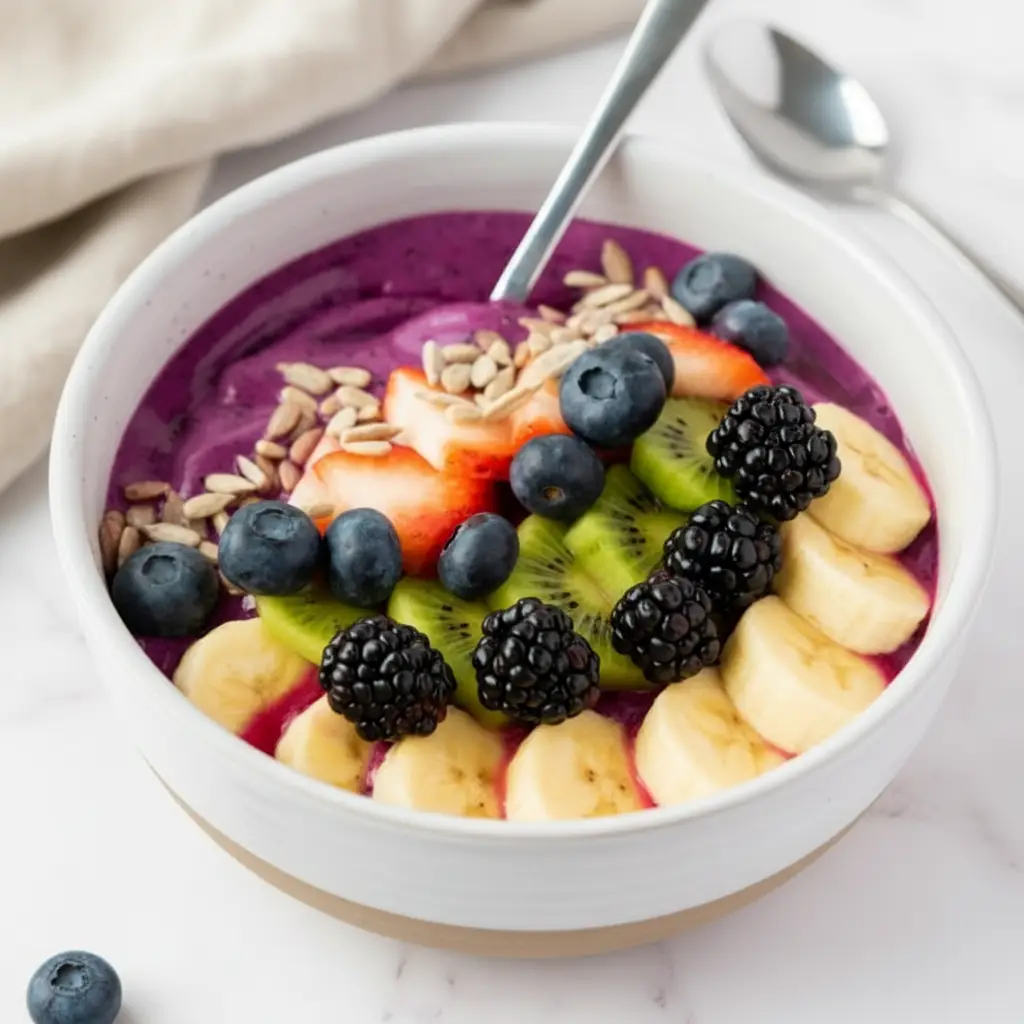
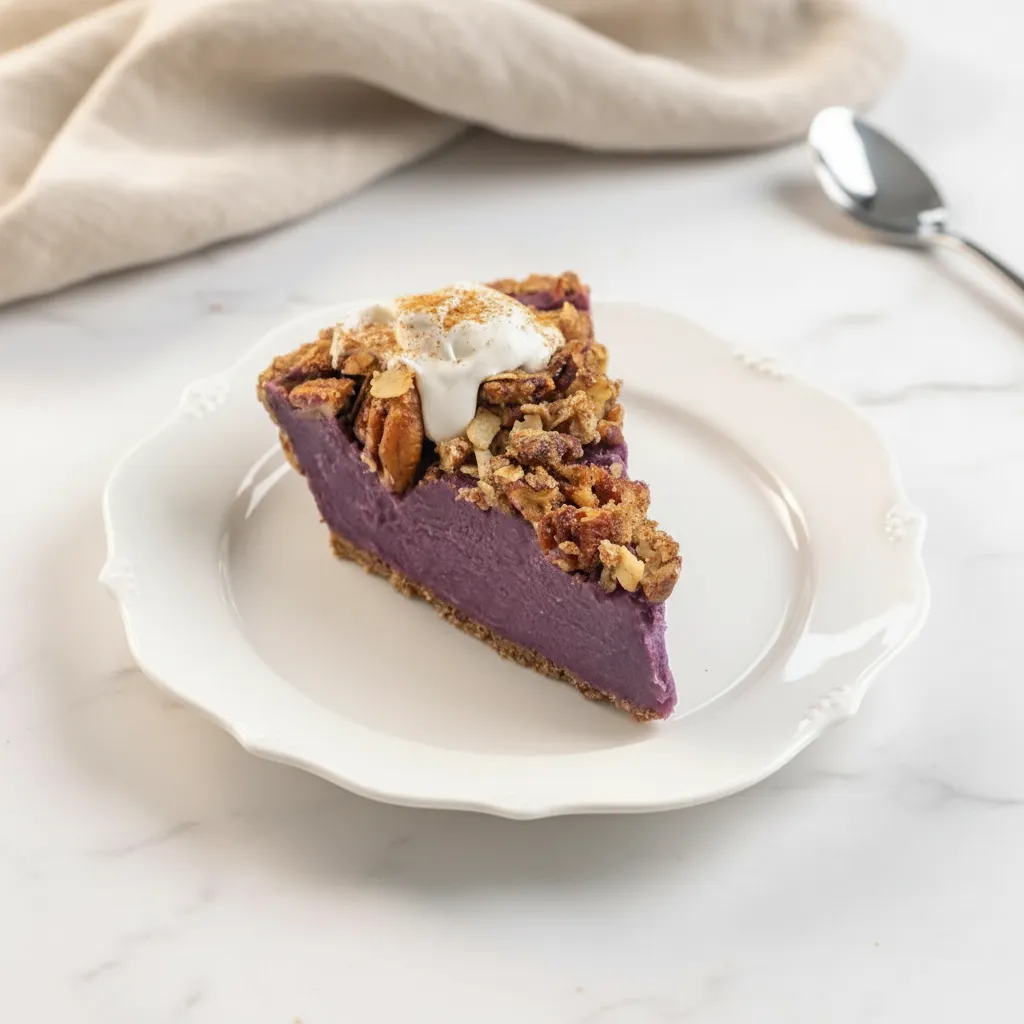
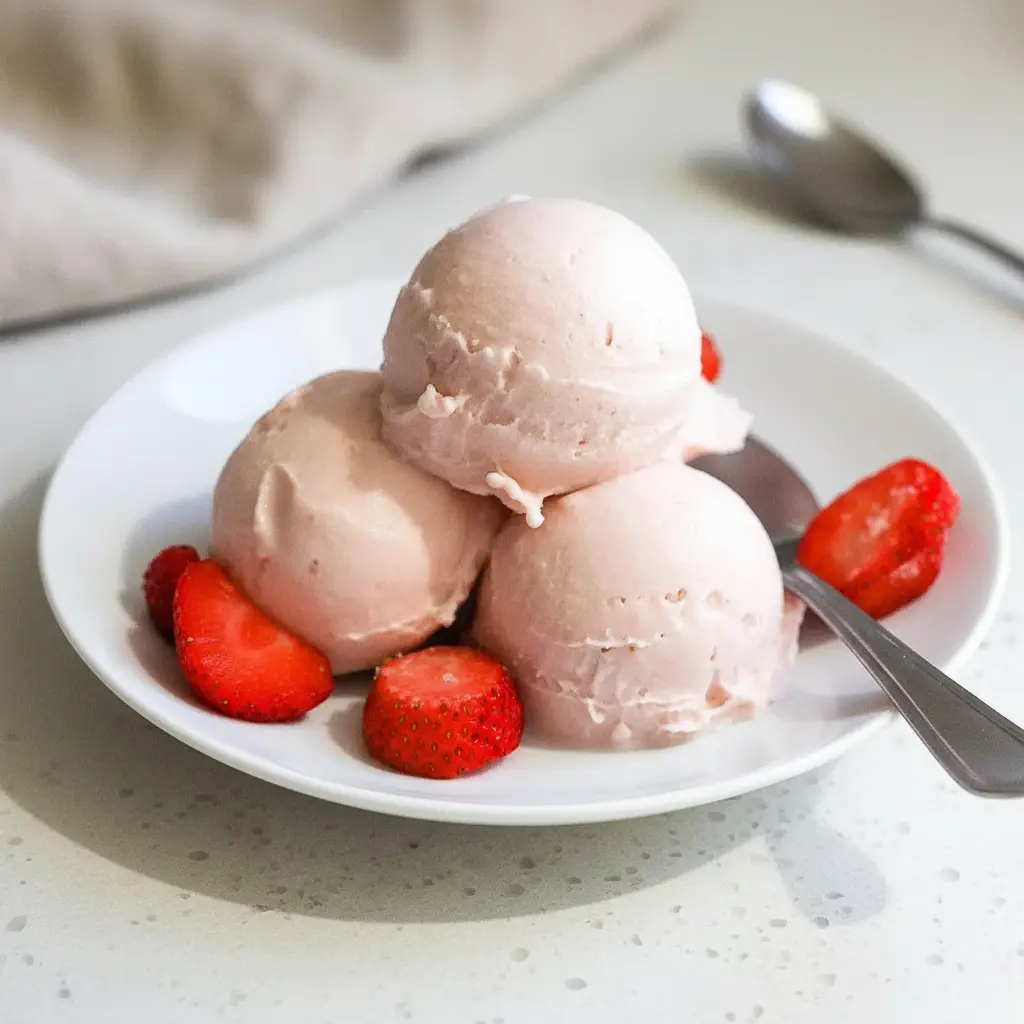
Don’t be afraid to experiment with flavors. This Vanilla Ninja Creami Ice Cream Recipes Protein base is a great starting point. You can add a tablespoon of cocoa powder for a chocolate version. Or maybe some blended berries for a fruity twist. The options are endless.
Let’s talk about protein. To make this a true protein powerhouse, add a scoop of your favorite vanilla protein powder to the base mixture. You might need to add an extra splash of milk to get the right consistency before freezing. This is an easy way to boost the protein content.
For a richer flavor, try using full fat canned coconut milk instead of just the cream. The extra fat content will make the final product even creamier and more decadent. It’s a simple swap that makes a big difference in these Protein Ice Cream Recipes.
Make sure your freezer is cold enough. A freezer that is not quite cold enough can result in a softer freeze. This might lead to an icier texture. Aim for a temperature around 0 degrees Fahrenheit for the best results.
The re spin button is your best friend. Seriously. Do not settle for crumbly ice cream. That extra spin makes all the difference in the world. Patience is key to achieving that super creamy texture we all want from our Protein Ninja Creami Recipes.
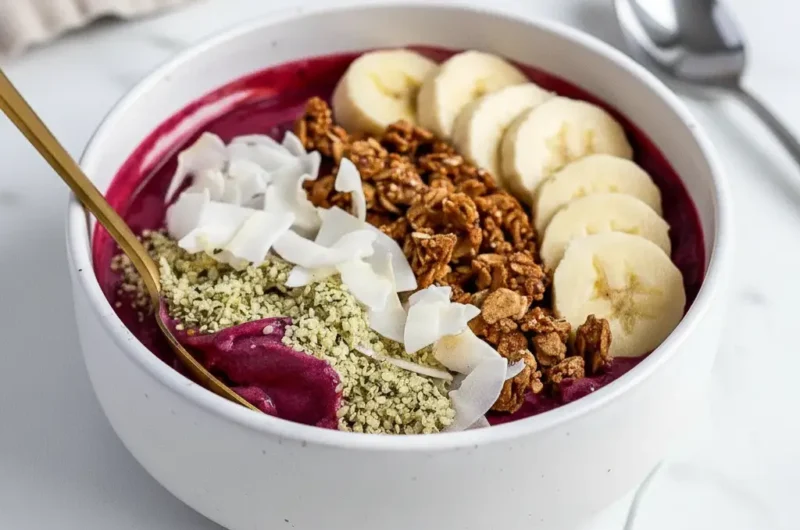
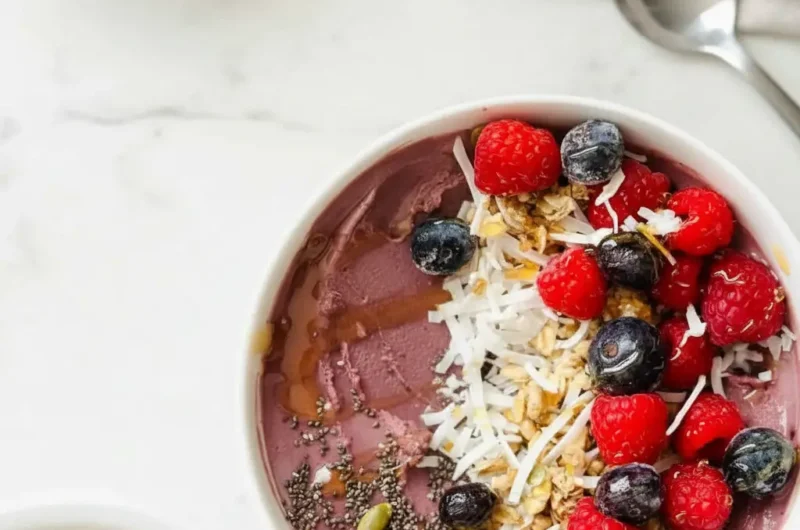
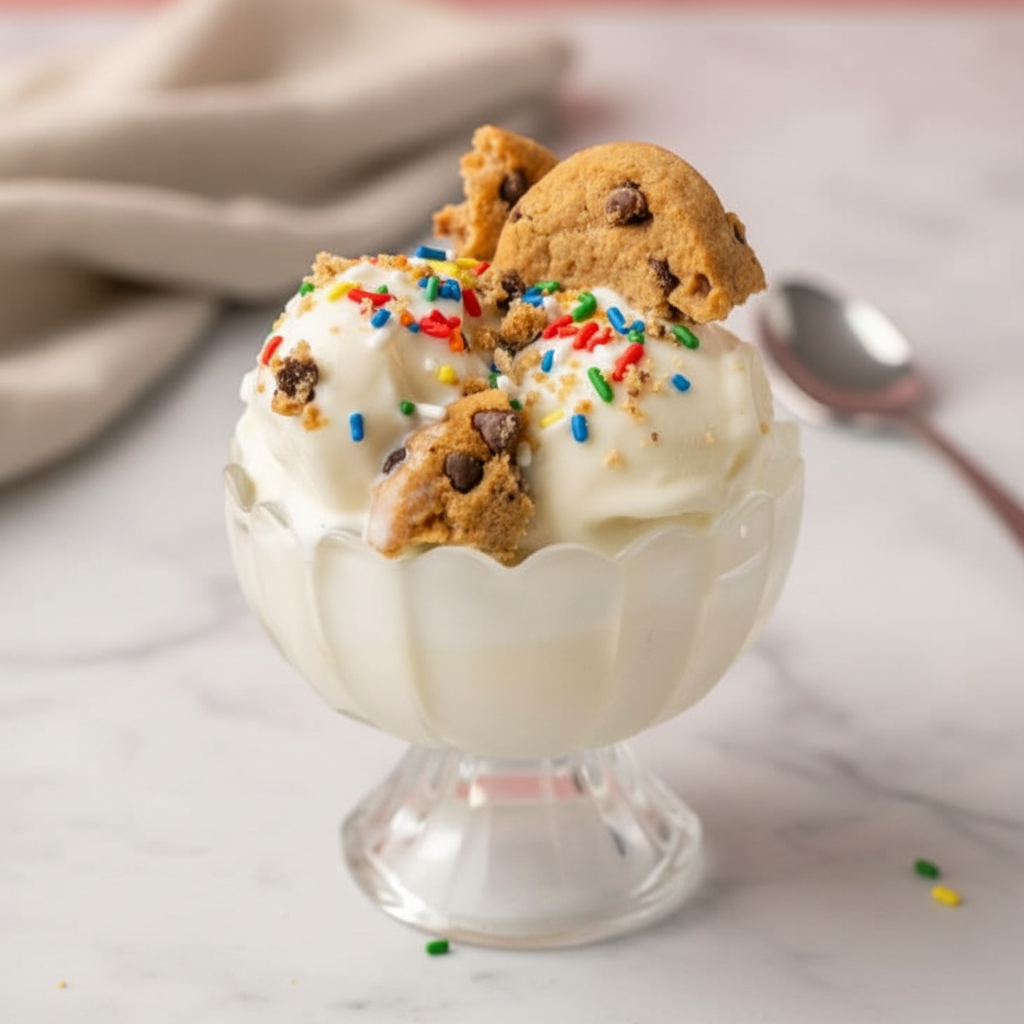
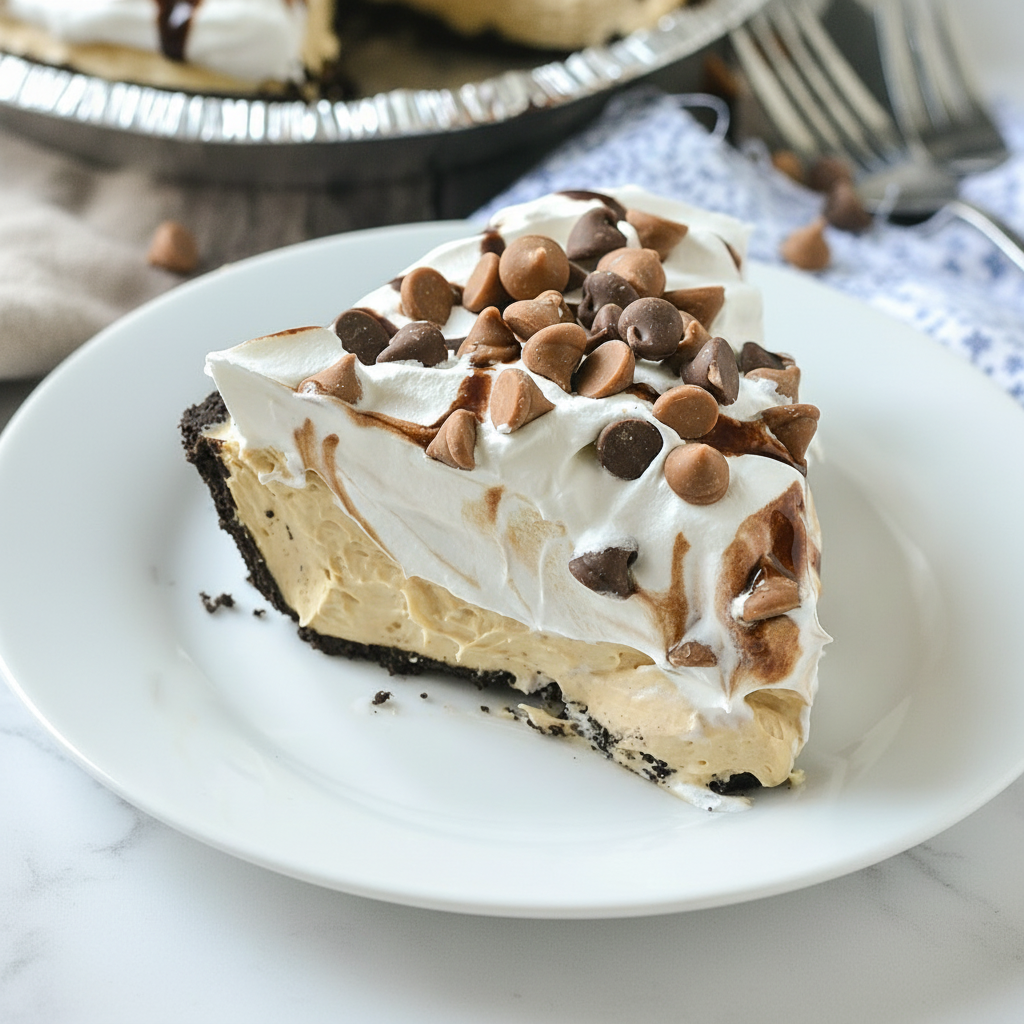
Finally, consider mix ins. After your ice cream is smooth and creamy, you can use the “Mix In” function. Add things like chocolate chips, chopped nuts, or cookie pieces. The machine will gently fold them into your ice cream for a delightful crunch or chew.
Conclusion
And there you have it. A simple, delicious, and healthy way to make ice cream at home. This recipe shows that you don’t have to choose between a tasty dessert and your health goals. The Ninja Creami makes it possible to have both.
We hope you enjoy making this creamy vanilla treat. It’s one of our go to Protein Ninja Creami Recipes for a reason. It is easy, satisfying, and so much fun to customize. Give it a try and see for yourself how wonderful homemade protein ice cream can be.
Happy creamifying! We would love to hear how your ice cream turns out. Feel free to share your own flavor combinations and mix in ideas. There’s a whole world of frozen desserts waiting for you.
FAQ
Can I Use A Different Type Of Milk?
Absolutely! While we love oat milk for its creamy texture, you can use almost any milk. Almond milk, soy milk, or cashew milk would all work well. Just be aware that the final texture might vary slightly based on the fat and protein content of the milk you choose.
What If I Don’t Have Instant Pudding Mix?
The instant pudding mix acts as a stabilizer and thickener. If you don’t have it, you can try using a small amount of xanthan gum or guar gum, about 1/4 teaspoon. These will help prevent ice crystals and create a smoother texture in your Protein Ninja Creami Recipes.
Can I Add Protein Powder To This Recipe?
Yes, this is a great way to boost the protein. Add one scoop of your favorite vanilla or unflavored protein powder to the base mixture before freezing. You may need to add an extra 2 to 4 tablespoons of milk to ensure the mixture is not too thick before you freeze it solid.
Why Is My Ice Cream Icy Instead Of Creamy?
An icy texture usually means the base wasn’t frozen solid enough, or it needs a re spin. Ensure the pint freezes for a full 24 hours. Also, use the re spin function with a splash of milk. That usually solves the problem and makes it nice and creamy.
How Long Does It Take To Freeze Completely?
We recommend a minimum of 24 hours. This ensures the entire pint is frozen solid all the way through. A properly frozen base is critical for the Ninja Creami to work its magic. Rushing this step will likely result in a less than ideal texture.
Can I Make This With Real Dairy?
Of course. If you are not avoiding dairy, you can use whole milk or half and half instead of the oat milk and coconut cream. The results will be just as delicious and creamy. Dairy provides a great base for many Protein Ice Cream Recipes.
Creamy Vanilla Protein Ice Cream (Ninja Creami)
This homemade Vanilla Protein Ice Cream, made easy with the Ninja Creami, delivers a rich, creamy texture without the guilt. It’s a simple, dairy-free treat that serves as a wonderful base for your favorite mix-ins.
Ingredients
Instructions
- In a medium bowl, combine the oat milk, instant vanilla pudding mix, coconut cream, and vanilla extract. Whisk vigorously until the mixture is completely smooth and no lumps remain.
- Pour the smooth mixture into the Ninja Creami pint container, making sure not to fill past the max fill line. Secure the lid tightly.
- Place the pint on a level surface in your freezer and freeze for at least 24 hours until frozen solid.
- Once frozen, remove the pint from the freezer, take off the lid, and place it into the outer bowl of the Ninja Creami machine. Lock it into place and select the ‘Ice Cream’ setting.
- After the first spin, check the texture. If it appears crumbly, add 1-2 tablespoons of oat milk, place it back in the machine, and use the ‘Re-Spin’ function. Repeat if necessary until the ice cream is smooth and creamy.
Notes
For a higher protein version, add one scoop of your favorite vanilla protein powder to the base mixture before freezing.
Ensure the pint is frozen on a completely flat surface to avoid issues with the machine’s blade.
After the ice cream is creamy, use the ‘Mix-In’ function to add chocolate chips, chopped nuts, or cookie pieces.
Nutrition
Calories
Sugar
Fat
Carbs