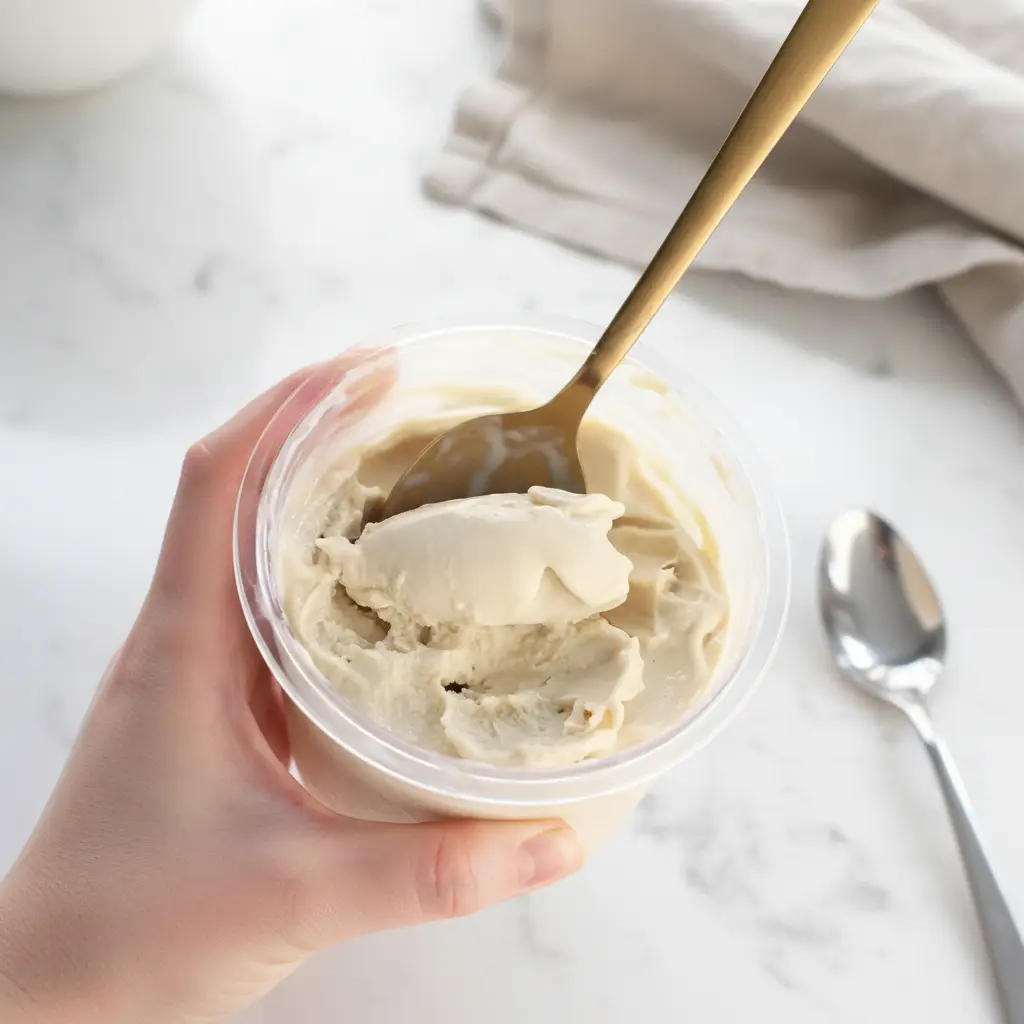
Have you ever wanted delicious, creamy ice cream without leaving your house? Well, you are in the right place. This recipe is all about making a fantastic frozen treat right in your own kitchen. We are talking about a wonderful, scoopable dessert that you can feel good about eating.
With a Ninja Creami, making homemade ice cream becomes so simple. This particular Ninja Creami Vanilla Ice Cream is special because it is packed with protein. It’s a wonderful way to enjoy a classic flavor while getting some extra nutrients. Let’s get started on this fun and tasty journey.
Jump To:
Why You’ll Love This Recipe
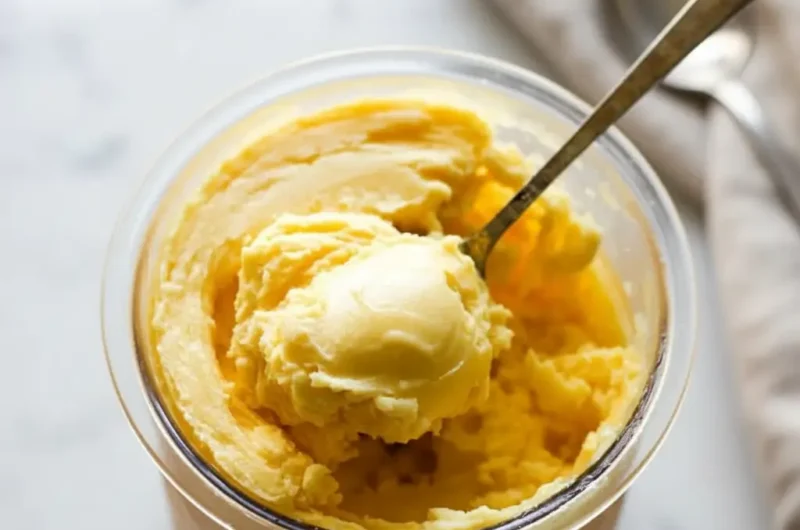
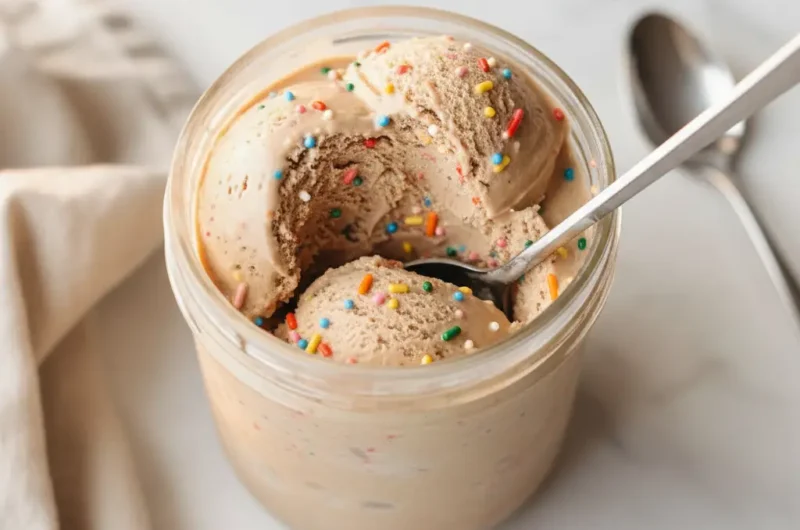
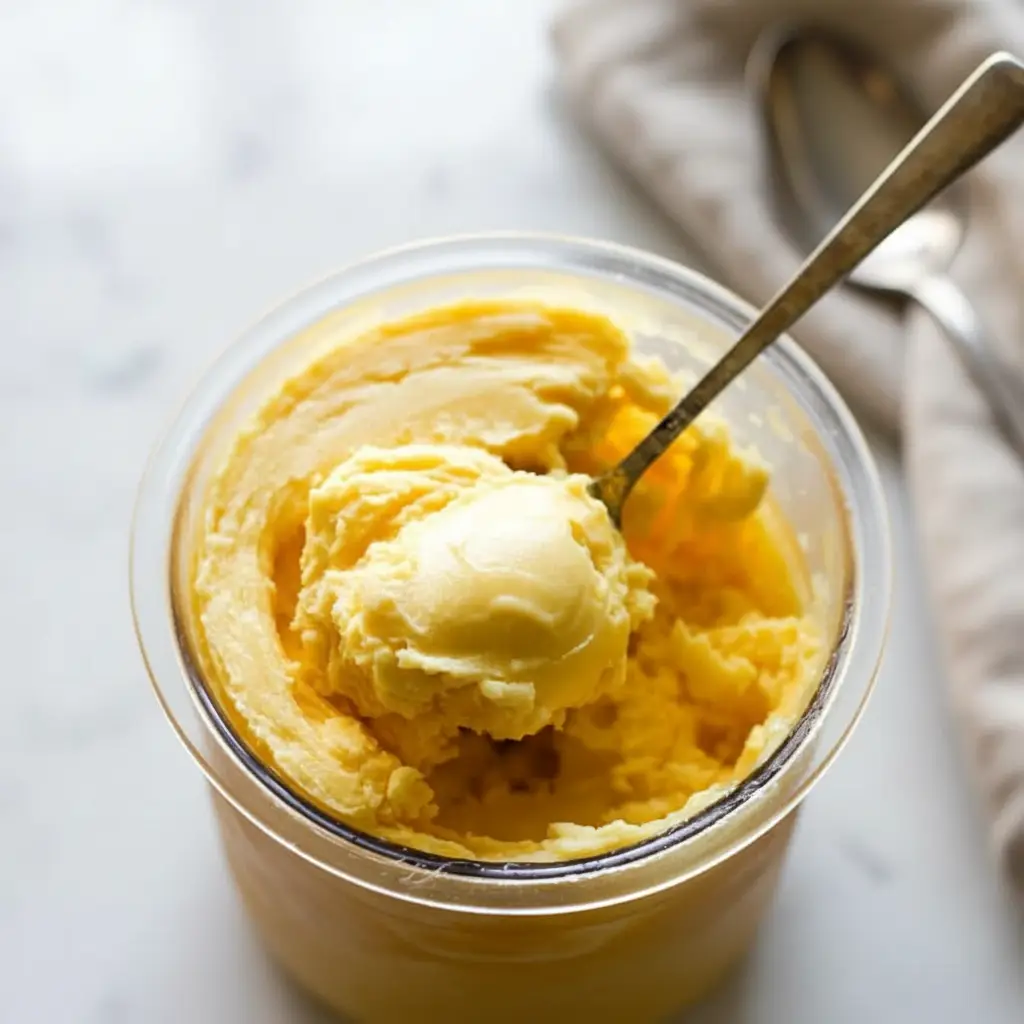
First off, the texture is just amazing. It’s so smooth and creamy, you might forget it’s homemade. It really rivals what you would get from an ice cream shop. The Ninja Creami does a great job of breaking down the frozen base into something truly special.
Another great thing is the protein content. This makes it a fantastic option for a post workout snack or a guilt free dessert. It’s one of those Protein Ice Cream Ninja Creami Recipes that actually tastes good. You get the sweetness you crave and the protein your body needs.
It is also incredibly easy to make. You just mix a few ingredients, freeze the base, and let the machine do the hard work. This makes it a great recipe for beginners or anyone who wants a simple dessert option without a lot of fuss. You do not need any special culinary skills.
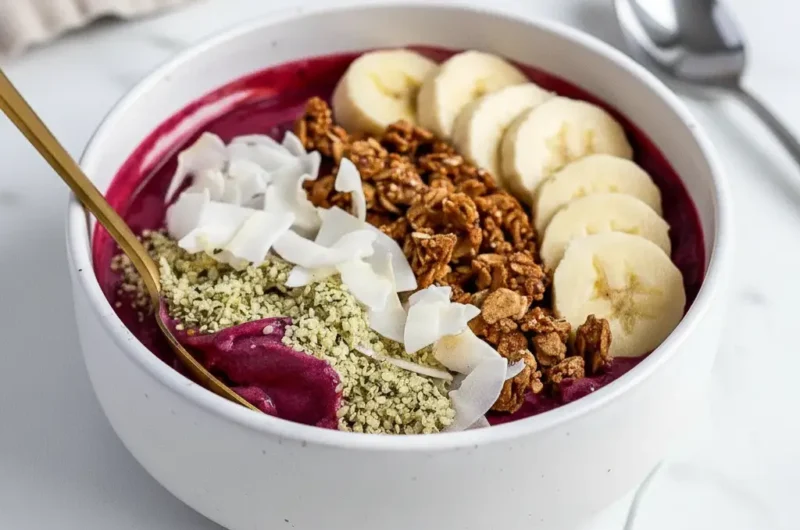
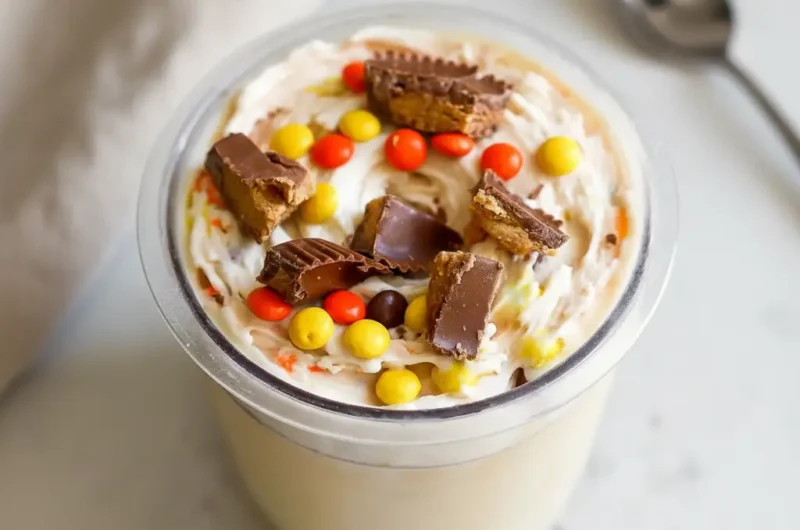
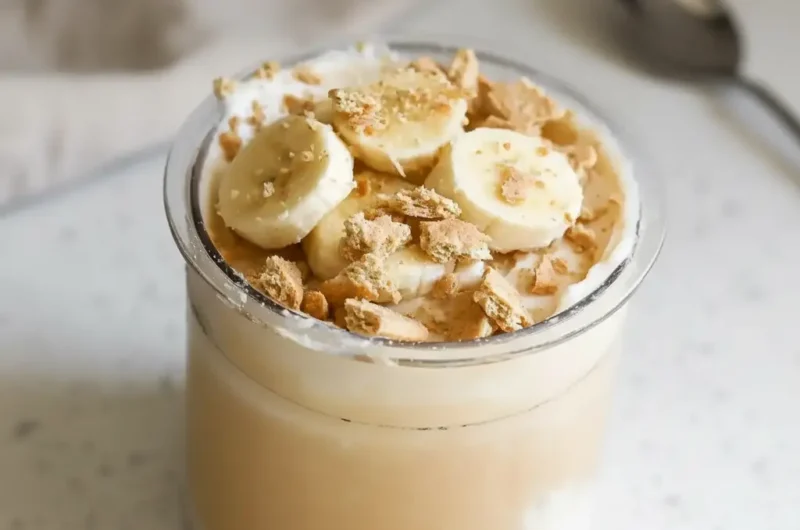
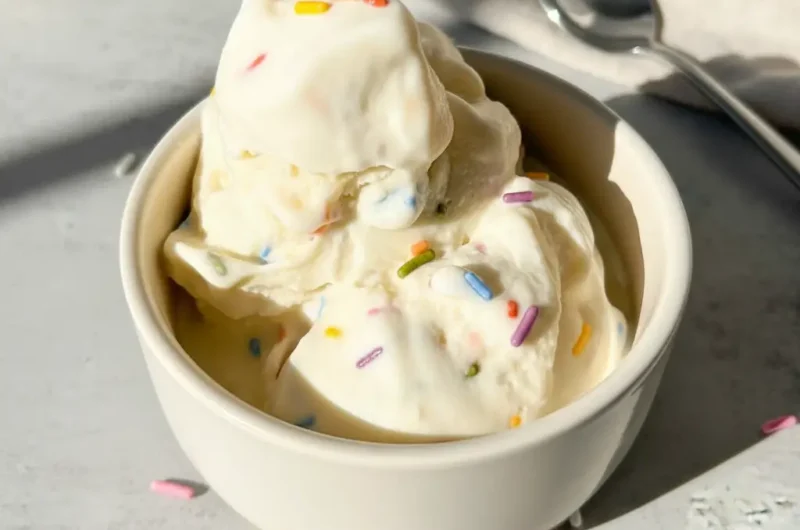
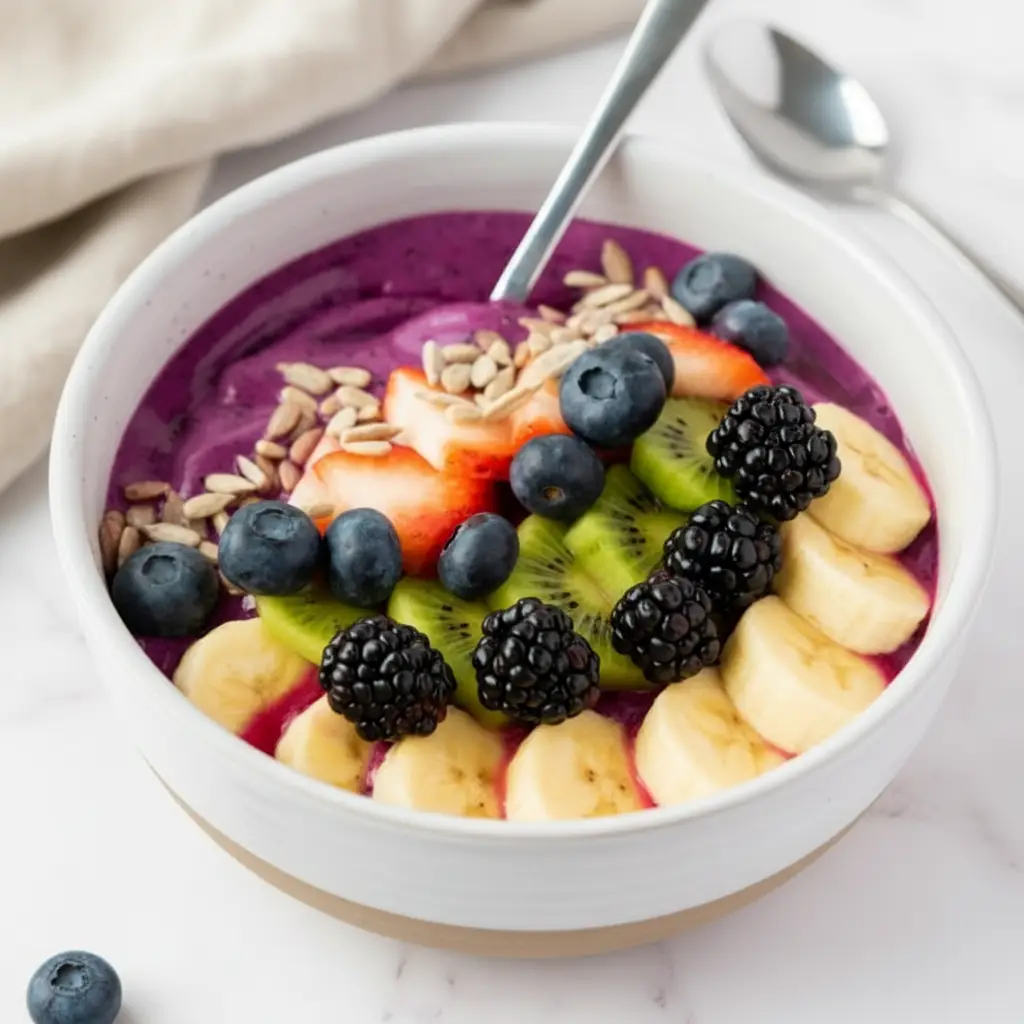
Plus, this recipe is super customizable. The vanilla base is like a blank canvas. You can add all sorts of mix ins to create your own unique flavor. From chocolate chips to fruit, the possibilities are endless. It’s one of the most versatile Healthy Ninja Creami Vanilla Ice Cream Recipes around.
Finally, it’s a healthier choice. You control the ingredients, so you know exactly what is going into your dessert. You can adjust the sweetness and use plant based milk, making it a wonderful choice for many dietary needs. This is what makes this Ninja Creami Vanilla Ice Cream a real winner.
Ingredients
The ingredient list for this Ninja Creami Vanilla Ice Cream is short and simple. Each component plays a specific role in creating that perfect texture and flavor. Let’s talk about what you will need.
The protein powder is the star of the show. It adds flavor and of course, a lot of protein. A good quality vegan vanilla protein powder works best. The cashew or almond butter adds a bit of fat, which is key for a creamy, non icy result. It gives the ice cream a richer mouthfeel.
Xanthan gum is our little texture helper. It is optional, but just a tiny amount helps to prevent ice crystals from forming. This results in a much smoother final product. It is a common ingredient in many commercial ice creams for this exact reason. Don’t be afraid to use it!
- 1 scoop vegan vanilla protein powder
- 1 tablespoon cashew butter or almond butter
- 1 teaspoon vanilla extract
- ¼ teaspoon xanthan gum (optional)
- 1 pinch salt
- 1 to 3 teaspoons agave or sweetener of choice (optional)
- 2 cups plain or vanilla plant based milk
- 1 to 2 tablespoons mix ins or toppings of choice (optional)
Step By Step Instructions
Making this recipe is a simple process. Just follow these directions carefully, and you will have delicious ice cream in no time. Let’s walk through it together.
Step 1: Mix The Base
First, grab your Ninja Creami pint container. Add the protein powder, cashew butter, vanilla extract, and salt. If you are using xanthan gum or a sweetener, add them in now as well. Pour in the plant based milk until it reaches just below the fill line.
Now it is time to mix everything together. You want the base to be completely smooth. A small whisk or a fork can work. For an even smoother result, a strong milk frother or an immersion blender is a fantastic tool. Mix until there are no clumps left at all.
A quick tip on sweetness. Taste the base before you freeze it. Remember that freezing dulls the sweetness a little. So, you want the liquid base to be slightly sweeter than your desired final ice cream. Feel free to adjust the sweetener to your liking.
Step 2: Freeze Flat
Once your base is mixed, it is time to freeze it. Place the pint container in the freezer without the lid on. It is important to find a flat, level surface. This helps the mixture freeze evenly and prevents a hump from forming in the middle.
Let it freeze for at least 24 hours. You want it to be completely solid all the way through. Patience here is important for the best results. Once it is fully frozen, you can pop the lid on for longer storage if you are not making it right away.
Step 3: Spin It
When you are ready to make your Ninja Creami Vanilla Ice Cream, take the pint out of the freezer. Run the outside of the container under hot water for about a minute or two. This small step helps loosen the frozen block from the sides and can prevent an icy texture.
Place the pint into the outer bowl, attach the lid with the blade, and lock it into your Ninja Creami machine. Select the “Lite Ice Cream” setting and let the magic happen. It might be a bit loud, but that is just the machine working hard.
Step 4: Re Spin If Crumbly
After the first spin, check the texture. Sometimes, the ice cream might look dry or powdery. Don’t worry, this is totally normal. It just means the base is very cold. It is a common occurrence with many Protein Ice Cream Ninja Creami Recipes High Protein Low Cal.
To fix this, simply add a splash of plant based milk. About one or two tablespoons should be enough. Then, put it back in the machine and press the “Re spin” button. You might need to do this once or twice until it reaches a smooth, creamy consistency.
Step 5: Optional Mix Ins
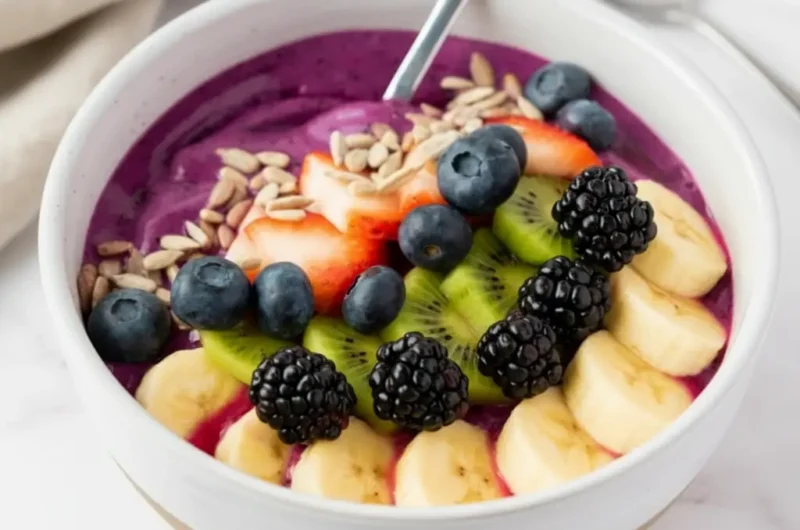
This is the fun part where you can get creative. If you want to add some extra texture or flavor, now is the time. After the final spin, use a spoon to dig a small hole in the center of your ice cream. Add about one or two tablespoons of your favorite mix ins.
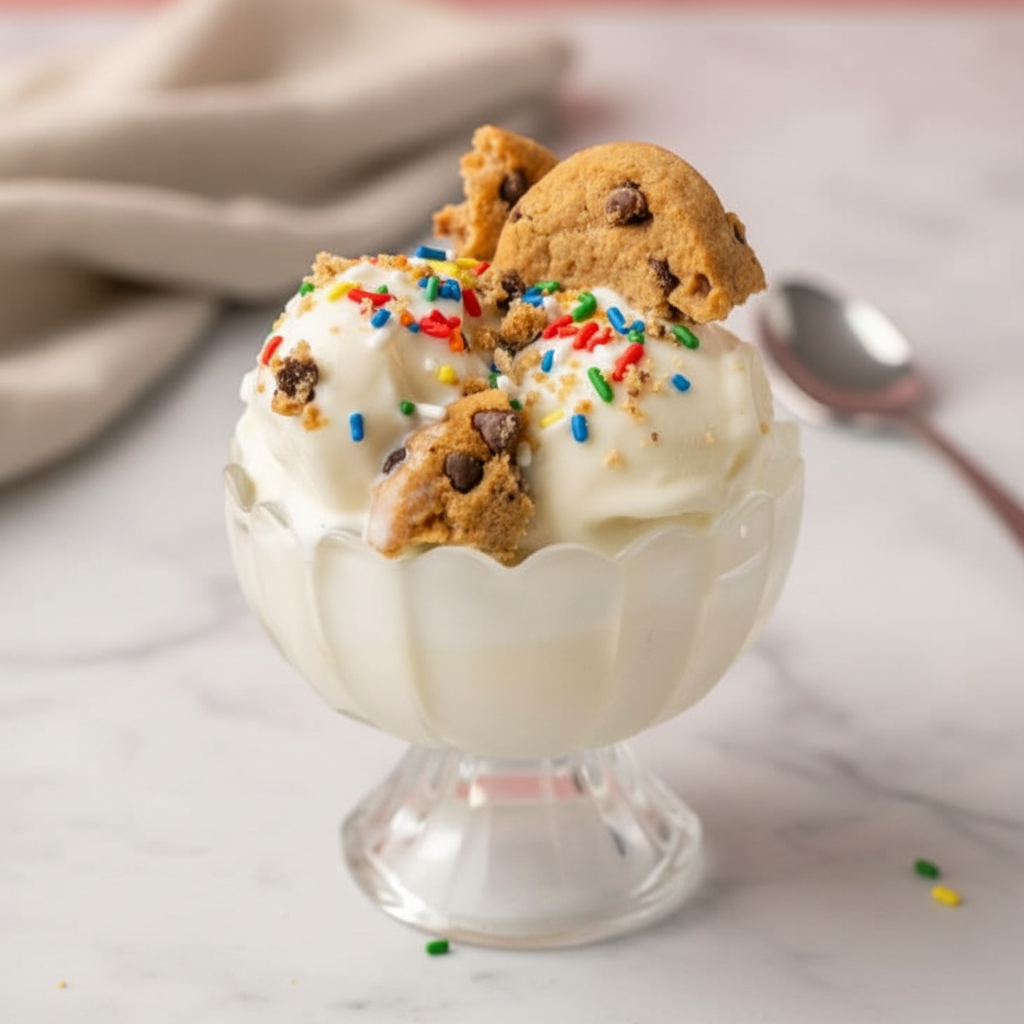
Place the container back into the machine and press the “Mix in” button. This cycle will gently fold your additions into the ice cream. Chunky items like cookie pieces, chopped nuts, or chocolate chips work best. Softer things like jam are better as toppings.
Step 6: Serve Or Store
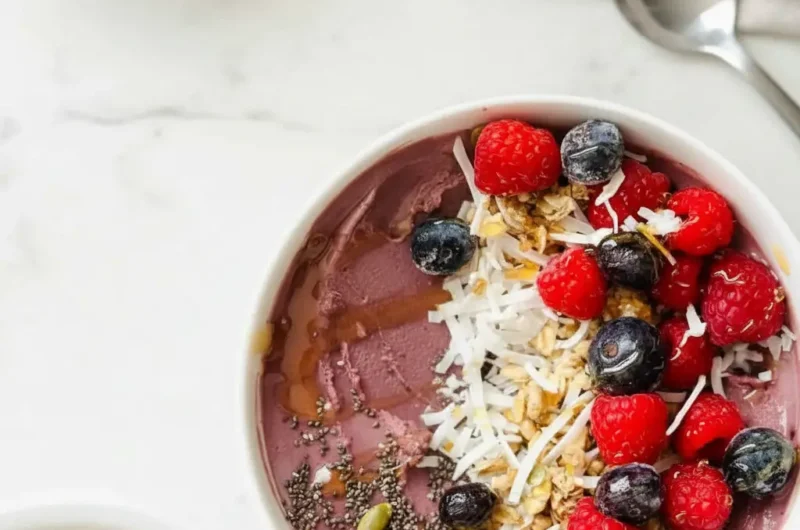
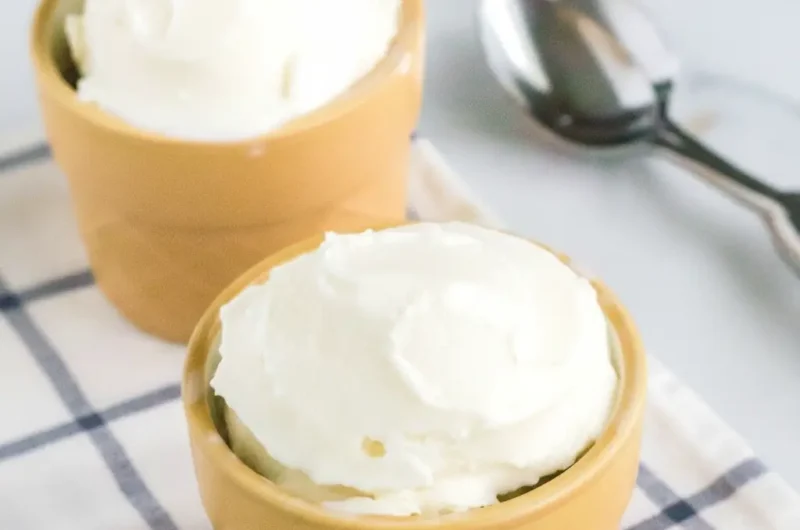
Your delicious, homemade Ninja Creami Vanilla Ice Cream is now ready to enjoy. For the best texture, serve it immediately. It will be soft, creamy, and wonderful. If you have leftovers, you can store them for later.

How To Store Leftovers
Storing leftover homemade ice cream is easy. First, use a spoon to smooth and level the surface of the ice cream in the pint container. This helps it freeze evenly again and makes it easier to re spin later.
Place the storage lid on tightly and put it back in a flat spot in your freezer. It will keep for a few weeks, but the texture is always best when it is fresh. When you are ready for another scoop, you will need to process it again.
Simply take it out, add a small splash of plant based milk, and use the “Re spin” function. This will bring it back to that just made creamy texture. It is a great way to enjoy your Ninja Creami Vanilla Ice Cream over a few days.
Tips
Here are a few extra tips to help you make the best possible Ninja Creami Vanilla Ice Cream. These little tricks can make a big difference in the final outcome. They are especially helpful for those new to making Protein Ice Cream Ninja Creami Recipes.
Do Not Overfill: Be very careful not to fill the pint container past the max fill line. The mixture will expand slightly during freezing and processing. Overfilling can damage your machine, so it is an important rule to follow.
Ensure a Solid Freeze: A full 24 hours of freezing is highly recommended. If the base is not frozen completely solid, the machine cannot process it correctly. This will result in a soupy texture instead of creamy ice cream.
Experiment with Flavors: While this is a recipe for Ninja Creami Vanilla Ice Cream, vanilla is a great starting point. Try adding a different extract, like almond or peppermint, for a new twist. A little bit of instant coffee powder can also make a delicious coffee ice cream.
Choosing Your Milk: Different plant based milks can affect the final texture. Almond milk is a great low calorie option. Cashew milk and oat milk tend to be a bit creamier due to their higher fat content. Feel free to try different ones to see what you like best.
Clean Up Right Away: The pint containers, lid, and blade are easiest to clean right after you use them. A quick rinse with warm, soapy water is usually all it takes. This prevents any leftover ice cream from hardening and becoming difficult to remove.
Conclusion
There you have it. A simple, delicious, and healthy way to make ice cream at home. This Ninja Creami Vanilla Ice Cream recipe is a fantastic way to satisfy your sweet tooth without compromising on your health goals. It is proof that you can have a tasty dessert that is also good for you.
The beauty of this recipe is its simplicity and adaptability. You can stick with the classic vanilla or go wild with your favorite mix ins. It is a fun activity for the whole family to get involved in. I hope you enjoy making and eating this wonderful treat.
So go ahead, give this Ninja Creami Vanilla Ice Cream a try. You might find it becomes your new favorite way to enjoy ice cream. Happy churning!
FAQ
Can I Use Regular Dairy Milk?
Yes, you can certainly use dairy milk if you prefer. Whole milk or 2 percent milk would work well and will create a very creamy texture. Just be aware that this will change the nutritional information of the final product.
Why Is My Ice Cream Icy?
An icy texture usually happens for a few reasons. Your freezer might be too cold, or the base may have too low of a fat content. Using xanthan gum and a slightly fattier milk can help. Also, make sure to use the re spin function with a splash of liquid if it is powdery after the first spin.
Do I Really Need Xanthan Gum?
No, it is an optional ingredient. However, it does act as a stabilizer and helps create a much smoother, less icy texture. If you plan on making a lot of Healthy Ninja Creami Vanilla Ice Cream Recipes, it is a worthwhile ingredient to have in your pantry.
What Is The Best Protein Powder For This Recipe?
A high quality vegan protein powder with a smooth texture and a flavor you already enjoy is best. Some protein powders can be gritty, which can affect the final texture of your Ninja Creami Vanilla Ice Cream. A whey based protein would also work if you are not following a vegan diet.
How Long Does This Ice Cream Last In The Freezer?
For the best quality and texture, it is best to enjoy it within one to two weeks. While it will be safe to eat for longer, it may develop more ice crystals over time. Always remember to re spin it with a bit of milk before serving leftovers.
Ninja Creami Protein Vanilla Ice Cream
Enjoy a classic, creamy vanilla ice cream that’s packed with protein. This simple Ninja Creami recipe creates a smooth, scoopable dessert that’s both tasty and satisfying.
Ingredients
Instructions
- Mix The Base: In a Ninja Creami pint, combine protein powder, cashew butter, vanilla extract, salt, and optional xanthan gum/sweetener. Add plant-based milk up to the fill line. Whisk or use a milk frother until completely smooth.
- Freeze Flat: Place the pint on a level surface in the freezer for at least 24 hours until completely solid.
- Spin It: Run the outside of the frozen pint under hot water for about a minute. Place the pint in the outer bowl, attach the blade lid, and process on the ‘Lite Ice Cream’ setting.
- Re-spin If Crumbly: If the texture is powdery after the first spin, add 1-2 tablespoons of plant-based milk and use the ‘Re-spin’ function until creamy.
- Add Mix-Ins (Optional): Create a hole in the center of the ice cream, add your mix-ins, and process using the ‘Mix-in’ function.
- Serve or Store: Enjoy immediately for the best texture. To store leftovers, smooth the top, secure the lid, and freeze. Re-spin with a splash of milk before serving again.
Notes
Do not overfill the pint container past the max fill line to avoid damaging the machine.
A full 24-hour freeze is important for achieving the correct creamy texture.
Using creamier plant-based milks like cashew or oat milk can result in a richer texture.
Nutrition
Calories
Sugar
Fat
Carbs