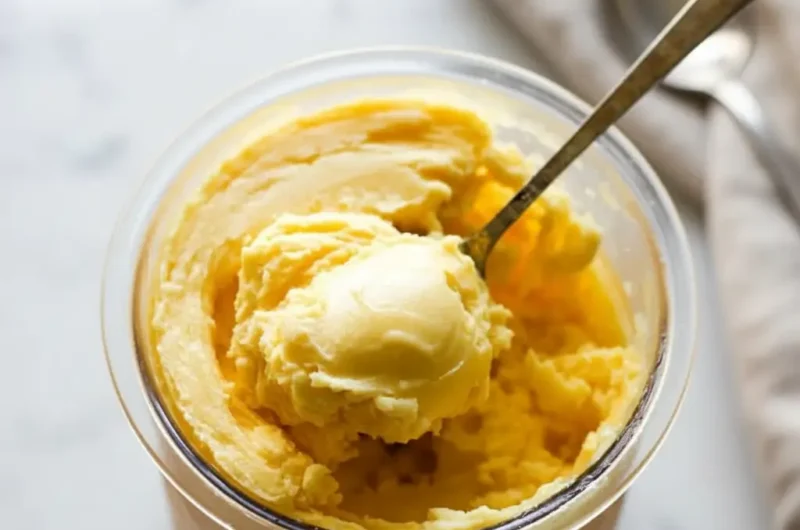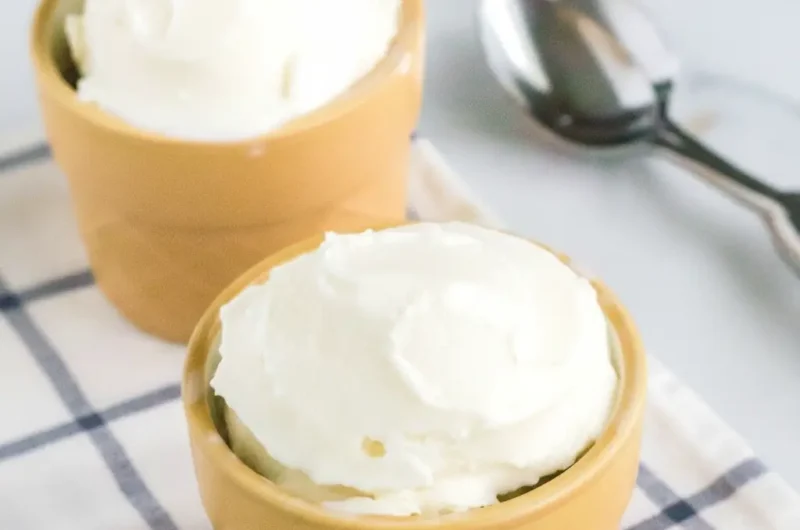
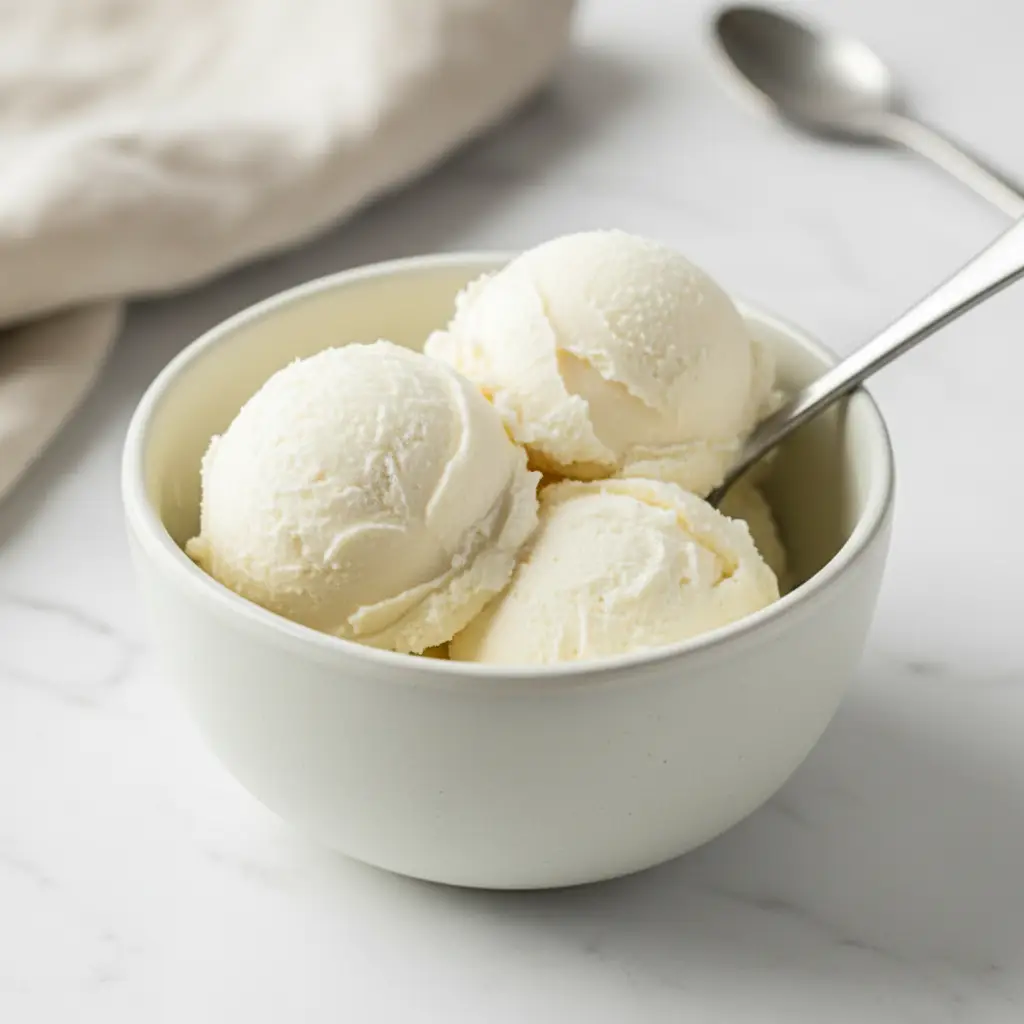
Have you ever wanted to make your own ice cream at home? Not the complicated kind that requires a ton of steps and special equipment. I’m talking about something genuinely simple and delicious. Well, you are in for a treat today. We are going to make an amazing Ninja Creami Vanilla Ice Cream that will become a staple in your kitchen.
This recipe is all about ease and flavor. With just a few ingredients, you can create a creamy, satisfying dessert. It is great for anyone new to making ice cream or for seasoned pros looking for a quick option. Let’s get started!
Jump To:
Why You’ll Love This Recipe
So, what makes this Ninja Creami Vanilla Ice Cream so special? Honestly, it’s the simplicity. You do not need a long list of fancy ingredients. It’s a straightforward recipe that delivers every single time. It is one of the best Ninja Creami recipes for a reason.
The texture is another huge plus. Thanks to a clever ingredient, this ice cream comes out incredibly smooth and creamy. It rivals what you might find at your favorite ice cream shop. No icy chunks here, just pure, velvety goodness.
Ingredients
Let’s talk about what you will need. The list is short and sweet, which is exactly what we want in an easy recipe. Each ingredient plays a key role in creating the amazing texture and flavor of this Ninja Creami Vanilla Ice Cream.
First up is the milk. This forms the base of our ice cream. You have some flexibility here. Whole milk will give you a richer result. However, you can use low fat milk or even a dairy free alternative like almond or oat milk if you prefer.
Next, we have the secret weapon: sugar free vanilla pudding mix. This is what makes our ice cream so creamy and smooth. It acts as a stabilizer, preventing ice crystals from forming. This is key for many Ninja Creami Ice Cream Recipes With Vanilla Pudding.
Then there is the vanilla protein powder. This not only adds a wonderful vanilla flavor but also boosts the protein content. It makes the ice cream more filling and satisfying. Choose a protein powder that you enjoy the taste of, as it will be a main flavor component.
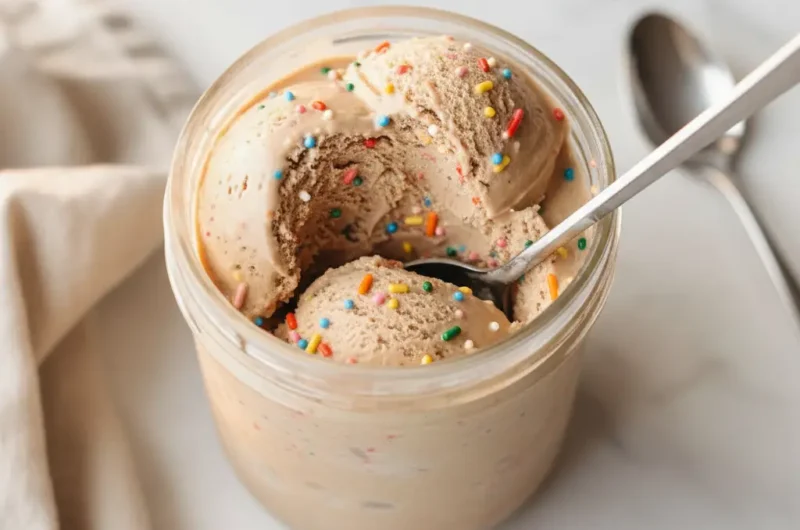
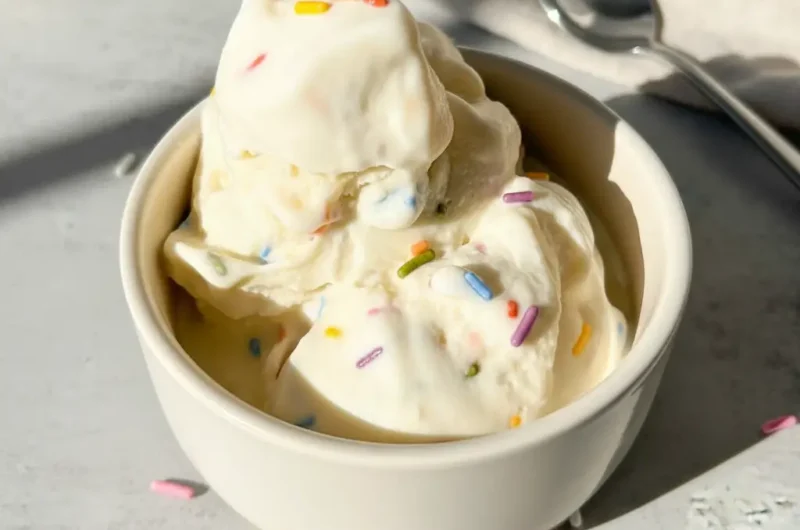
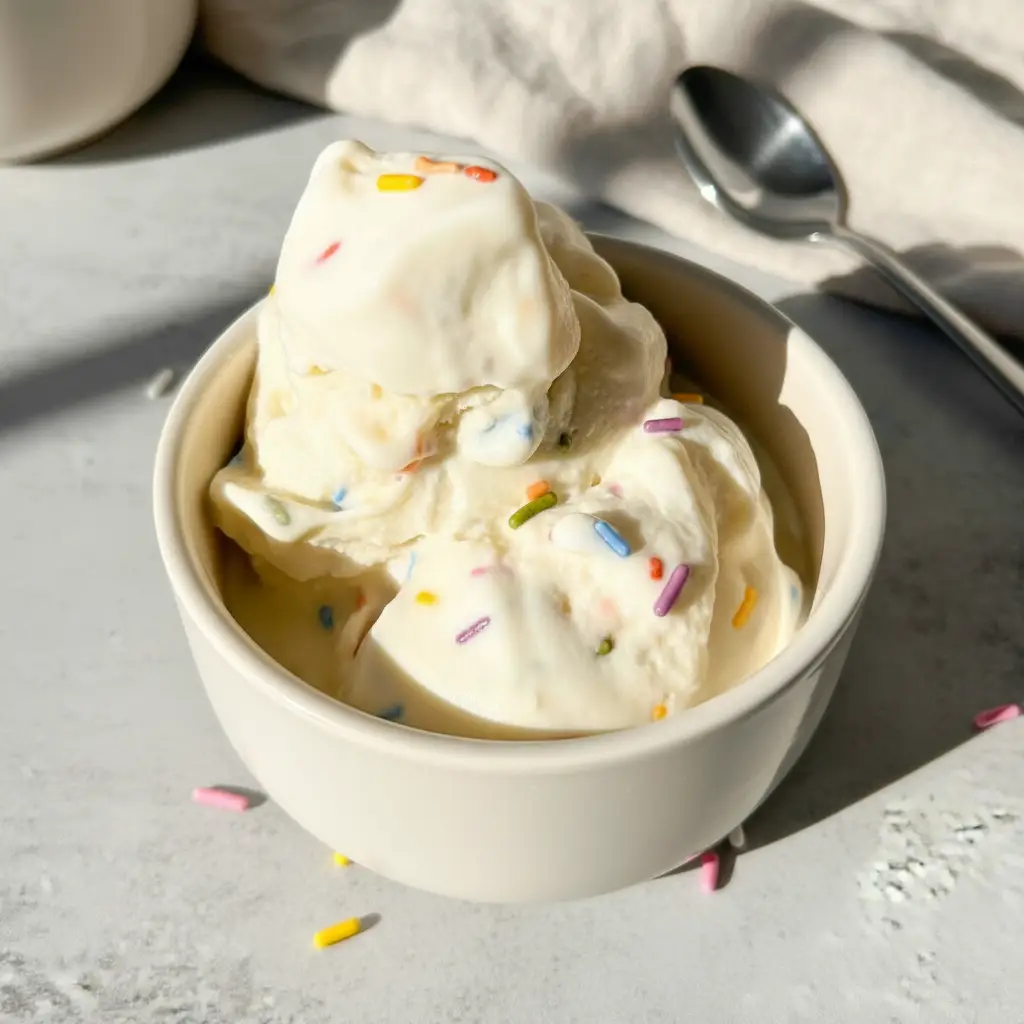
Finally, the sprinkles. These are totally optional, but they add a fun pop of color and texture. They make the ice cream look just like the scoops you’d get from an ice cream parlor. Feel free to skip them or swap them for another mix in.
- 1 cup Milk
- 1 tbsp Sugar free vanilla pudding mix
- 1 scoop vanilla protein powder
- handful Sprinkles optional
Step By Step Instructions
Ready to make some magic? Following these steps will give you a delicious pint of Ninja Creami Vanilla Ice Cream. The process is very simple, so let’s walk through it together. It’s almost foolproof.
Step 1: Incorporate Ingredients
First things first, grab your Ninja Creami pint. Pour one cup of milk into it. Then, add one tablespoon of the sugar free vanilla pudding mix and one scoop of your favorite vanilla protein powder.
Now it is time to mix everything together. A small frother or whisk works wonders here. You want to mix until all the powder is dissolved and the mixture is completely smooth. Scrape the sides to make sure there are no clumps hiding.
Step 2: Freeze
Once your base is smooth, secure the lid on the pint. Place it in your freezer. Make sure it is on a level surface so it freezes evenly. This is an important step for getting the right texture later on.
You need to let it freeze for at least 12 hours. For the best results, I recommend freezing it for a full 24 hours. This ensures the base is frozen solid, which is exactly what the Ninja Creami needs to work its magic.
Step 3: Churn
After the long wait, it is time for the fun part. Take the pint out of the freezer and remove the lid. Place the pint into the outer bowl of your Ninja Creami machine. Secure the outer bowl lid and lock it into place on the machine base.
Now, select the “Regular Ice Cream” button. The machine will start to work, spinning and processing the frozen base. In just a few minutes, it will transform the solid block into something that looks like ice cream. It is quite a sight to see.
Step 4: Adjust Texture (If Needed)
Sometimes, after the first spin, the texture might look a little crumbly or powdery. Do not worry. This is completely normal. It just means it needs a little extra love to become super creamy.
To fix this, add a tablespoon or two of milk to the pint. Then, place it back in the machine and press the “Respin” button. This second spin with the extra liquid will bring it all together into a smooth, scoopable Ninja Creami Vanilla Ice Cream.
Step 5: Add Mix Ins
If you are adding sprinkles or any other mix ins, now is the time. After the ice cream is creamy, take it out of the machine. Use a spoon to create a small well or hole in the center of the ice cream, about an inch wide, all the way to the bottom.
Drop your sprinkles into the hole. Place the pint back into the machine and select the “Mix In” button. The machine will do one final, gentle spin to evenly distribute your goodies throughout the Ninja Creami Vanilla Ice Cream. Now it’s ready to serve!
How To Store Leftovers
What if you have leftovers? Storing your homemade Ninja Creami Vanilla Ice Cream is simple. The best way is to keep it right in the pint container it was made in. It is designed for this very purpose.
Before you put it back in the freezer, use a spoon to smooth out the top surface of the ice cream. This helps prevent large ice crystals from forming. Then, just pop the storage lid back on securely.
Your ice cream can be stored in the freezer for up to two weeks. When you are ready to enjoy it again, you will likely need to process it again. The ice cream will freeze very hard, just like the initial base.
Simply take the pint out, place it back in the Ninja Creami, and run it on the “Regular Ice Cream” cycle again. It should come out just as creamy as it was the first time. It is one of the great features of this machine.
Tips
Want to make your Ninja Creami Vanilla Ice Cream even better? Here are a few tips I have learned along the way. These small adjustments can make a big difference in the final product.
Make sure your freezer is cold enough. A very cold freezer ensures the base freezes solid. This is crucial for the Creami to work properly. A base that is not fully frozen can result in a soupy texture.
The quality of your protein powder matters. Since it is a main flavor component, using a powder you love will result in an ice cream you love. Some protein powders also mix better than others, affecting the final creaminess.
Do not overfill the pint. There is a max fill line for a reason. Filling it too high can prevent the machine from processing the base correctly and can potentially damage the blade. Stick to the line for safety and best results.
Feel free to experiment with extracts. A tiny splash of almond extract or even peppermint extract can add a new dimension to your Ninja Vanilla Ice Cream Recipes. Just a little bit goes a long way, so start small.
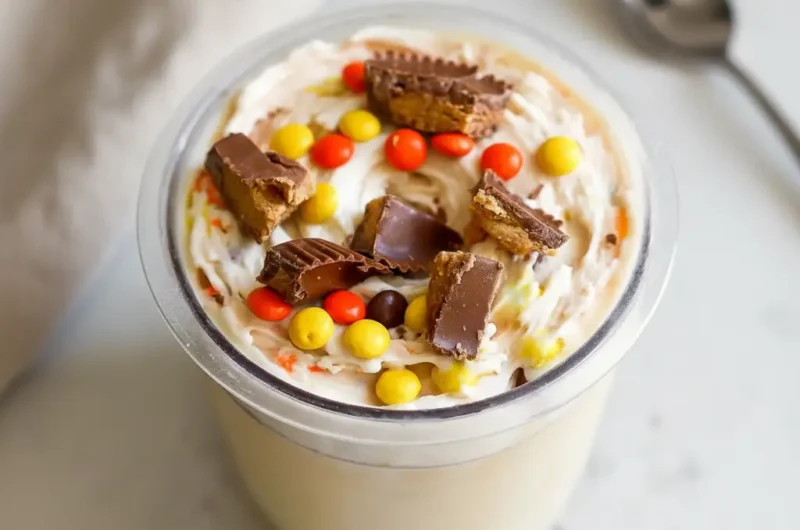
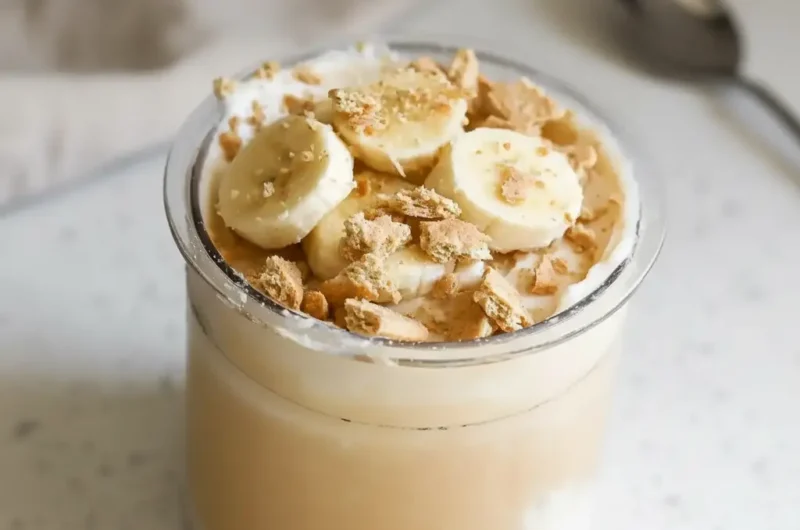
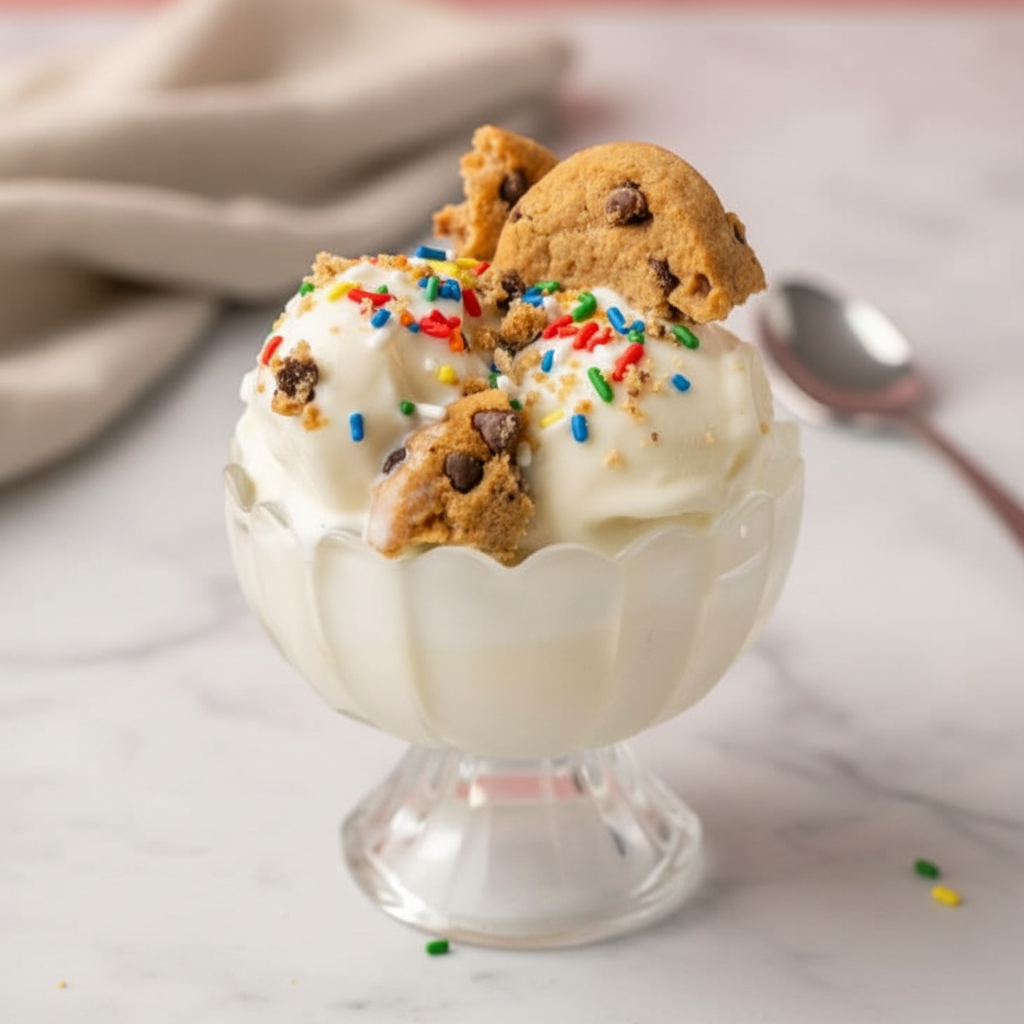
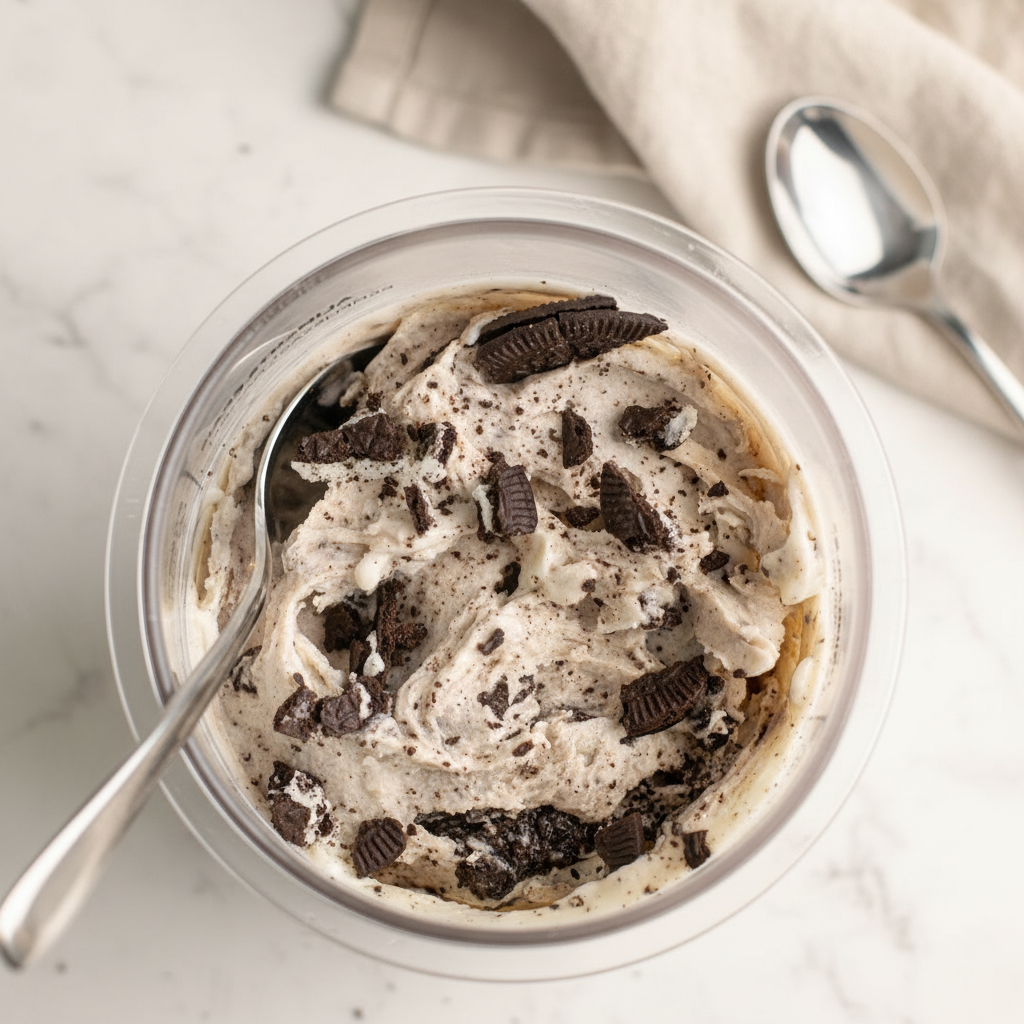
Think beyond sprinkles for mix ins. Mini chocolate chips, crushed cookies, chopped nuts, or even a swirl of caramel or fudge can be amazing additions. The “Mix In” function handles most of these wonderfully.
If you want a sweeter ice cream without adding sugar, try using a few drops of a liquid sweetener like stevia or monk fruit. Add it to the base before you freeze it. This is an easy way to adjust the sweetness to your liking.
Patience is key. Waiting the full 24 hours for the base to freeze can feel like a long time. But trust me, it is worth it for that super creamy texture. Rushing the freeze time is one of the most common mistakes people make.
Conclusion
And there you have it. A simple, delicious, and protein packed Ninja Creami Vanilla Ice Cream. This recipe shows that you do not need a lot of ingredients or time to make a truly satisfying dessert at home. It’s a wonderful treat for any occasion.
This recipe is just the beginning. I hope it inspires you to explore other Ninja Vanilla Ice Cream Recipes and get creative with your mix ins. The joy of the Ninja Creami is making things exactly how you like them.
I think this might just be one of the best Ninja Creami recipes for beginners because of its simplicity. So go ahead, give it a try. I would love to hear how it turns out. What are your favorite mix ins? Let me know in the comments below!
FAQ
Can I Use A Different Kind Of Milk?
Yes, you absolutely can. Whole milk will give the creamiest result due to its higher fat content. However, 2% milk, skim milk, almond milk, oat milk, or soy milk will also work. Just be aware that using a lower fat milk might result in a slightly less creamy texture.
What If I Don’t Have Protein Powder?
If you do not have protein powder, you can still make a delicious ice cream. You can try increasing the pudding mix slightly. Or, for a richer base, you could add a tablespoon of heavy cream or a small amount of cream cheese. The taste and nutritional content will change, of course.
Why Is My Ice Cream Icy Instead Of Creamy?
An icy texture usually points to a few things. Your base might not have been frozen solid enough. Make sure it freezes for at least 12 to 24 hours. Another reason could be the ingredient balance. The pudding mix in this Ninja Creami Vanilla Ice Cream recipe helps prevent iciness. Always try a respin with a splash of milk if it’s crumbly or icy after the first spin.
Can I Make This Recipe Without A Ninja Creami?
Unfortunately, this recipe is specifically designed for the Ninja Creami machine. The machine’s process of shaving and churning a frozen block is what creates the unique creamy texture. Traditional ice cream makers work differently and would require a different recipe base.
Is This Recipe Keto Friendly?
This recipe can be keto friendly. It uses sugar free pudding mix. The main sources of carbs would be the milk and the protein powder. To keep it low carb, use an unsweetened milk alternative like almond milk and a keto friendly protein powder. Always check the labels on your ingredients to be sure.
Ninja Creami Vanilla Ice Cream
Create a simple and delicious homemade vanilla ice cream with this easy Ninja Creami recipe. With just a few ingredients, including protein powder, you can make a creamy, satisfying dessert.
Ingredients
Instructions
- In a Ninja Creami pint container, combine the milk, sugar-free vanilla pudding mix, and vanilla protein powder.
- Use a small frother or whisk to mix the ingredients thoroughly until all the powder is dissolved and the base is smooth.
- Secure the lid on the pint and place it on a level surface in the freezer. Freeze for at least 12 hours, but 24 hours is recommended for best results.
- Once frozen solid, remove the pint from the freezer, take off the lid, and place it into the outer bowl of your Ninja Creami machine. Secure the outer bowl lid and lock it into place.
- Select the ‘Regular Ice Cream’ button and let the machine process the base.
- If the ice cream appears crumbly after the first spin, add a tablespoon of milk and process it again using the ‘Respin’ button.
- If adding sprinkles, create a small well in the center of the ice cream, add the sprinkles, and use the ‘Mix In’ function to distribute them evenly. Serve immediately.
Notes
For the creamiest texture, ensure the base is frozen solid for at least 24 hours before processing.
The quality and flavor of your protein powder will significantly impact the final taste of the ice cream.
Feel free to experiment with other mix-ins like mini chocolate chips, crushed cookies, or a swirl of caramel.
Nutrition
Calories
Sugar
Fat
Carbs