Have you ever found yourself staring into the freezer, wishing a tub of delicious ice cream would magically appear? But not just any ice cream. You want one that is creamy, sweet, and satisfying, without derailing your health goals. It sounds like a dream, right?
Well, what if I told you that dream is totally achievable? With the amazing ninja creami machine, you can whip up an incredible Healthy Ninja Creami Recipe that checks all the boxes. This is one of those Protein Ice Cream Ninja Creami Recipes you will make again and again. It is loaded with protein, has a wonderfully smooth texture, and is so simple to prepare. Say goodbye to store bought pints and hello to your new favorite homemade treat.
Jump To:
Why You’ll Love This Recipe
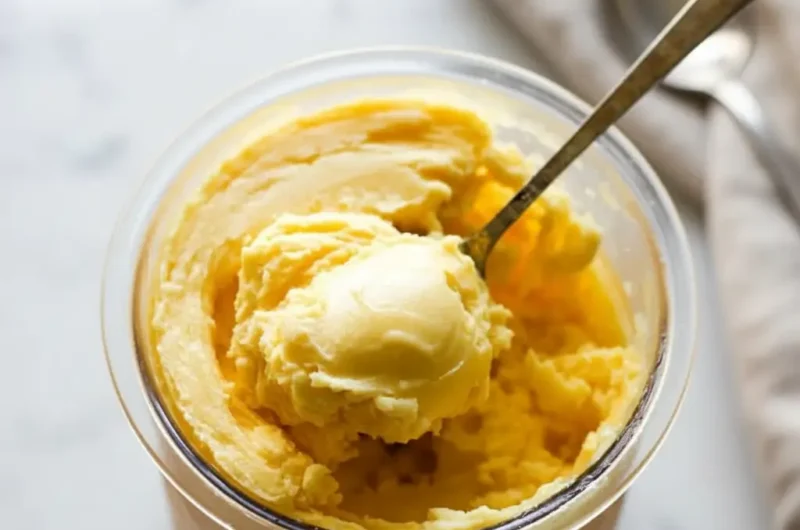
First off, the texture is just fantastic. If you have ever been disappointed by homemade ‘nice cream’ that turns out icy or hard, this is for you. The ninja creami works its magic, turning a frozen block into a scoopable, cloud like dessert. It is a game changer for sure.
This is also one of the best Ninja Creami Ice Cream Recipes High Protein Low Cal options out there. It is a fantastic way to satisfy your sweet tooth while getting a solid dose of protein. It makes a great post workout snack or a light dessert that will not leave you feeling heavy.
Another great thing is how customizable it is. You can easily swap ingredients to fit your dietary needs or preferences. Whether you are dairy free, need a specific type of sweetener, or want to add different mix ins, this Healthy Ninja Creami Recipe is your perfect canvas.
Plus, it is incredibly easy. The process is so straightforward. You just blend the ingredients, freeze the mixture, and let the machine do the hard work. It is a simple method for such a rewarding result. You do not need any special culinary skills to make a batch of this amazing protein ice cream.
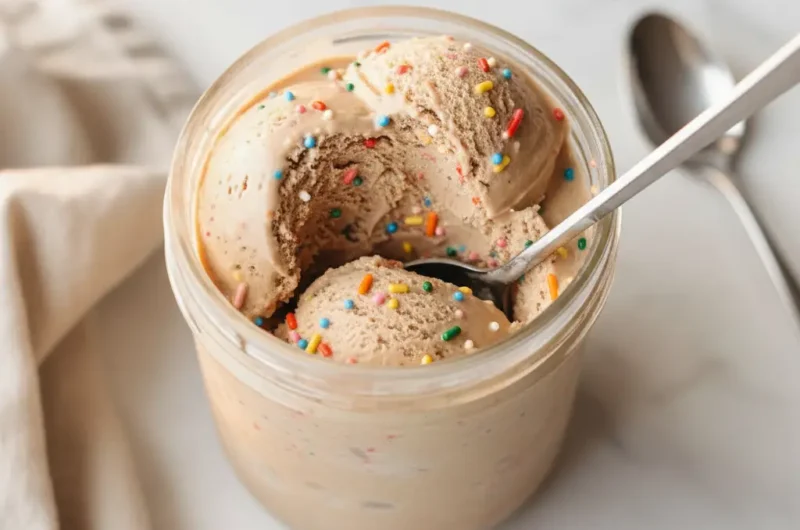
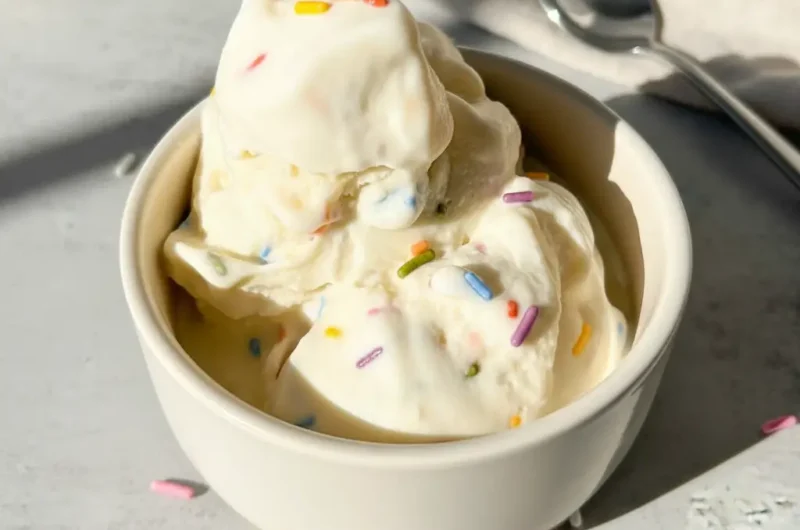
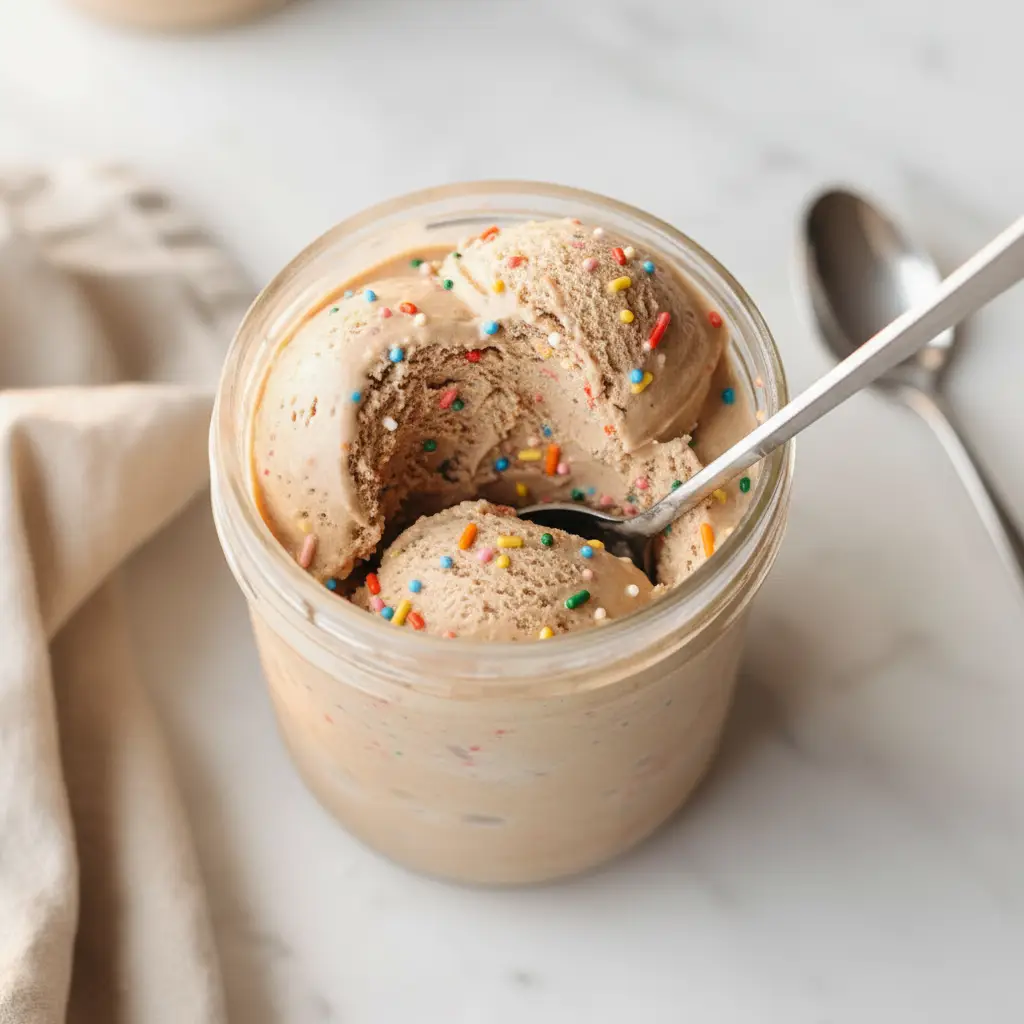
The flavor is pure comfort. The combination of vanilla and the natural sweetness from dates creates a classic taste that is both rich and refreshing. It is a simple flavor profile that shines on its own but also pairs wonderfully with all sorts of toppings and mix ins, like the colorful sprinkles we are using today.
Honestly, having a go to Healthy Ninja Creami Recipe like this makes sticking to your goals so much easier. You never feel deprived when you can enjoy a bowl of something this good. It is a treat you can feel great about eating any day of the week.
Ingredients
Let’s talk about what you will need. The beauty of this Healthy Ninja Creami Recipe is its simplicity. Each ingredient has a purpose, creating that creamy texture and delicious flavor we are aiming for.
- 1 cup cashew milk (or coconut milk, higher fat milk = creamier ice cream)
- 1/2 cup dairy free yogurt (or use all milk and add 2 tbsp nut/seed butter)
- 2 scoops vanilla protein powder
- 2–3 pitted medjool dates
- 1/8 tsp salt
- 1/2 tsp vanilla extract
- sprinkles!
For the milk, cashew milk provides a great neutral and creamy base. If you want an even richer texture, full fat coconut milk is a fantastic option. The fat content really helps make the final product smoother. Almond milk works too, but it might be slightly less creamy.
The dairy free yogurt adds a nice tang and extra creaminess. If you do not have any on hand, you can substitute it with more milk and a spoonful of nut butter like almond or cashew butter. This will add the necessary fat and thickness back into the base.
When it comes to protein powder, a good quality vanilla one works best here. The type you use can affect the final texture. Whey or casein blends tend to produce a creamier result than some plant based options, but feel free to use your favorite.
Medjool dates are my favorite natural sweetener. They add a lovely caramel like sweetness and help with the texture. Make sure they are pitted! If your dates are a little dry, you can soak them in warm water for about ten minutes to soften them up before blending.
Step By Step Instructions
Ready to see how easy this Healthy Ninja Creami Recipe is? Let’s walk through it together. Just a few simple steps and you will be on your way to dessert heaven. It is a fun process with a delicious payoff.
Step 1: Blend Your Base
First things first, gather all of your ingredients except for the sprinkles. Add the cashew milk, dairy free yogurt, vanilla protein powder, pitted dates, salt, and vanilla extract to a high speed blender. You want to make sure you get this mixture as smooth as possible.
Blend everything on high for about 30 to 60 seconds. The goal is to completely break down the dates and ensure the protein powder is fully dissolved. There should be no lumps or gritty texture. A smooth base is the key to a creamy final product.
Step 2: Freeze It Solid
Once your base is perfectly smooth, pour it into the ninja creami pint container. Be careful not to fill it past the max fill line. Secure the lid tightly and place the pint on a level surface in your freezer. This is important for even processing later.
Now for the hardest part: waiting! You need to freeze the pint for at least 24 hours. This ensures the base is frozen solid all the way through, which is crucial for the ninja creami to work correctly. Do not try to rush this step.
Step 3: The First Spin
After 24 hours, take the pint out of the freezer. Remove the lid and place the pint into the outer bowl of your machine. Attach the lid with the processing blade, lock it into place, and get ready for the magic. It is time to make our Healthy Ninja Creami Recipe come to life.
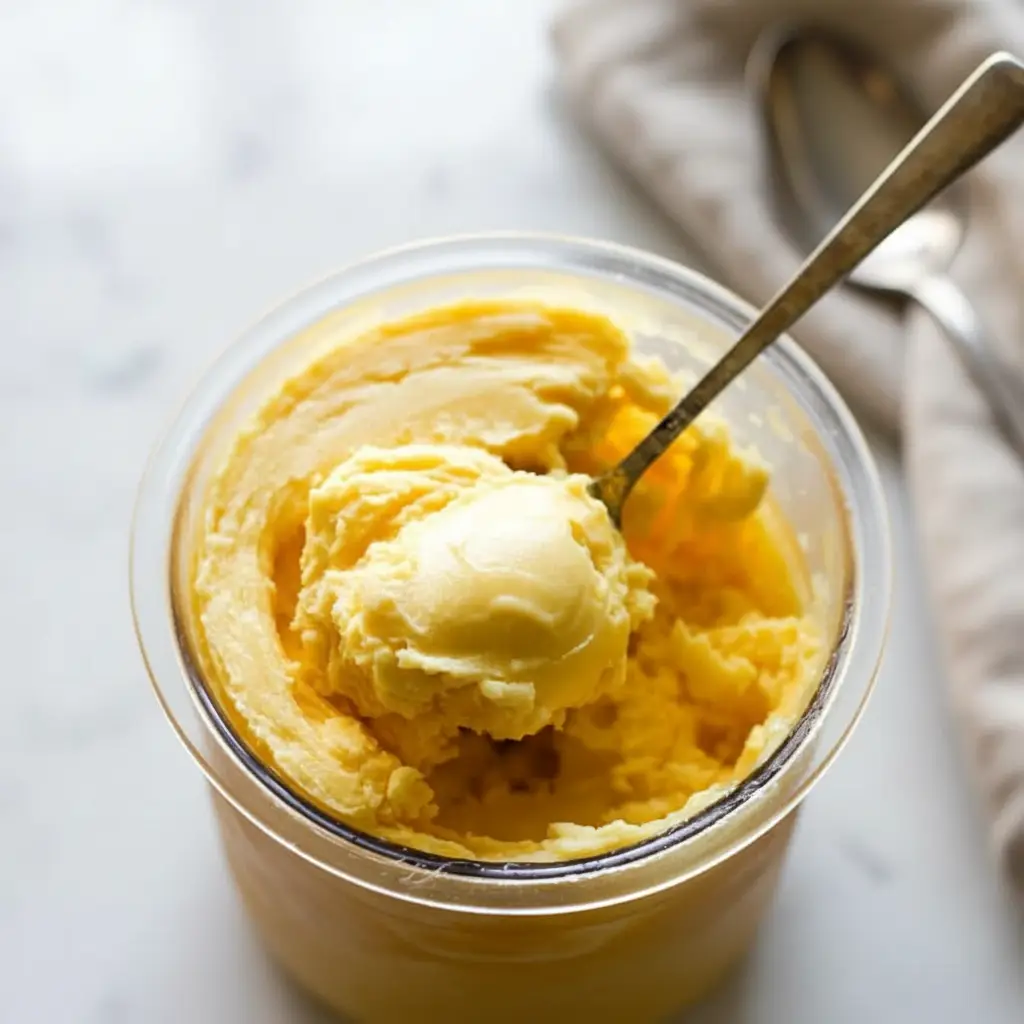
Select the LIGHT ICE CREAM setting on your ninja creami and let it run the full cycle. When it is finished, you will likely find that the texture is dry and powdery. Do not panic! This is completely normal, especially for Protein Ice Cream Ninja Creami Recipes.
Step 4: The Re Spin
To fix the powdery texture, you will need to do a re spin. Add about a tablespoon or two of your cashew milk directly into the middle of the powdery mixture. Just a small splash is all you need. Too much liquid can make it soupy, so start with a little.
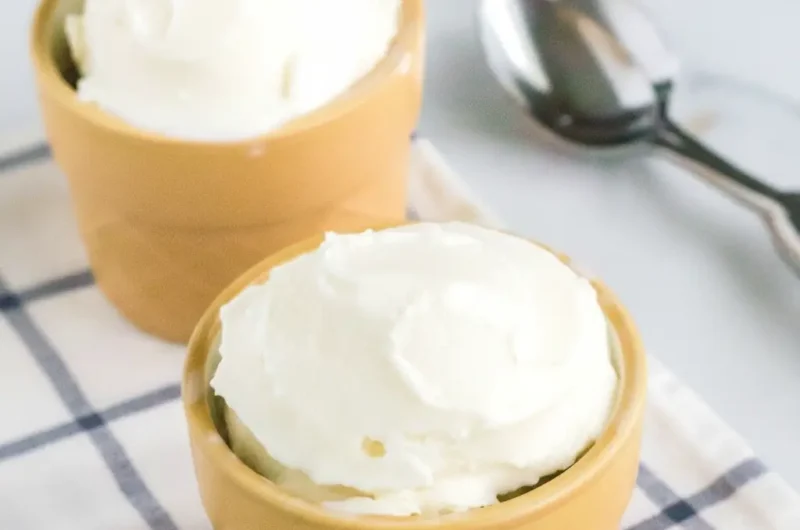
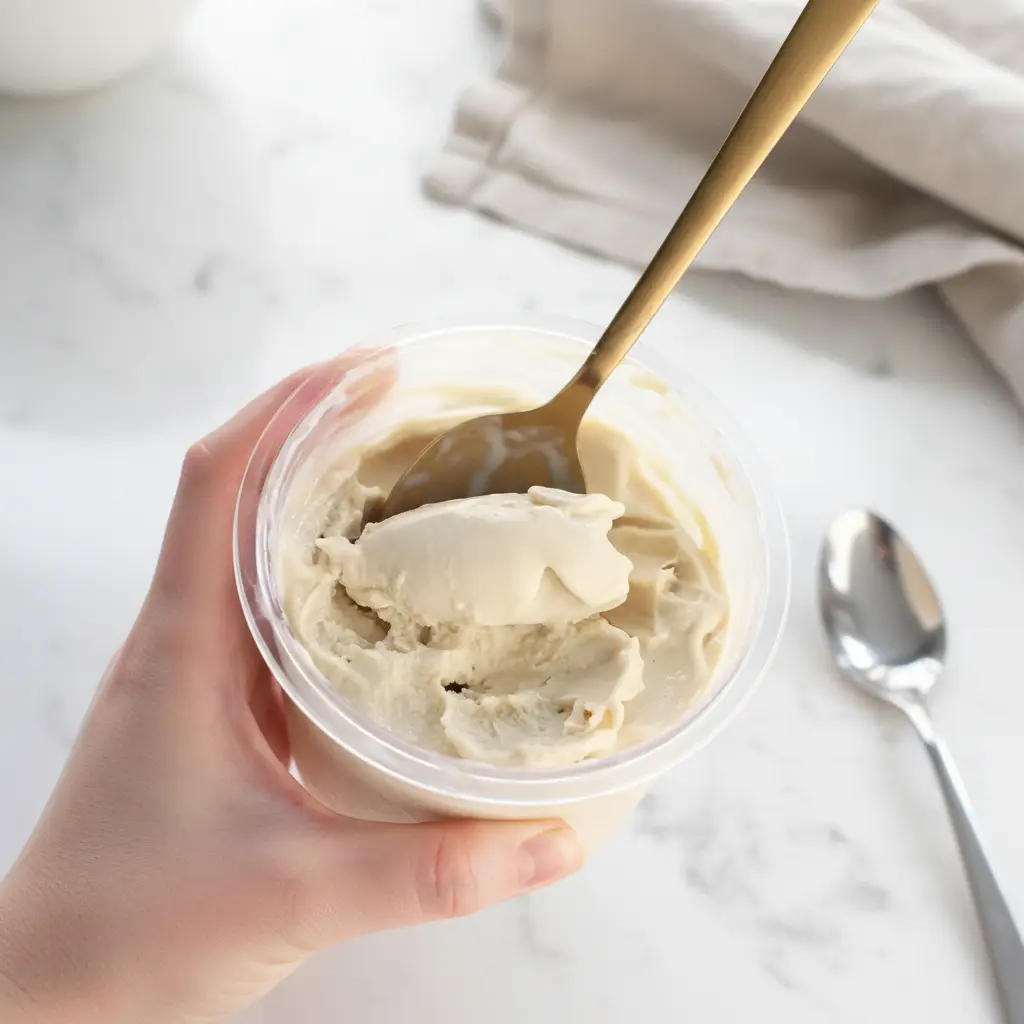
Place the pint back into the machine and press the RE-SPIN button. This cycle is much quicker. Once it is done, check the texture. It should be much creamier and look like soft serve ice cream. Sometimes, you might need a second re spin to get it just right. It is worth the extra minute for that perfect consistency.
Step 5: Add The Mix Ins
Now for the fun part! Create a small well in the center of your creamy ice cream and pour in your sprinkles. Do not be shy here. Add as many as you like! This is what makes this Healthy Ninja Creami Recipe so cheerful and visually appealing.
Put the pint back into the ninja creami one last time and select the MIX IN setting. This will gently fold the sprinkles throughout the ice cream without completely pulverizing them. Once the cycle is complete, your delicious homemade protein ice cream is ready to enjoy. You can eat it straight from the pint or scoop it into a bowl.
How To Store Leftovers
If you somehow have leftovers of this amazing Healthy Ninja Creami Recipe, storing them is easy. The best way is to smooth the top of the remaining ice cream in the pint container to make it flat. Then, just pop the original storage lid back on and place it back in the freezer.
It is important to know that the ice cream will freeze very hard again. It will not be scoopable directly from the freezer on the second go. To enjoy your leftovers, you will need to repeat part of the process. Just put the pint back into the ninja creami and run it on the LIGHT ICE CREAM or a RE SPIN cycle until it is creamy again. You might need to add another splash of milk to help it along.
Tips
Here are a few extra tips to make sure your Healthy Ninja Creami Recipe turns out amazing every single time. Little details can make a big difference, especially when you are aiming for that perfect creamy texture.
First, patience with freezing is key. Freezing the base for a full 24 hours on a flat surface is non negotiable. An uneven or partially frozen base will not process correctly and can lead to disappointing results. It is better to wait a little longer than to cut it short.
Don’t be afraid of the RE SPIN cycle. It is a standard part of making Protein Ice Cream Ninja Creami Recipes. The protein powder absorbs a lot of moisture, which leads to that initial powdery result. The re spin with a bit of liquid is what transforms it into a creamy dessert.
Feel free to experiment with your liquids. While cashew milk is great, using a liquid with a higher fat content like full fat coconut milk or even a splash of dairy free creamer for the re spin can result in an even richer and smoother final product. The fat helps prevent large ice crystals from forming.
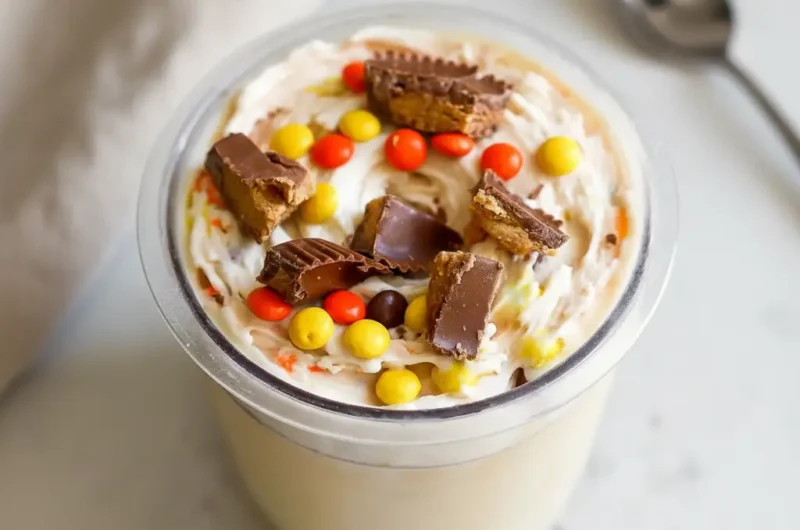
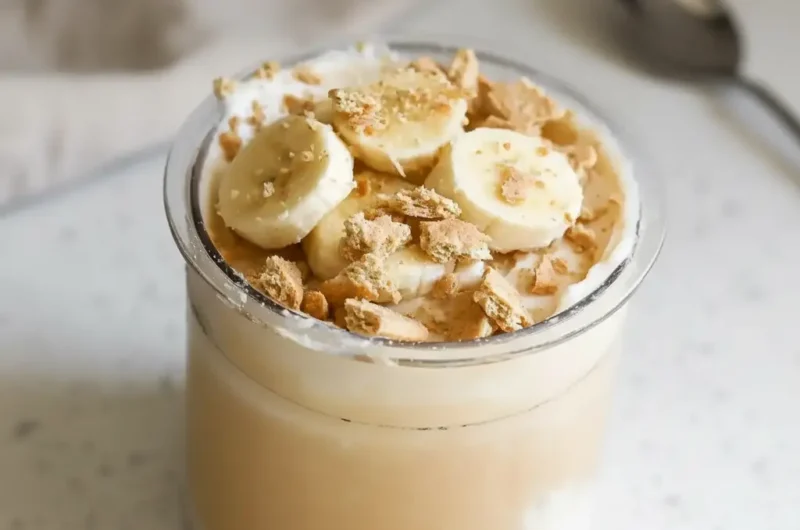
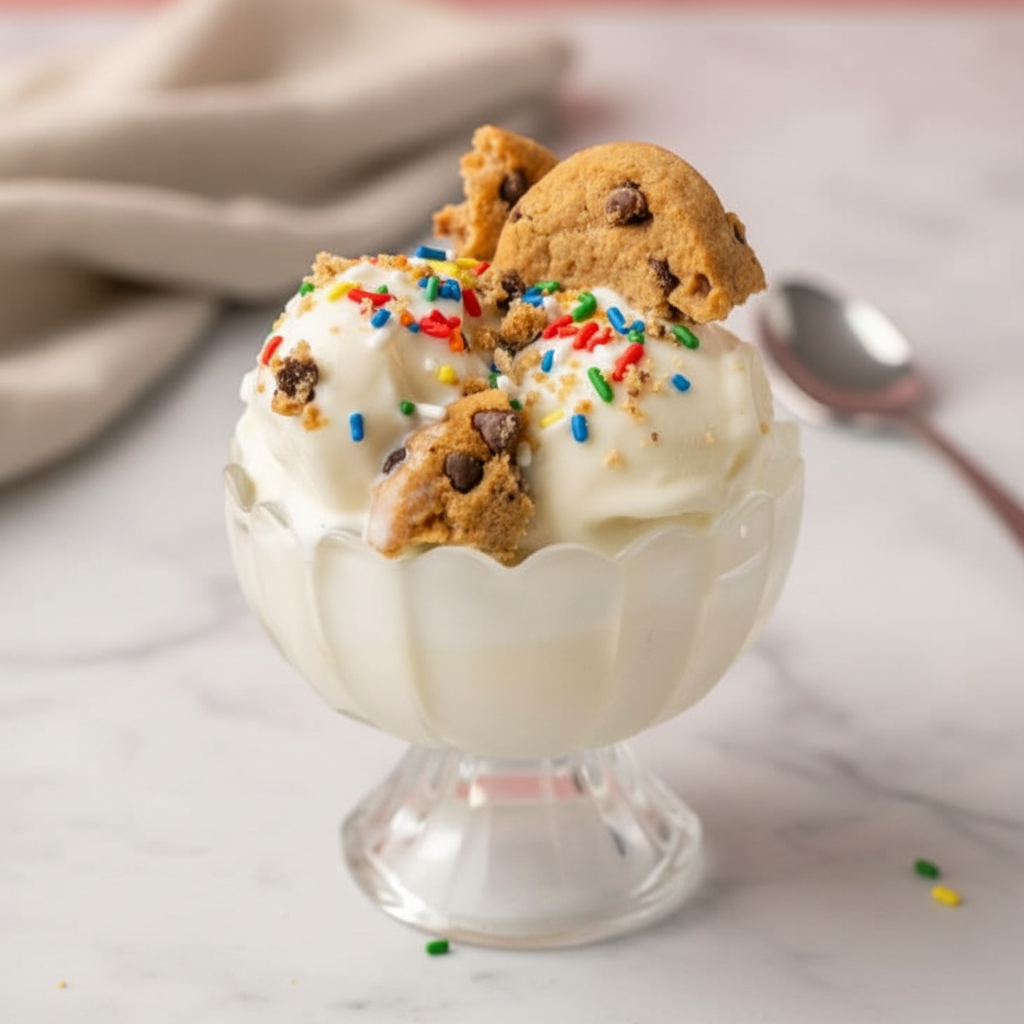
Get creative with your mix ins. Sprinkles are fun and classic, but the options are endless. Try adding mini chocolate chips, crushed gluten free cookies, chopped nuts, or even a swirl of nut butter after the first spin. The MIX IN function is designed to handle all sorts of goodies.
Finally, taste your base before you freeze it. This is your only chance to adjust the sweetness or flavor. If you think it needs a little more vanilla or sweetness, now is the time to add it. This ensures the final product is exactly to your liking. A great Healthy Ninja Creami Recipe is one that you have tailored to your own taste.
Conclusion
And there you have it! A simple, delicious, and satisfying Healthy Ninja Creami Recipe that you can feel good about. It is the perfect solution for anyone looking for Ninja Creami Ice Cream Recipes High Protein Low Cal that actually taste great. No more compromising on flavor or texture for a healthier option.
With your ninja creami, a world of frozen treats is at your fingertips. This recipe is a wonderful starting point for your adventures. I hope you love this creamy, sprinkle filled creation as much as I do. Go ahead and give it a try. Happy scooping!
FAQ
Can I Use A Different Protein Powder?
Yes, you absolutely can. However, keep in mind that different protein powders can affect both the taste and texture. Whey and casein protein powders tend to yield a creamier result. Many plant based proteins work well too, but some can be a bit grittier. It might take a little experimentation to find your favorite.
Why Is My Ice Cream Powdery?
A powdery or crumbly texture after the first spin is very common with low fat and high protein recipes. It is a normal part of the ninja creami process. The RE-SPIN function is designed specifically to fix this. Adding a small amount of liquid and running that cycle will transform it into the smooth, creamy texture you want.
Can I Make This Without Protein Powder?
You can, but it will no longer be a high protein recipe. To maintain a creamy texture, you will need to replace the bulk and creaminess of the protein powder. You could try adding more dairy free yogurt, some full fat coconut cream, or a couple of tablespoons of cashew butter to your base before freezing.
What Are Some Other Mix In Ideas?
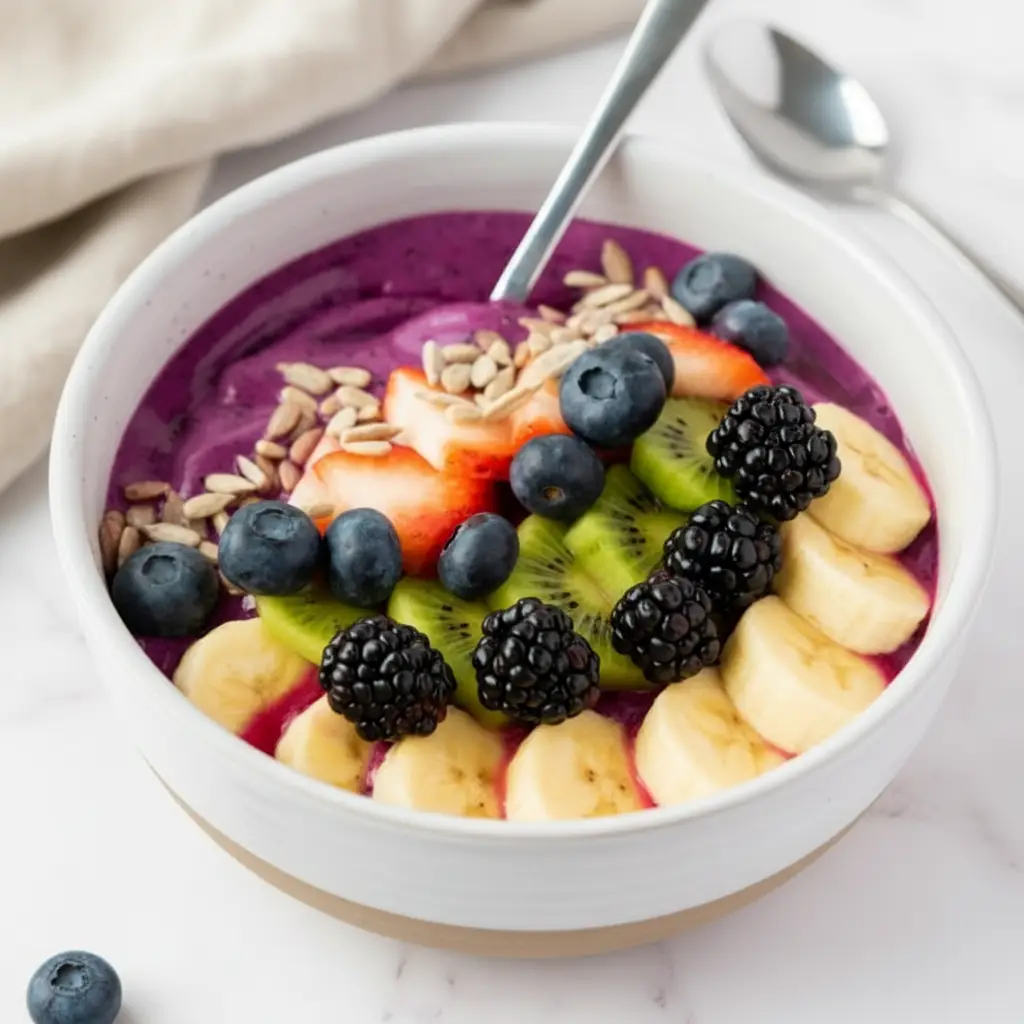
The possibilities are endless! Beyond sprinkles, you could try mini chocolate chips, cacao nibs, chopped nuts like pecans or almonds, a swirl of caramel or chocolate sauce, or chunks of your favorite cookie. Fresh fruit like berries can also be good, but be mindful that their water content can sometimes make the ice cream a bit icier.
Do I Have To Use Dates For Sweetness?
Not at all. The dates provide natural sweetness and a nice texture. If you prefer, you can use other sweeteners. A couple of tablespoons of maple syrup, agave, or a sugar free alternative like monk fruit sweetener would work well. Just add it to the blender with the other base ingredients and adjust to your taste.
Healthy Ninja Creami Protein Ice Cream
Whip up this creamy and satisfying protein ice cream using your Ninja Creami. It’s a simple, healthy homemade treat loaded with protein, perfect for a post-workout snack or a guilt-free dessert.
Ingredients
Instructions
- Add the cashew milk, dairy free yogurt, vanilla protein powder, pitted dates, salt, and vanilla extract to a high-speed blender. Blend for 30-60 seconds until completely smooth.
- Pour the smooth base into the Ninja Creami pint container, being careful not to fill past the max fill line.
- Secure the lid and place the pint on a level surface in your freezer. Freeze for at least 24 hours until frozen solid.
- Once frozen, remove the lid and place the pint into the outer bowl of your Ninja Creami. Select the LIGHT ICE CREAM setting and run the full cycle.
- After the first spin, the texture will likely be powdery. Add 1-2 tablespoons of cashew milk to the center.
- Place the pint back into the machine and press the RE-SPIN button. If needed, run a second re-spin until the texture is creamy and smooth.
- Create a small well in the center of the ice cream, add your sprinkles, and process one last time using the MIX-IN setting.
- Enjoy immediately straight from the pint or scooped into a bowl.
Notes
For an even creamier result, use a higher-fat milk like full-fat canned coconut milk.
Don’t be alarmed if the ice cream is powdery after the first spin; this is normal for high-protein recipes and the re-spin cycle will fix it.
Feel free to experiment with other mix-ins like mini chocolate chips, crushed cookies, or chopped nuts.
Nutrition
Calories
Sugar
Fat
Carbs