Have you ever found yourself staring into the pantry, looking for something sweet, but also trying to stick to your health goals? It is a classic dilemma. You want that rich, decadent dessert, but you also want to feel good about what you are eating. What if I told you that you could have both? Seriously. You can have a ridiculously tasty treat that is also packed with goodness.
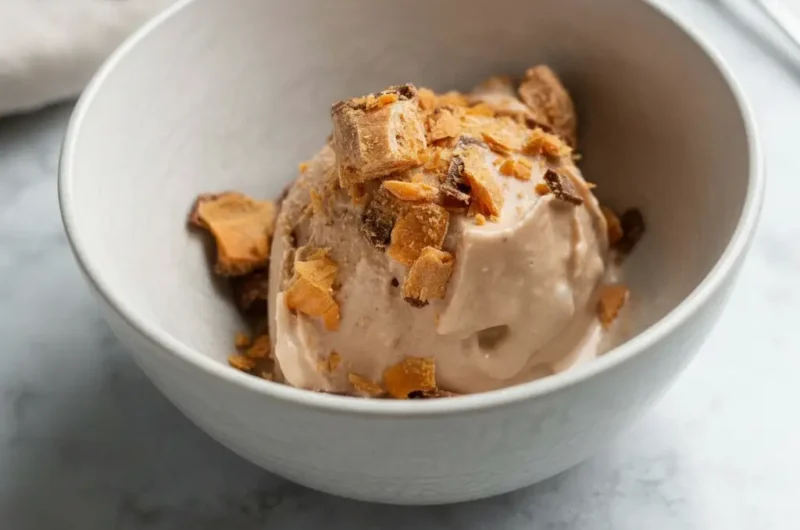
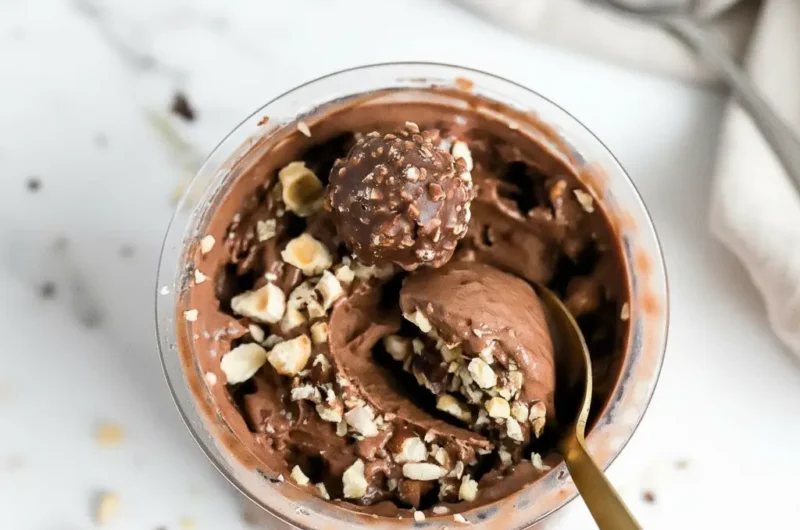
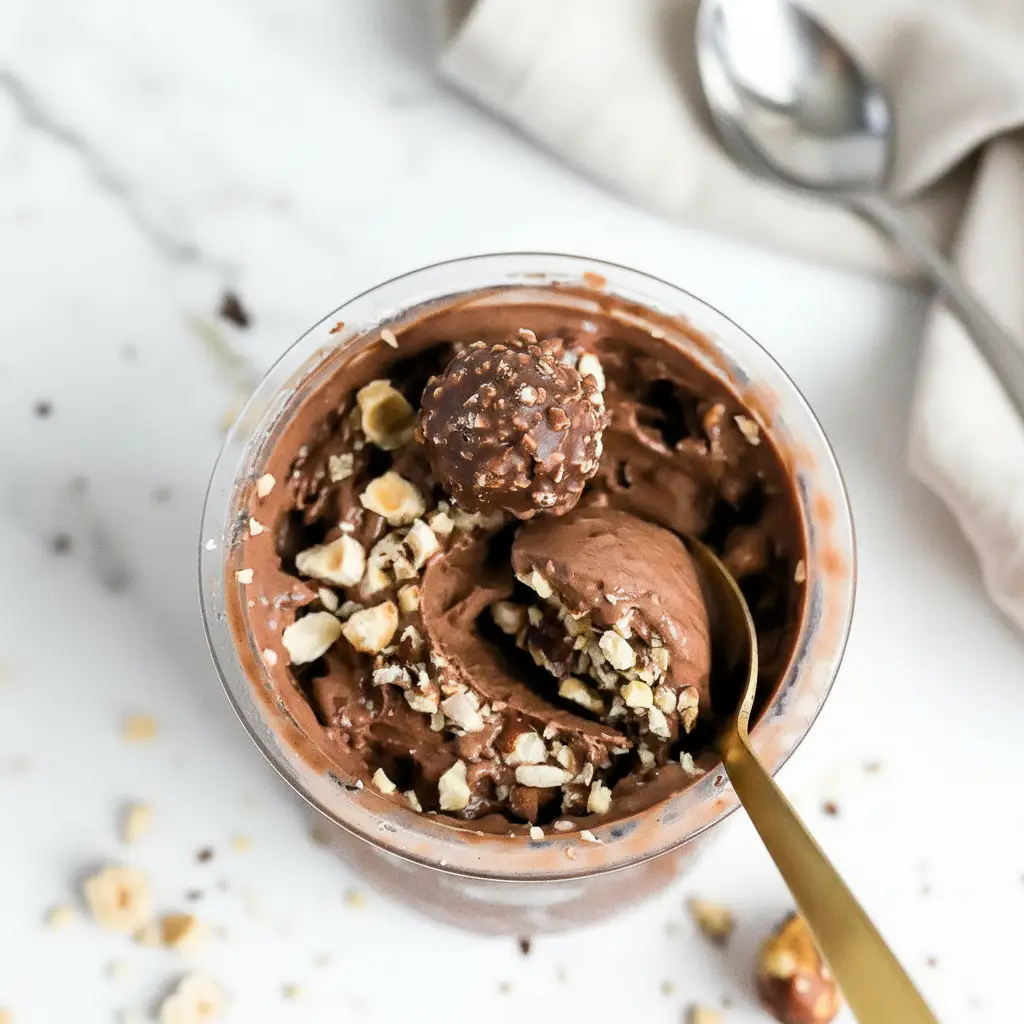
Thanks to the magic of the Ninja Creami, we are making that happen today. We are diving into one of the most delicious Ninja Creami Recipes Protein you will ever try. This is a Ferrero Rocher inspired chocolate hazelnut protein ice cream. It is creamy, it is dreamy, and it is loaded with protein to keep you full and satisfied. Let’s get started.
Jump To:
Why You’ll Love This Recipe
First off, the flavor is just out of this world. Imagine the taste of a rich Ferrero Rocher chocolate, but in a cold, creamy ice cream form. The combination of deep chocolate and toasted hazelnut is a classic for a reason. It feels so luxurious, you will forget you are eating something healthy.
Then there is the protein content. With a whopping 41 grams of protein per pint, this is more than just a dessert. It is a satisfying snack that can help you meet your fitness goals. This recipe turns your sweet treat into one of your daily High Protein Meals. It keeps you feeling full for longer, which is a big win.
It is also incredibly easy to make. Honestly, the hardest part is just waiting for the base to freeze. The active prep time is just a few minutes. You mix a few simple ingredients, freeze, and let the machine do the heavy lifting. It is a fantastic entry point for anyone new to making their own Protein Ice Cream Recipes at home.
You also have complete control over the ingredients. You know exactly what is going into your dessert. There are no strange preservatives or a long list of ingredients you cannot pronounce. Just simple, wholesome components that come together to create something special.
This particular Ninja Creami Recipes Protein is also very satisfying. The texture is what really sets it apart. The Ninja Creami works by shaving down the frozen base into incredibly small particles, which results in a super smooth and creamy final product. It is not icy or gritty like some homemade protein ice creams can be.
Let’s not forget the fun factor. Adding the mix ins at the end is so enjoyable. Watching the machine incorporate the crunchy hazelnuts and rich Nutella into the smooth ice cream is part of the experience. It feels like you are running your own little ice cream parlor right in your kitchen.
Ingredients
The ingredient list for this Ninja Creami Recipes Protein is wonderfully simple. You only need a handful of items to create this chocolate hazelnut dream. Let’s take a look at what you will need.
- 1 ½ cups Fairlife chocolate milk
- 1 scoop chocolate protein powder
- 1 tbsp chocolate sugar free pudding mix
- 2 tbsp chopped hazelnuts
- 1 tbsp Nutella
- 2 Ferrero Rocher chocolates
A quick note on the ingredients. I really like using Fairlife milk because it is ultra filtered, which means it is higher in protein and lower in sugar than regular milk. It helps create a really creamy base. For the protein powder, I recommend PEScience Chocolate Truffle. It has a fantastic flavor that works well here. However, feel free to use your favorite chocolate protein powder.
The sugar free pudding mix is a neat little trick. It acts as a binder and helps create a smoother, less icy texture. It is a small addition that makes a big difference in the final result. It is a common ingredient in many Ninja Creami Ice Cream Recipes High Protein Low Cal for a reason.
Step By Step Instructions
Alright, now for the fun part. Making this ice cream is a breeze. I will walk you through each step to make sure you get a great result every single time. It is a straightforward process that anyone can follow.
Step 1: Mix The Base
First, grab your Ninja Creami pint container. Pour in the chocolate milk. Then, add your scoop of chocolate protein powder and the tablespoon of chocolate sugar free pudding mix. Make sure you do not fill the pint past the max fill line. This is important for the machine to work correctly.
Now, you need to mix it all together. I find that a handheld milk frother works wonders for this. It gets everything well combined and ensures there are no clumps of protein powder. If you do not have a frother, a small whisk will also do the job. Just mix until the base is completely smooth. This is the foundation of your Ninja Creami Recipes Protein.
Step 2: Freeze It Solid
Once your base is mixed, secure the lid on the pint container. Place it in the freezer on a level surface. Now comes the waiting game. For the best results, you need to freeze the pint for a full 24 hours. I know, it feels like a long time, but patience is key here.
Freezing it solid is what allows the Creami to do its thing. A properly frozen base is essential for that signature creamy texture. If the base is not frozen all the way through, you might end up with a soupy result. So, plan ahead and give it the full day to freeze.
Step 3: The First Spin
After 24 hours, it is time for the magic. Take the pint out of the freezer. The contents will be frozen like a solid block of ice. This is normal. I like to run the outside of the pint under hot water for about 60 to 90 seconds. This helps loosen it from the sides just a bit.
Next, remove the lid from the pint and place it in the outer bowl. Secure the outer bowl lid with the paddle, and lock it into your Ninja Creami machine. Select the ‘Lite Ice Cream’ button and let it run its cycle. It is going to be loud, but that is just the sound of deliciousness being made.
Step 4: Check And Respin
Once the first spin is done, remove the pint and take a look at the texture. Sometimes, it comes out looking a little powdery or crumbly. Do not worry. This is very common, especially with high protein bases. It just means it needs another spin.
If it is powdery, put it back in the machine and press the ‘Re-Spin’ button. This second spin usually does the trick, transforming the crumbly mixture into a smooth, scoopable ice cream. If it still is not creamy enough after the respin, you can add a tablespoon of milk and spin it one more time on the respin setting. But usually, the first respin is all you need.
Step 5: Add The Mix Ins
Now your ice cream base should be silky smooth. This is where you add the personality. Use a spoon to dig a small hole in the center of the ice cream, about an inch wide, all the way to the bottom. This is where your mix ins will go.
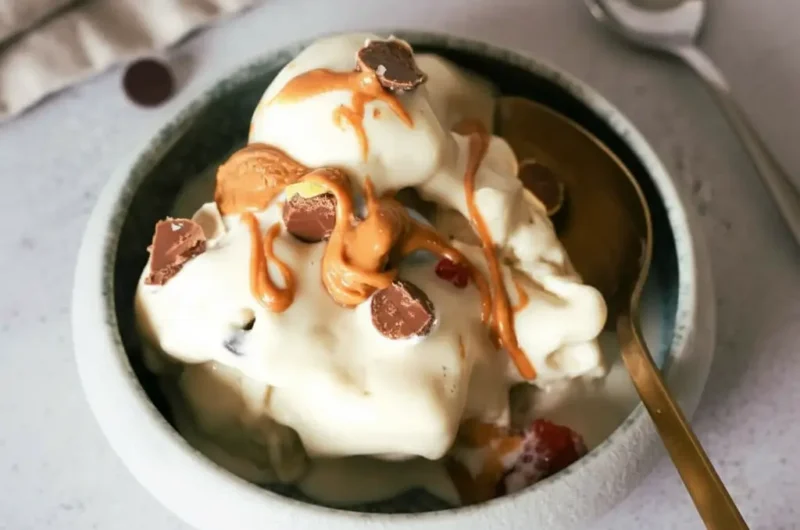
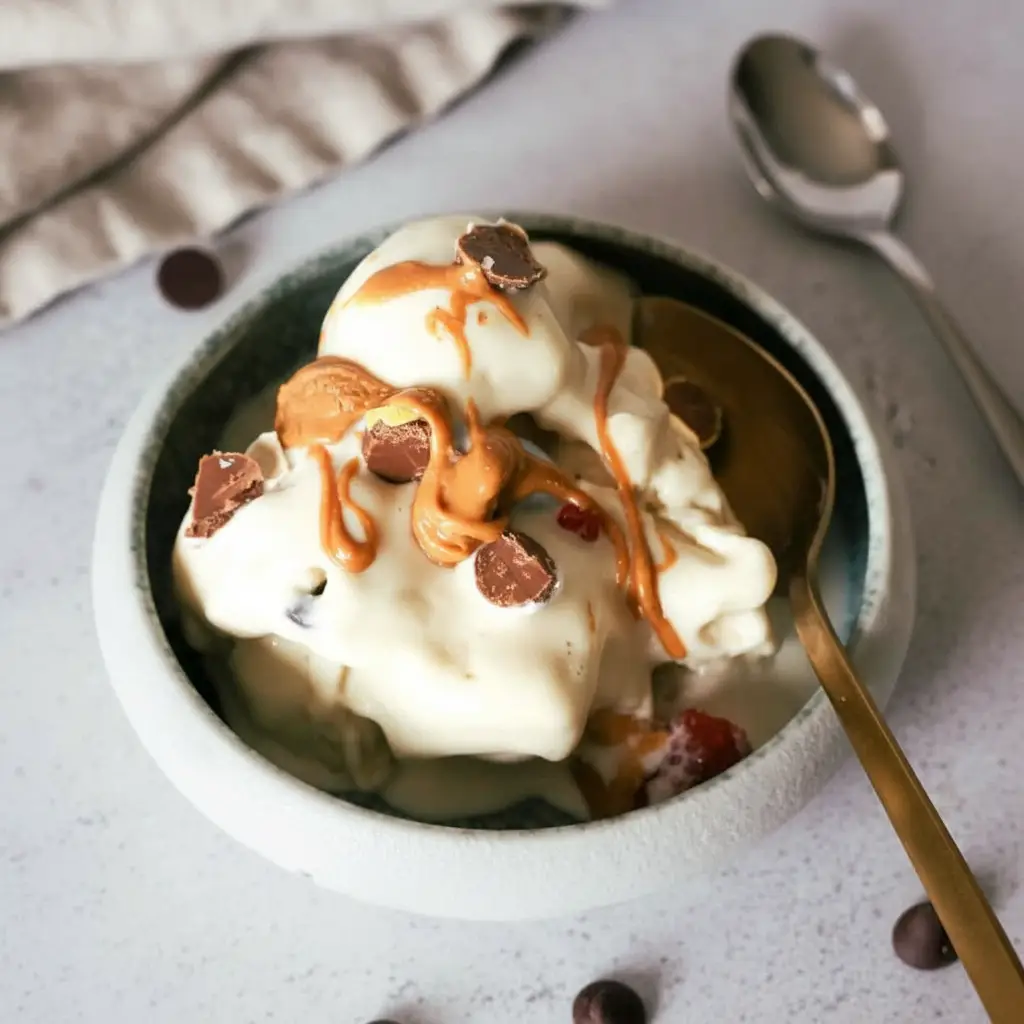
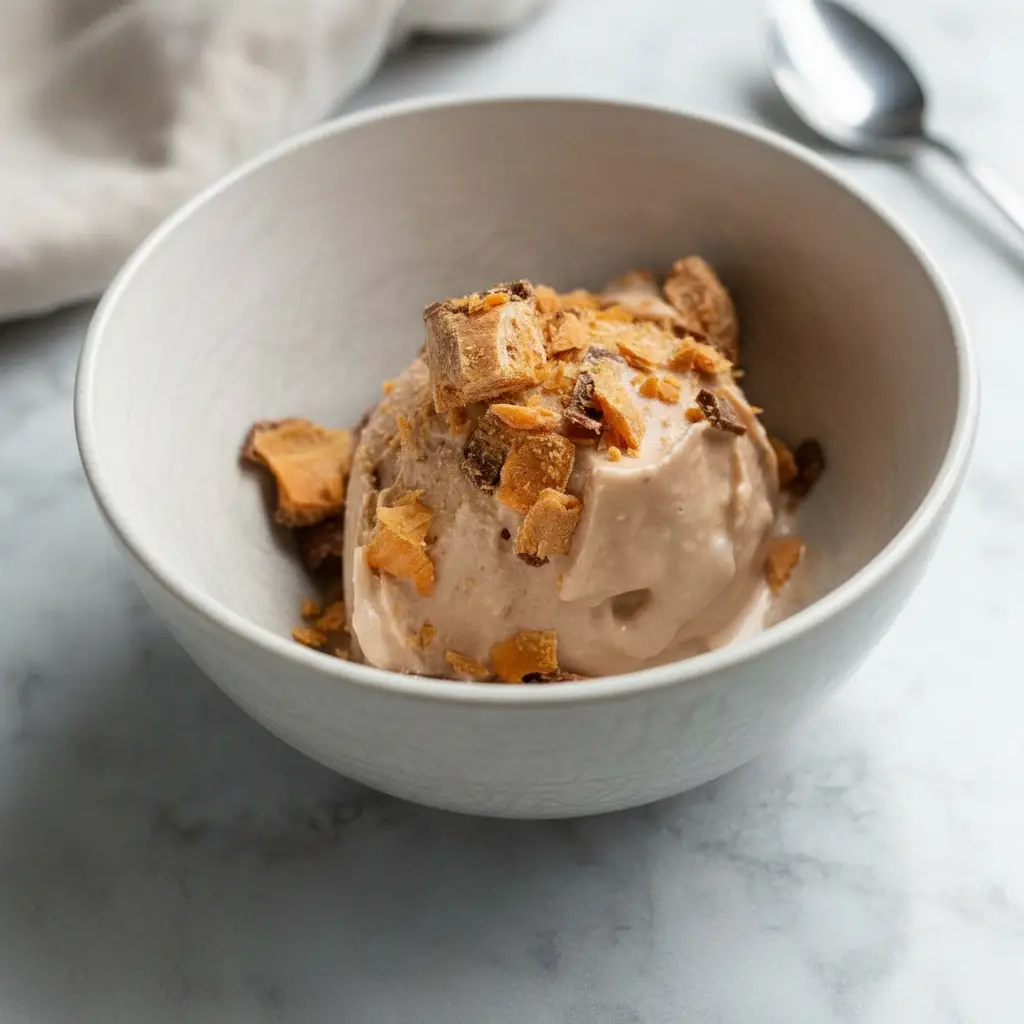
Add your chopped hazelnuts, the two Ferrero Rocher chocolates, and the tablespoon of Nutella into the hole. Try to get them down into the pint rather than just sitting on top. This ensures they get mixed in evenly. It is the final touch for your Ninja Creami Recipes Protein masterpiece.
Place the pint back into the machine and this time, press the ‘Mix-In’ button. The machine will run a short cycle to gently fold all of those yummy additions into your creamy ice cream. Once it is done, your Ferrero Rocher protein ice cream is ready to enjoy. Grab a spoon and dig in.
How To Store Leftovers
If you happen to have any leftovers, which is not always a guarantee, storing them is simple. Just smooth out the top surface of the ice cream in the pint as best you can. A flat surface helps it process better later.
Place the lid back on the pint and pop it back into the freezer. Just like the initial freeze, it will become a solid block again. When you are ready for another serving, you will need to reprocess it.
Simply take the frozen pint, place it back in the machine, and run it on the ‘Lite Ice Cream’ cycle again. You might need a respin as well. This will bring it right back to that creamy, delicious texture you enjoyed the first time. It makes enjoying your homemade Ninja Creami Recipes Protein easy anytime.
Tips
Here are a few extra tips to help you get the most out of your Ninja Creami Recipes Protein experience. These little tricks can make a big difference in the final product.
First, let’s talk about freezing time. While 24 hours is the gold standard for the best texture, sometimes you just cannot wait that long. If you have only frozen your base for 12 to 16 hours, you can still make it work. After the ‘Lite Ice Cream’ cycle, skip the respin button. Instead, go straight to the ‘Mix-In’ cycle. This prevents the partially frozen base from getting overworked and turning into soup.
Another common issue is a powdery texture after the first spin. Before you are tempted to add more milk, always try the respin button first. More often than not, that second spin is all it takes to bring everything together into a creamy consistency. Adding liquid too soon can sometimes make the ice cream too soft.
I also highly recommend prepping your mix ins ahead of time. I always chop or crush my nuts and candies before I even start the first spin. This way, as soon as the base is creamy, you can add your goodies and run the mix in cycle without any delay. It keeps the workflow smooth and gets the ice cream into your bowl faster.
Finally, do not be afraid to experiment with different protein powders. The type you use can affect both the flavor and texture of your Protein Ice Cream Recipes. Some powders absorb more liquid than others, so you might need to slightly adjust your liquid ratios. It is all part of the fun of creating your own custom flavors.
Conclusion
And there you have it. A truly tasty way to enjoy a high protein dessert that tastes anything but healthy. This Ferrero Rocher inspired recipe is a wonderful example of what makes the machine so great. It turns simple ingredients into something special.
Making your own Ninja Creami Recipes Protein at home is a fun and rewarding process. You get to control the ingredients, the flavors, and the macros. It is a fantastic tool for anyone who loves ice cream but wants to maintain a healthy lifestyle.
This recipe is a great starting point. Once you get the hang of it, you can start creating your own flavors. The possibilities are nearly endless. I hope you give this Ninja Cremini Recipes Protein a try. I have a feeling it is going to become a regular in your dessert rotation. Enjoy every spoonful.
FAQ
Can I Use A Different Type Of Milk?
Yes, you certainly can. Almond milk, soy milk, or oat milk can work as dairy free alternatives. Keep in mind that milks with lower fat and protein content, like unsweetened almond milk, might result in a slightly icier texture. You may need an extra respin or a small amount of a thickening agent like guar gum to get it creamy.
What If I Don’t Have Sugar Free Pudding Mix?
The pudding mix acts as a stabilizer and emulsifier, which helps create that smooth texture. If you do not have it, you can leave it out, but your ice cream might be a bit icier. As an alternative, you can try adding a tiny pinch (about 1/4 teaspoon) of guar gum or xanthan gum to the base before blending and freezing. This will serve a similar purpose.
Can I Make This With A Different Flavor Of Protein Powder?
Absolutely. This recipe is very versatile. A vanilla or caramel flavored protein powder would also be delicious with the hazelnut and chocolate mix ins. Feel free to experiment with your favorite protein flavors to create your own unique Ninja Creami Recipes Protein. The base recipe is a great canvas for your creativity.
My Ice Cream Is Still Icy, What Did I Do Wrong?
An icy texture is usually caused by one of a few things. First, make sure your base was frozen for at least 24 hours to be completely solid. Second, ensure you are using the respin cycle if it comes out powdery. Third, the fat and protein content can play a big role. Using skim milk and a protein isolate might lead to a more icy result than using whole milk or a protein blend. Adding the pudding mix or a bit of guar gum can help combat this.
Ferrero Rocher Protein Ice Cream (Ninja Creami)
A rich and creamy chocolate hazelnut protein ice cream inspired by Ferrero Rocher. This easy Ninja Creami recipe is packed with protein, making it a delicious and satisfying healthy dessert.
Ingredients
Instructions
- Mix Base: In a Ninja Creami pint container, combine the chocolate milk, chocolate protein powder, and sugar-free pudding mix. Whisk or use a milk frother until the mixture is completely smooth and no clumps remain.
- Freeze: Secure the lid on the pint and place it on a level surface in your freezer. Freeze for at least 24 hours until it is frozen solid.
- First Spin: Remove the pint from the freezer. Place it in the outer bowl, secure the paddle lid, and lock it into your Ninja Creami machine. Select the ‘Lite Ice Cream’ function and let it run a full cycle.
- Re-Spin if Needed: After the first spin, check the texture. If it appears powdery or crumbly, place the pint back in the machine and use the ‘Re-Spin’ function. This should result in a smooth, creamy texture.
- Add Mix-Ins: Create a small hole in the center of the ice cream base. Add the chopped hazelnuts, crushed Ferrero Rocher chocolates, and Nutella into the hole.
- Final Mix: Place the pint back into the machine and select the ‘Mix-In’ function. Once the cycle is complete, your protein ice cream is ready to serve and enjoy.
Notes
For the creamiest texture, ensure the base is frozen for a full 24 hours on a level surface.
If the ice cream is powdery after the first spin, always try the ‘Re-Spin’ function before adding any extra liquid.
Feel free to use your favorite brand of chocolate protein powder. The flavor of the powder will significantly influence the final taste.
Using ultra-filtered milk like Fairlife is recommended as its higher protein content contributes to a smoother, creamier base.
Nutrition
Calories
Sugar
Fat
Carbs