Have you ever found yourself staring into the freezer, craving a scoop of cold, creamy ice cream, but your health goals are staring right back at you? I have been there more times than I can count. It feels like you have to choose between a satisfying treat and your fitness journey. But what if I told you that you don’t have to choose?
That is where the magic of the Ninja Creami comes in. This amazing machine lets you create incredible desserts that are both delicious and good for you. Today, we are diving into one of my favorite Ninja Creami recipes protein forward and full of flavor. Get ready to enjoy ice cream without any of the guilt. It is a total win.
Jump To:
Why You’ll Love This Recipe
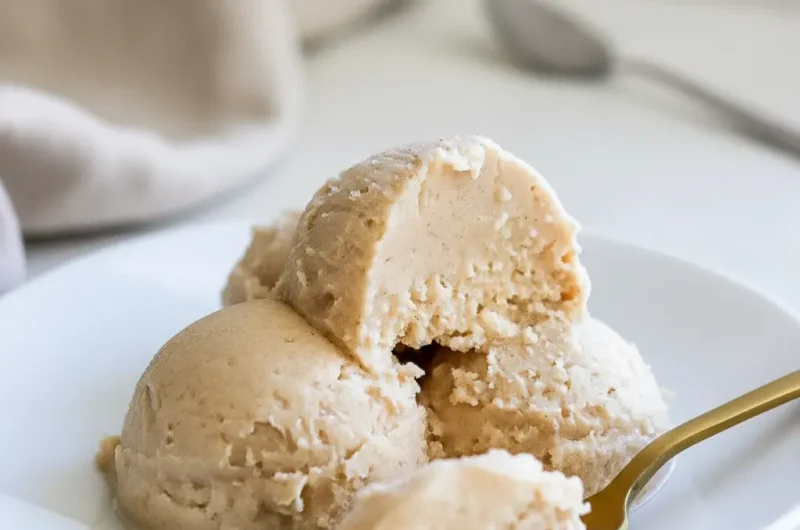
Honestly, what is not to love about homemade protein ice cream? This recipe is a standout for so many reasons. First off, the texture is out of this world. It is so smooth and creamy, you will forget it is actually packed with protein. It is one of those Ninja Ice Cream Recipes Healthy eaters dream about.
It is also incredibly easy to make. You just mix a few simple ingredients, freeze the base, and let the machine do all the hard work. This is a fantastic recipe for beginners who are just getting started with their Ninja Creami. You really cannot mess it up.
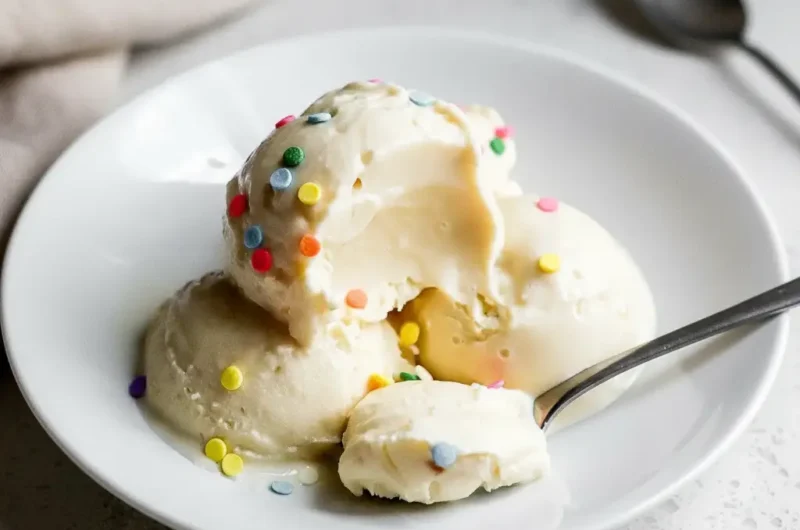
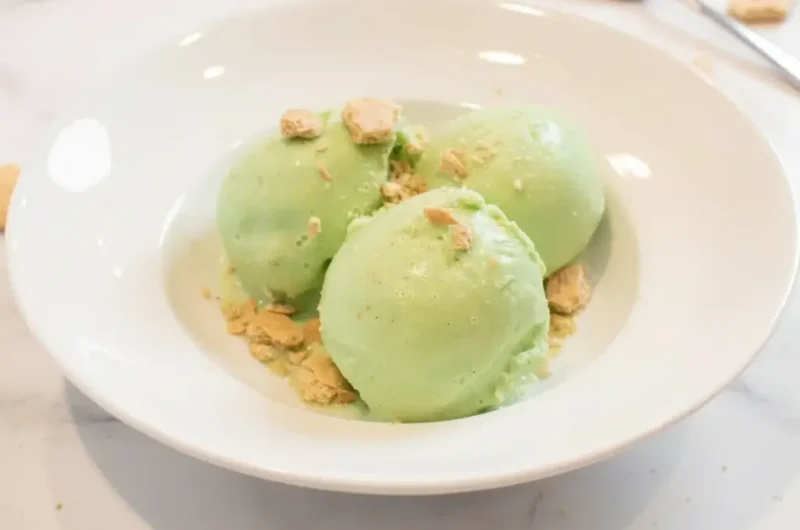
Another great thing is how customizable it is. This vanilla base is the starting point for endless flavor combinations. You can add in whatever mix ins you are craving, from chocolate chips to crushed cookies. It is your personal ice cream parlor right in your kitchen.
And let’s talk about the health benefits. This is a dessert you can feel good about eating. It is a fantastic way to satisfy your sweet tooth while also getting a solid dose of protein. It is the kind of treat that works with your body, not against it. That’s why I love making Ninja Creami recipes protein based.
This particular recipe has become a staple in my routine. A good Ninja Creami recipes protein can make hitting your goals so much more enjoyable. It feels like a treat, but it is helping you build muscle and stay full. It is the best of both worlds, really.
You will find that many Protein Ice Cream Recipes can have a chalky or icy texture. Not this one. The secret is in the method and the ingredients we use. The result is a dessert that is just as satisfying as any pint you would buy at the store, but with a much better nutrition profile.
Ingredients
The beauty of this recipe is its simplicity. You only need a handful of ingredients to create a delicious and healthy base. Each one plays an important role in creating that creamy texture we all crave. Let us look at what you will need for one of the best Ninja Creami recipes protein treats.
- 1 ½ cups homemade almond milk
- 1 tbsp sugar free vanilla jello pudding mix
- 1 scoop plant based vanilla protein powder
- ½ tsp vanilla extract
- Pinch of salt
The pudding mix is a key player here. It helps to thicken the base and prevents large ice crystals from forming. This gives you a much smoother final product. The pinch of salt might seem small, but it really helps to balance the sweetness and enhance the vanilla flavor. Making great Ninja Creami recipes protein is all about these little details.
Step By Step Instructions
Ready to make some magic? Following these steps will give you a delicious pint of protein ice cream every single time. Let’s walk through the process together. It is easier than you think to create wonderful Ninja Creami recipes protein filled desserts.
Step 1: Mix Your Base
First things first, grab your Ninja Creami pint container. Pour all of your ingredients directly into it. That includes the almond milk, pudding mix, protein powder, vanilla extract, and salt. Make sure you do not fill it past the max fill line printed on the side. This is very important for the machine to work correctly.
Next, take a handheld frother and mix everything together. You want to blend it until the powder is fully dissolved and the mixture is smooth. If you do not have a frother, a small whisk will also work. Just make sure there are no clumps left behind. A smooth base is the foundation of all good Ninja Creami recipes protein.
Step 2: Freeze It Solid
Once your base is mixed, secure the lid on the pint container. Now for the hardest part, the waiting game. Place the pint in your freezer on a level surface. You need to let it freeze for a full 24 hours. I know it is tempting to check it early, but patience is key here. The base needs to be completely frozen solid for the Creami to work its wonders.
This freezing process is crucial for amazing Protein Ice Cream Recipes. If the base is not frozen all the way through, you will end up with a soupy result instead of a creamy one. So, set a timer and find something else to do for a day. It will be worth it, I promise.
Step 3: The First Spin
After 24 hours, it is time for the fun to begin. Take the pint out of the freezer. Sometimes the container can be a little frosty, so I like to run it under hot water for about 60 seconds. This just helps loosen it up a bit before it goes into the machine.
Remove the lid and place the pint into the outer bowl of your Ninja Creami. Secure the lid with the paddle and lock it into the machine. Now, press the Lite Ice Cream button. The machine will be loud, but that is just the sound of deliciousness being made. This is the most exciting part of making Ninja Creami recipes protein.
Step 4: Check and Respin
Once the cycle is finished, remove the pint and take a look. Sometimes, the first spin can result in a powdery or crumbly texture. Do not worry if this happens. It is completely normal, especially with lower fat bases like the ones used in many Ninja Ice Cream Recipes Healthy style.
If it does look powdery, simply put the pint back into the machine and press the Respin button. Let it go through another cycle. You can repeat this process a couple of times until you reach your desired level of creaminess. For me, it usually takes one or two respins to get it just right.
If it is already creamy after the first spin, that is great. You can move on to the next step. Creating the best Ninja Creami recipes protein is all about getting that texture just right.
Step 5: Add Your Mix Ins
Once you are happy with the creamy texture, it is time to customize. Use a spoon to make a deep hole in the center of the ice cream, going almost to the bottom. This is where you will add your mix ins.
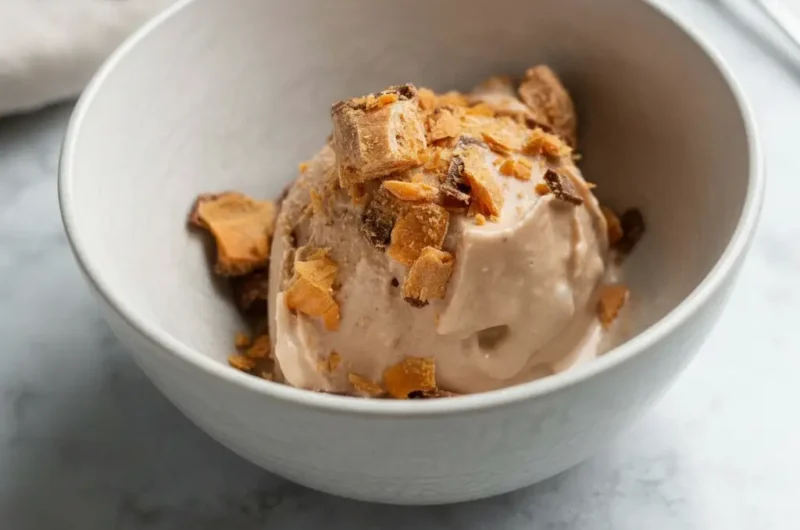
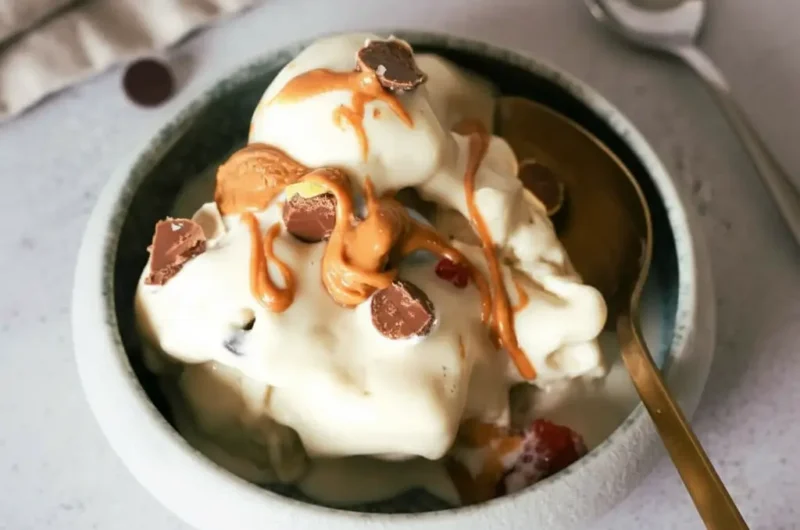
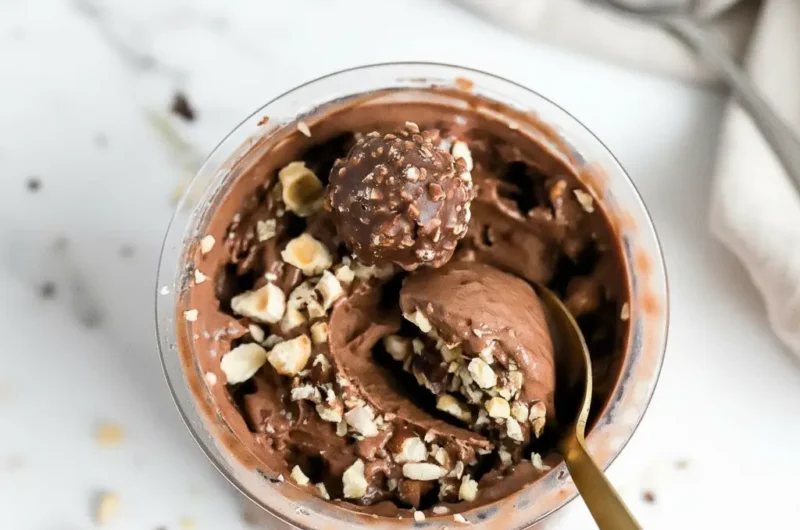
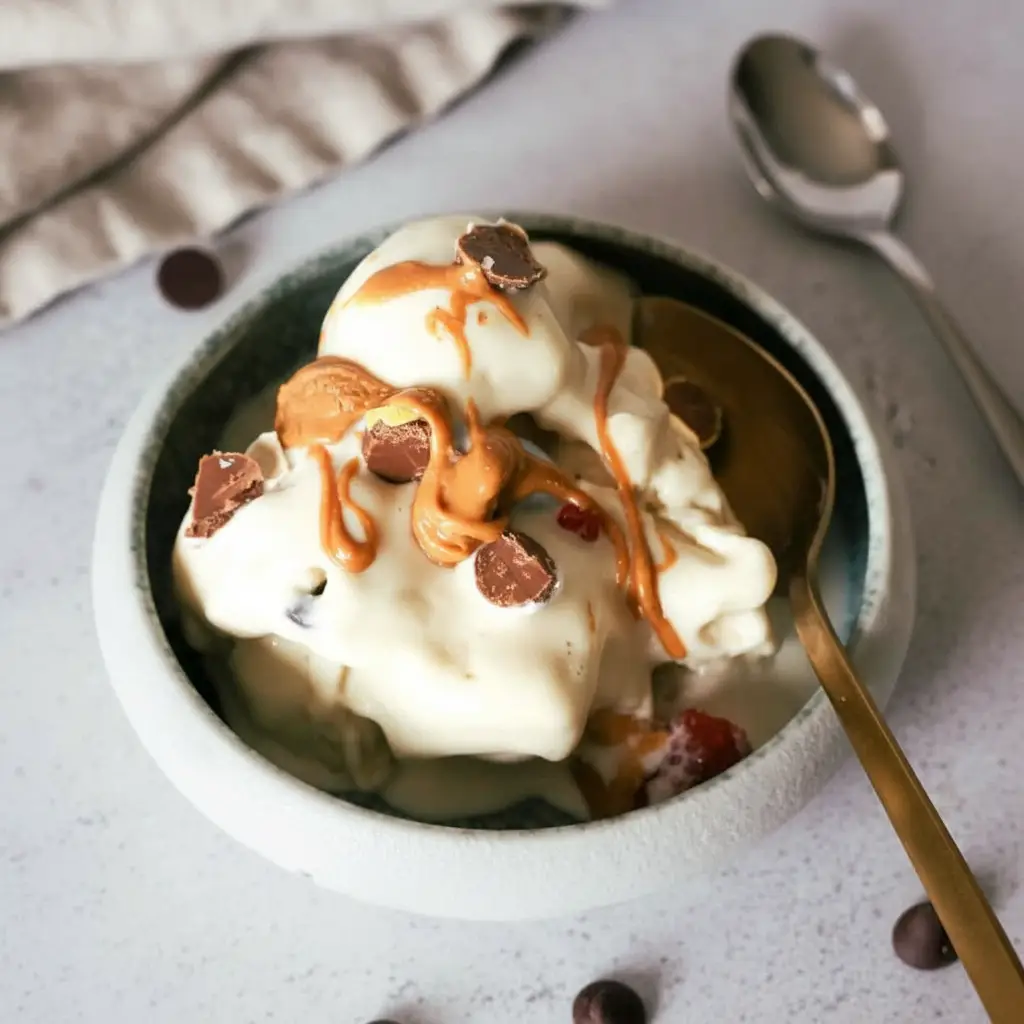
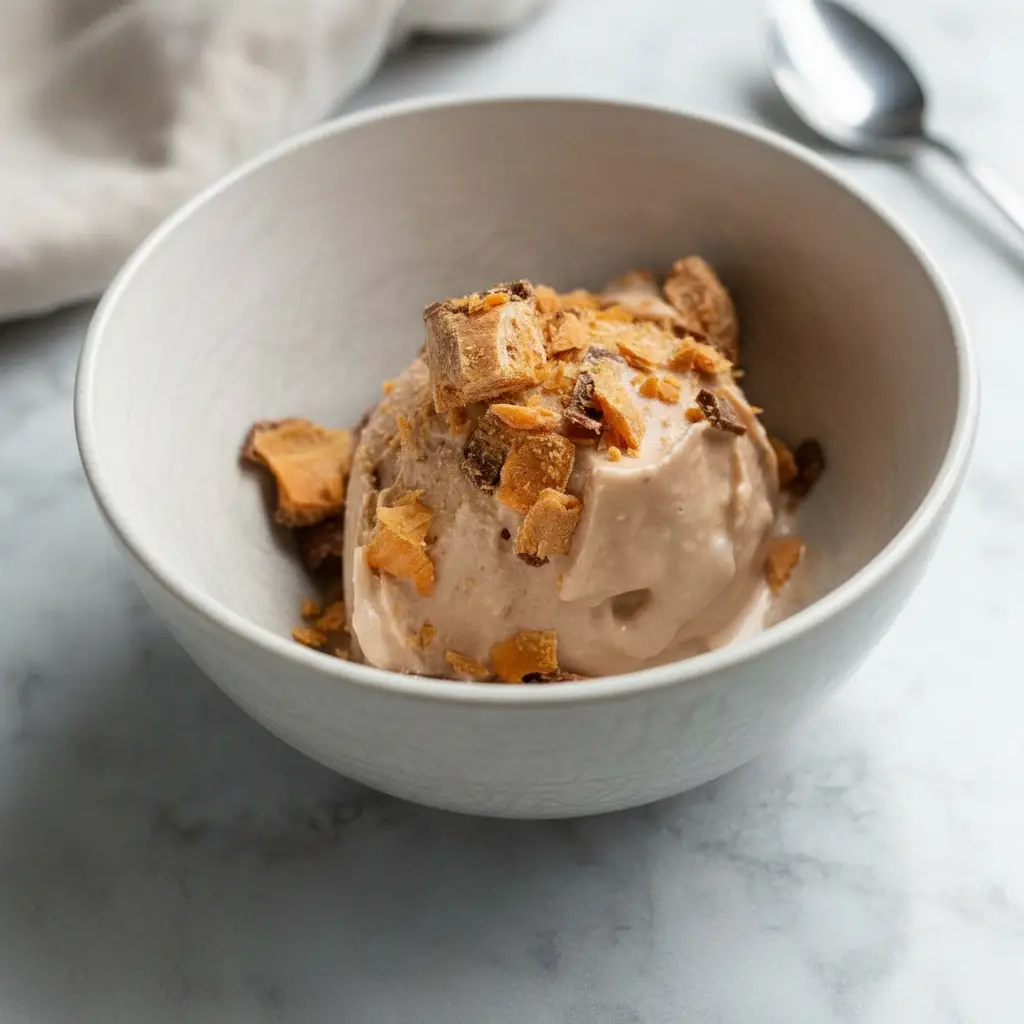
Feel free to get creative here. Dark chocolate chips, crushed cookies, a swirl of peanut butter, or some fresh berries are all amazing options. Add your chosen goodies into the hole you created. Do not overfill it, just a good amount will do.
Place the pint back into the machine and press the Mix In button. This cycle is much shorter and will evenly distribute your additions throughout the ice cream. And that is it. Your very own custom protein ice cream is ready to enjoy immediately. This is the final touch on your Ninja Creami recipes protein masterpiece.
How To Store Leftovers
If you somehow have leftovers, storing them is easy. The best way to do it is to smooth out the top of the ice cream in the pint container as flat as you can get it. This helps prevent ice crystals from forming and keeps it fresh.
Then, just pop the original lid back on and place it back in the freezer. Make sure it is on a level surface again. Storing your Ninja Creami recipes protein properly ensures they are just as good the next day.
When you are ready for another scoop, you will likely need to process it again. Just take it out of the freezer, place it in the machine, and use the Lite Ice Cream or Respin function until it is creamy again. It will be just as good as when you first made it.
Tips
Want to make your protein ice cream even better? Here are a few tips I have learned along the way. These little tricks can make a big difference in your final product. They are great for any Ninja Creami recipes protein you try.
First, make sure your freezer is cold enough. A very cold freezer ensures the base freezes completely solid, which is essential for a creamy texture. A level surface is also a must to prevent the machine’s blade from getting damaged.
Do not be afraid to experiment with different protein powders. While this recipe calls for a plant based one, you can use whey or casein as well. Each type will give a slightly different texture, so see what you like best. This is a fun part of developing your own Ninja Creami recipes protein.
Let’s talk about milk alternatives. This recipe uses almond milk, but other milks work great too. A very popular option is using Fairlife milk. A Fairlife Ice Cream Recipe base is often creamier because the milk is higher in protein and ultra filtered. It is a fantastic choice if you have it available.
When it comes to mix ins, add them at the end for the best results. If you mix them in before the first spin, they can get pulverized and change the texture of the ice cream itself. The Mix In cycle is designed to gently incorporate them.
Finally, taste your base before you freeze it. This gives you a chance to adjust the sweetness or flavor. You might want a little more vanilla or a touch of sweetener. Getting it right before freezing is much easier. These are the secrets to the best Protein Ice Cream Recipes.
Conclusion
And there you have it. A simple, delicious, and healthy way to enjoy ice cream whenever you want. These Ninja Creami recipes protein packed treats are a fantastic way to support your health goals without feeling deprived. It is amazing what you can create with just a few ingredients and a little bit of patience.
I really hope you give this recipe a try. Once you experience how easy it is to make your own Ninja Ice Cream Recipes Healthy style, you will be hooked. It opens up a whole new world of dessert possibilities, all from the comfort of your own kitchen.
So go ahead, whip up a pint, and enjoy a scoop of creamy goodness. You deserve a treat that is both delicious and nourishing. Happy churning, and I hope you love this Ninja Creami recipes protein ice cream as much as I do.
FAQ
Can I Use a Different Type of Milk?
Yes, absolutely. While this recipe uses almond milk, you can substitute it with almost any milk you prefer. Dairy milk, soy milk, cashew milk, and oat milk all work well. For an even creamier and higher protein option, try making a Fairlife Ice Cream Recipe by swapping the almond milk for Fairlife milk.
Why Is My Ice Cream Powdery?
A powdery or crumbly texture is very common after the first spin, especially with low fat and high protein bases. It just means the mixture needs a little more processing to become creamy. Simply use the Respin function. One or two respins should smooth it out perfectly for your Ninja Creami recipes protein.
What Protein Powder Works Best?
Most protein powders will work, but some create a better texture than others. Whey and casein blends tend to produce a very creamy result. Plant based powders, like the one in this recipe, also work great. The key is to use a powder you enjoy the taste of, as it is a primary flavor in these Protein Ice Cream Recipes.
Can I Make This Without The Pudding Mix?
You can, but I highly recommend keeping it in. The sugar free pudding mix acts as a stabilizer and emulsifier. It helps prevent large ice crystals from forming, which is what gives the ice cream its smooth, creamy texture. You can try using a little xanthan gum or guar gum as a substitute if you prefer.
How Can I Make Other Vanilla Ninja Creami Ice Cream Recipes Protein Flavors?
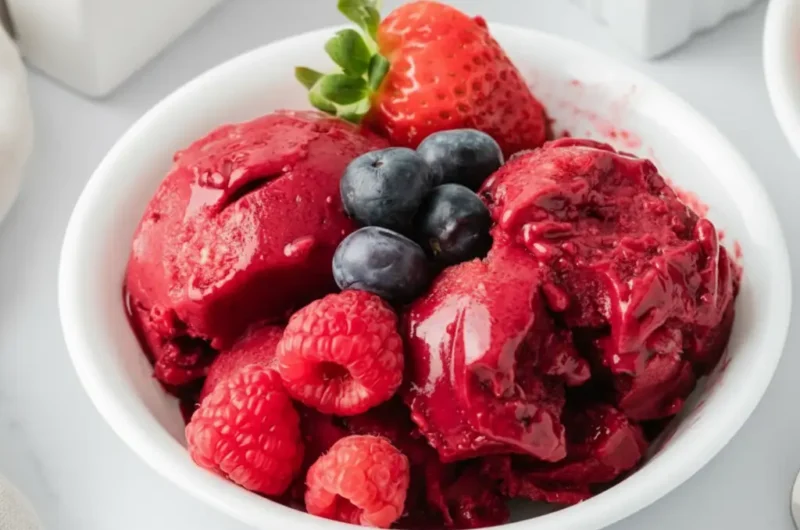
This vanilla base is the starting point for so many flavors. For a chocolate version, add a tablespoon of cocoa powder to the base before freezing. For strawberry, blend in a few fresh or frozen strawberries. The possibilities for delicious Vanilla Ninja Creami Ice Cream Recipes Protein variations are endless. Have fun experimenting.
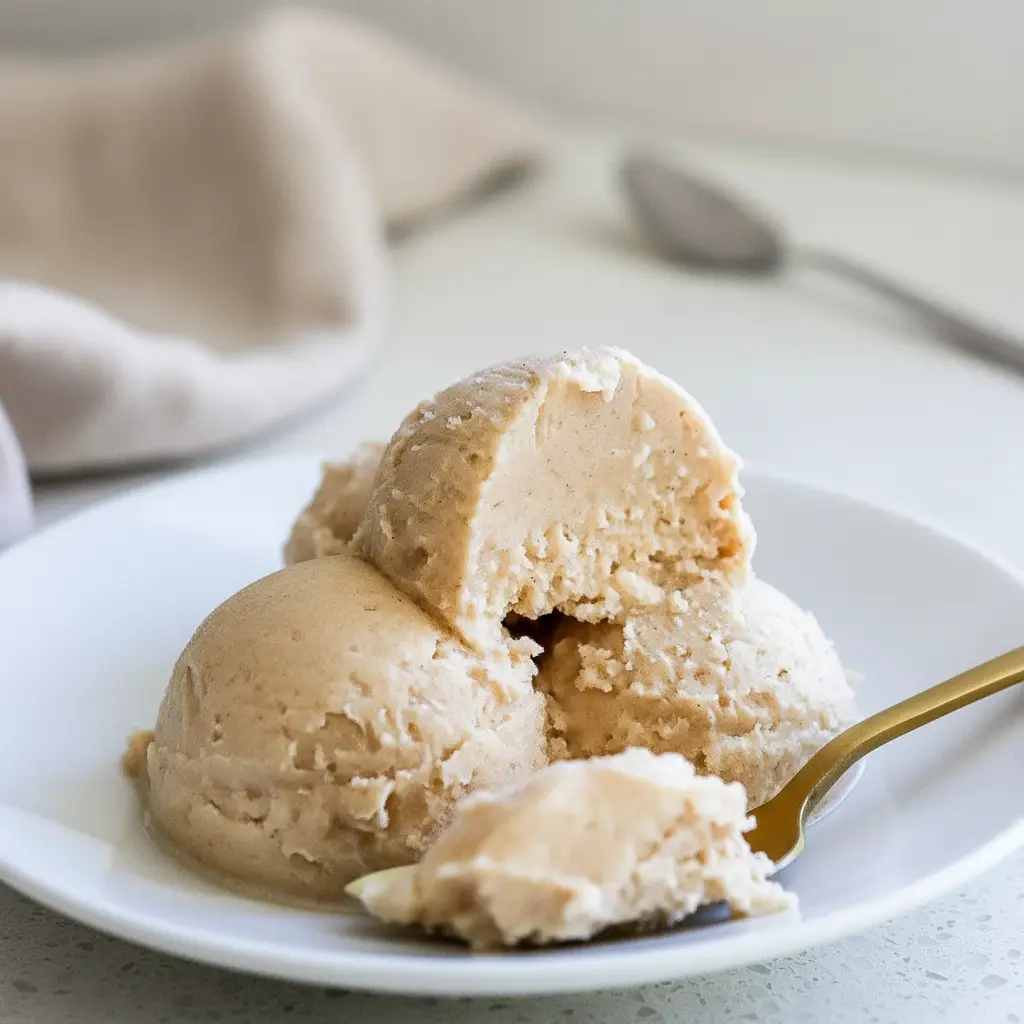
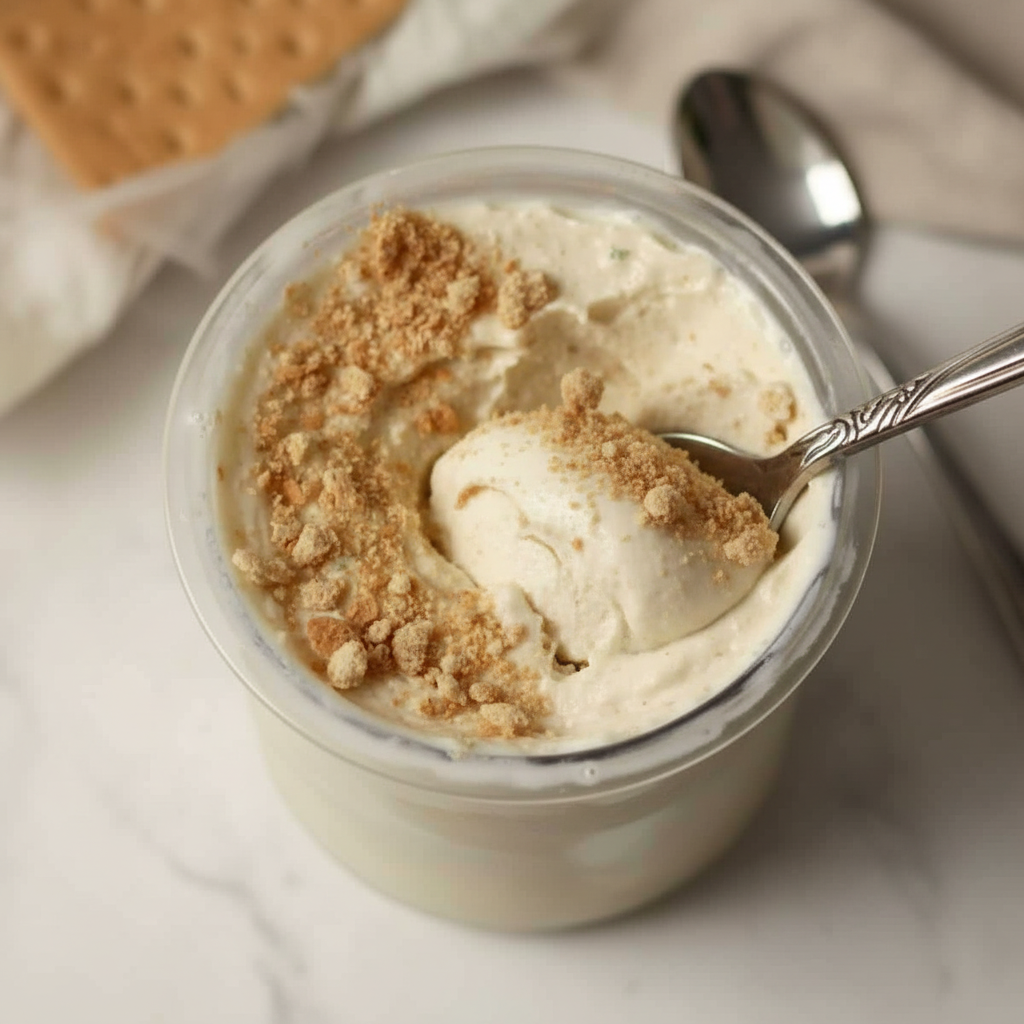
Creamy Protein Ice Cream (Ninja Creami)
A simple and delicious recipe for homemade protein ice cream using the Ninja Creami. This healthy treat is smooth, creamy, and packed with flavor, making it a great way to satisfy your sweet tooth.
Ingredients
Instructions
- Pour all ingredients directly into the Ninja Creami pint container: almond milk, pudding mix, protein powder, vanilla extract, and salt. Do not fill past the max fill line.
- Using a handheld frother or small whisk, mix everything together until the powder is fully dissolved and the mixture is smooth.
- Secure the lid on the pint and place it on a level surface in the freezer. Freeze for a full 24 hours until completely solid.
- Remove the frozen pint, place it into the outer bowl of your Ninja Creami, and lock it into the machine. Press the ‘Lite Ice Cream’ button to process.
- After the first spin, check the texture. If it’s powdery or crumbly, place it back in the machine and press the ‘Respin’ button. Repeat until the ice cream is smooth and creamy.
- To add mix-ins, create a hole in the center of the ice cream, add your desired toppings (like chocolate chips or cookies), and process using the ‘Mix In’ button.
- Serve immediately and enjoy your homemade protein ice cream.
Notes
For an even creamier result, try substituting almond milk with Fairlife milk, which is higher in protein.
Ensure your freezer is very cold and the pint container is on a level surface to prevent damage to the machine’s blade.
Don’t be afraid to experiment with different types of protein powder. Whey or casein blends also produce a great texture.
Always add mix-ins at the end using the ‘Mix In’ function to prevent them from being pulverized during the initial spins.
Nutrition
Calories
Sugar
Fat
Protein