Have you ever wanted to make delicious, creamy ice cream right in your own kitchen? If you have a Ninja Creami, you are in for a real treat. It makes creating frozen desserts so simple. You will be amazed at what you can do.
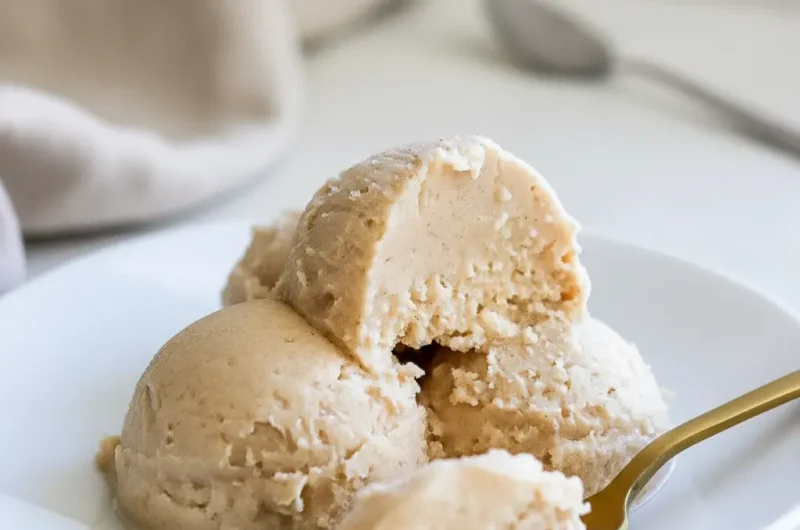
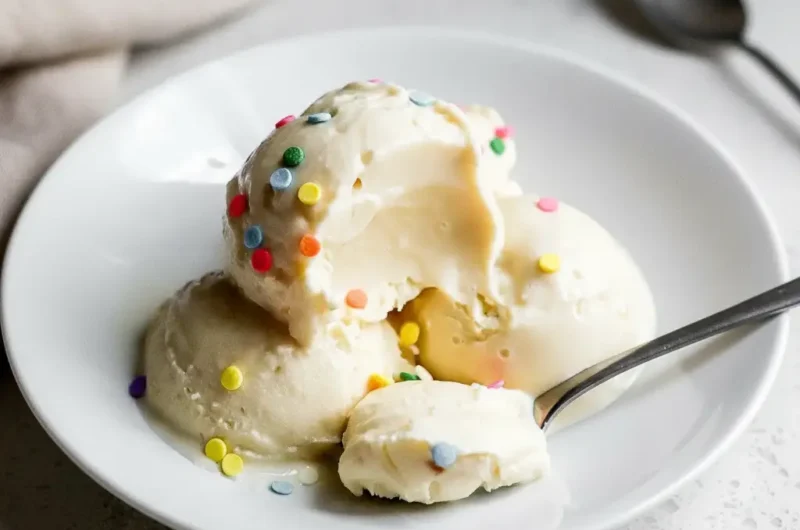
This Ninja Creami Vanilla Ice Cream recipe is a fantastic place to start. It’s a classic for a reason. The flavor is rich and the texture is unbelievably smooth. Forget store bought pints. This homemade version is so much better and a lot more fun to make.
Jump To:
Why You’ll Love This Recipe
First off, this recipe is incredibly easy. You only need a handful of simple ingredients to get started. There are no complicated steps or techniques. It is truly a straightforward process anyone can follow.
The texture is another huge win. Thanks to the way the Ninja Creami works, this ice cream comes out so smooth and creamy. The cream cheese in the base is a simple addition that gives it a professional quality feel. It helps prevent ice crystals from forming.
You will get a rich, authentic vanilla flavor. Using good quality vanilla extract really makes a difference here. It provides a taste that is both comforting and delightful. It’s the kind of flavor that brings back happy memories.
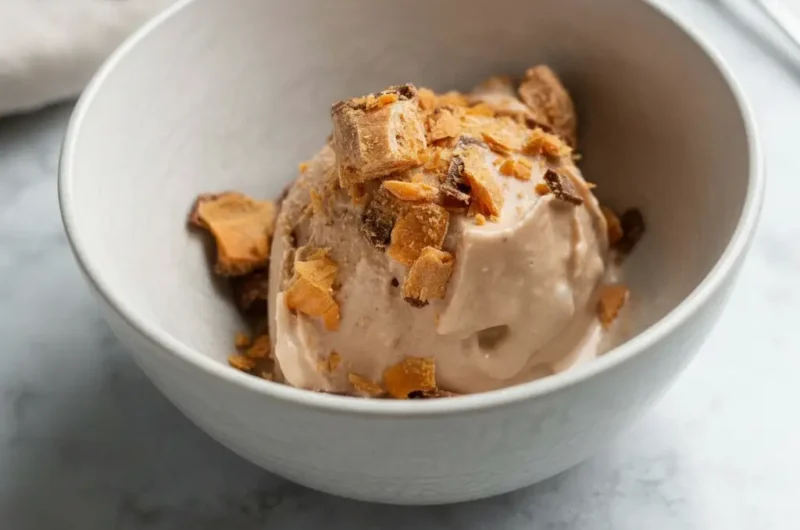
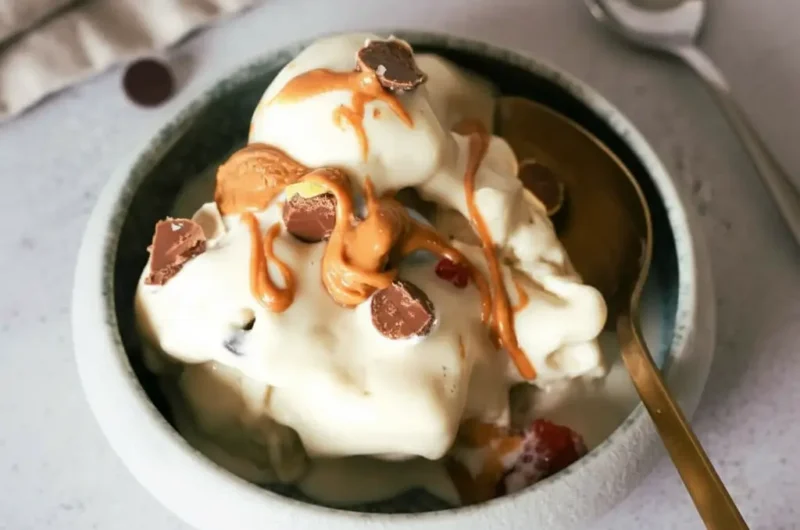
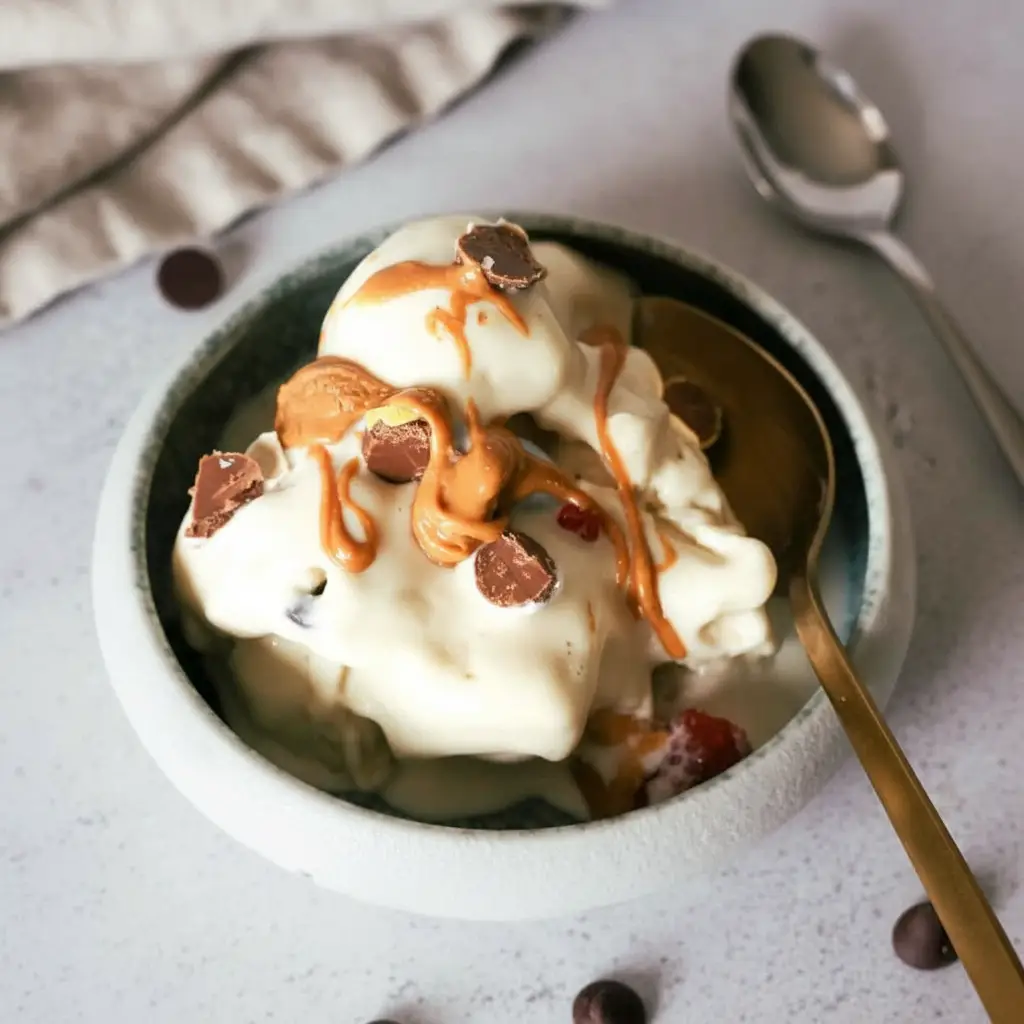
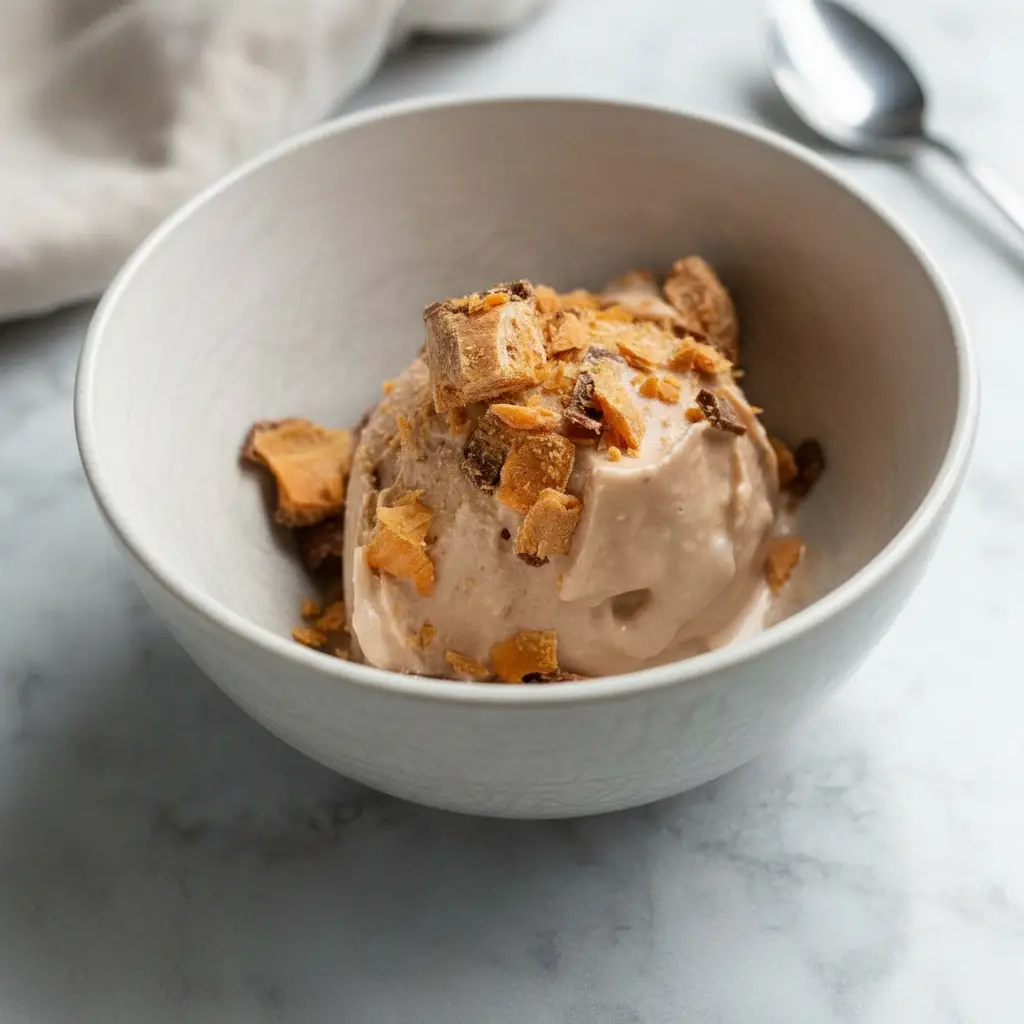
This Ninja Creami Vanilla Ice Cream is also super versatile. It’s amazing on its own, but it also serves as a wonderful base. You can add all sorts of mix ins like chocolate chips, crushed cookies, or a swirl of caramel sauce. The possibilities are endless.
It is one of the best Ninja Creami recipes for beginners. If you are new to your machine, this is a great recipe to build your confidence. It shows you just how easy it is to make amazing frozen treats at home.
Ingredients
Let’s talk about what you need. The list is short and sweet, which is always a bonus. Each ingredient plays an important role in creating that wonderful texture and flavor. Here is what you will need for your Ninja Creami Vanilla Ice Cream.
- 1 Tablespoon (1/2 ounce) cream cheese
- 1/3 cup granulated sugar
- 1 1/2 teaspoons vanilla extract
- 1 cup whole milk
- 3/4 cup heavy whipping cream
A quick note on these items. The cream cheese is key for a smooth consistency. The combination of whole milk and heavy cream provides the perfect amount of fat for a rich, satisfying ice cream. It is what makes this feel so luxurious.
Step By Step Instructions
Ready to make some ice cream? Following these steps will give you a flawless pint every time. Let’s walk through it together. It’s easier than you think.
Step 1: Combine Cream Cheese, Sugar, and Vanilla
First, you will want to soften your cream cheese. Place it in a microwave safe bowl and heat it for just about 10 seconds. You are not trying to melt it, just make it soft enough to mix easily.
Next, add the granulated sugar and vanilla extract to the bowl with the softened cream cheese. Grab a silicone spatula or a wooden spoon. Mix these ingredients together until they form a thick, well combined paste. Make sure there are no lumps of cream cheese left.
Step 2: Mix in the Milk and Cream
In a separate measuring cup, combine your whole milk and heavy cream. Give them a little stir. Now, you will slowly add this liquid to your cream cheese mixture. This is an important step for a smooth base.
Start by adding just a couple of tablespoons of the milk and cream mixture. Stir it into the paste until it’s fully incorporated. It might look a little strange at first, but keep mixing. Continue adding the liquid a little at a time, mixing well after each addition.
Once all the liquid is added, keep stirring until you are sure the sugar has completely dissolved. You should not feel any gritty texture. The final mixture will be a smooth, thin liquid. This will be the base for our delicious Ninja Creami Vanilla Ice Cream.
Step 3: Freeze the Mixture
Pour your prepared ice cream base into a Ninja Creami pint container. Secure the lid tightly. Now for the hardest part, waiting! Place the pint in your freezer for at least 24 hours.
Make sure you place it on a level surface. This helps the base freeze evenly, which is important for the machine to process it correctly. An uneven surface can cause issues later on.
Step 4: Process in the Ninja Creami
After 24 hours, your pint is ready. Take it out of the freezer and remove the lid. Place the pint into the outer bowl of your Ninja Creami machine. Secure the processing lid on top.
Insert the bowl assembly into the machine. It should lock into place with a twist. Now, select the Ice Cream function. The machine will work its magic for about two minutes. It is loud, but it is doing something amazing.
Step 5: Serve and Enjoy
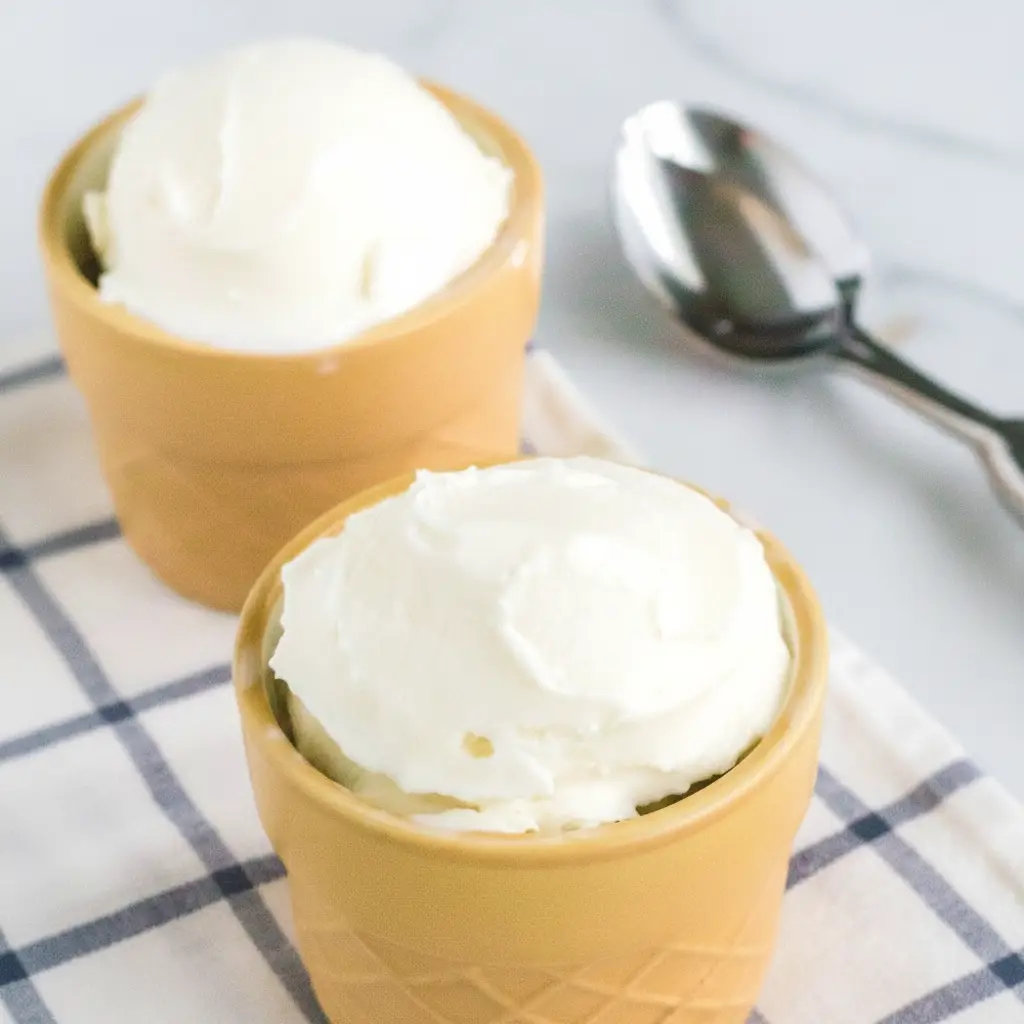
Once the cycle is complete, unlock the bowl assembly and remove it from the machine. Take off the lid and look at that beautiful ice cream. You just made a pint of wonderful homemade Ninja Creami Vanilla Ice Cream. Scoop it out and enjoy immediately.


How To Store Leftovers
If you somehow have leftovers, storing them is simple. Just smooth the top of the ice cream in the pint container to make it level. Place the original storage lid back on and pop it back into the freezer.
When you are ready for another scoop, the ice cream will likely be very hard. Do not worry. This is normal. Just place the pint back in the machine and use the Re Spin function. This will bring it back to that perfectly scoopable, creamy texture.
Storing it properly ensures your hard work doesn’t go to waste. You can enjoy your homemade treat for several days. This is a big reason why having a few extra pints on hand is a great idea for any Creami owner.
Tips
Here are a few extra tips to make your ice cream experience even better. These little tricks can help you get the best results every time you make one of your favorite Ninja vanilla ice cream recipes.
Sometimes after the first spin, your ice cream might look a bit crumbly or powdery. This is very common. The first thing to try is the Re Spin function. Run it through one more cycle. Often, this is all it needs to become smooth and creamy.
If it is still crumbly after a Re Spin, add about one tablespoon of milk to the pint. Then, run the Re Spin cycle again. This little bit of extra liquid almost always fixes the texture. It helps the ingredients come together perfectly.
Want to make this recipe dairy free? You absolutely can. Use unsweetened oat milk instead of regular milk. For the heavy cream, use unsweetened coconut cream. And for the cream cheese, just grab a vegan variety. The results are just as tasty.
The quality of your vanilla extract matters a lot. Since vanilla is the star flavor, using a pure, high quality extract will make your ice cream taste so much better. It’s a small thing that makes a big impact on the final product.
Feel free to get creative with mix ins. After the initial Ice Cream cycle, you can add things like mini chocolate chips, sprinkles, or cookie chunks. Just make a well in the center, add your goodies, and use the Mix In function. This is how you customize your Ninja Creami Vanilla Ice Cream.
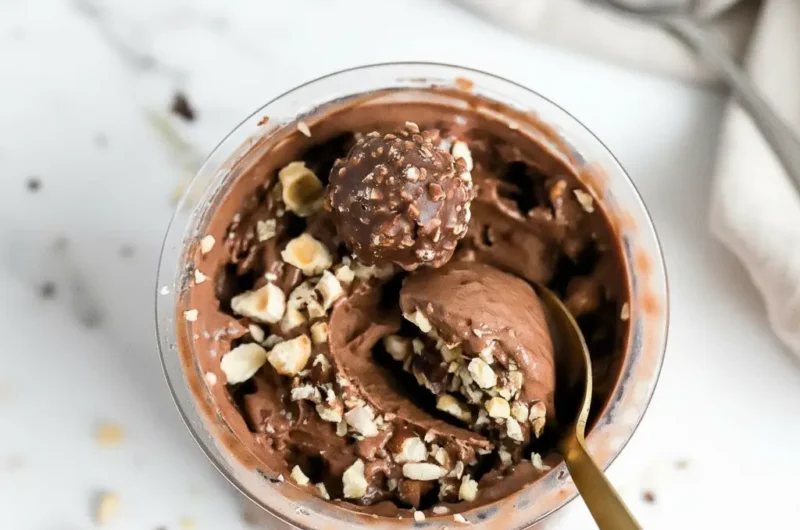
This ice cream base is similar in texture to what you would find in a Ninja Creami gelato recipe. It’s dense and flavorful. Enjoy that rich quality.
Conclusion
And there you have it. A simple yet incredibly satisfying recipe for Ninja Creami Vanilla Ice Cream. It is a wonderful introduction to what your machine can do. It’s also a reliable classic you will come back to again and again.
Making your own ice cream at home is a rewarding experience. You control the ingredients and the final product. This recipe is a fantastic starting point for your frozen dessert adventures. We hope you love this creamy, dreamy vanilla ice cream as much as we do.
There are so many Ninja vanilla ice cream recipes out there, but this one is a true keeper. Happy churning!
FAQ
Why Is My Ice Cream Crumbly?
A crumbly or powdery texture is common after the first spin. It usually means the ice cream is very cold and the fat hasn’t fully emulsified. Try using the Re Spin function first. If that does not work, add one tablespoon of milk and use the Re Spin function again. This should make it smooth and creamy.
Can I Make This Recipe Dairy Free?
Yes, you can easily adapt this recipe. For a dairy free version, use a vegan cream cheese substitute. Swap the whole milk for an unsweetened oat milk. Instead of heavy cream, use full fat, unsweetened coconut cream. The process remains the same, and the result is just as delicious.
How Long Does It Really Need To Freeze?
For the best results, you need to freeze the ice cream base for a full 24 hours. This ensures the base is frozen solid all the way through. If it is not frozen enough, the machine cannot process it into the correct texture. Patience is key.
Can I Use a Different Type of Milk?
You can experiment with other types of milk, but the texture might change. Whole milk provides the ideal fat content for creamy ice cream. Using a lower fat milk like 2% or skim could result in a more icy texture. Fat is very important in ice cream making.
What If I Don’t Have Cream Cheese?
The cream cheese acts as a stabilizer, making the ice cream smoother and less icy. If you do not have it, you can leave it out, but the final texture might be slightly different. Some people use a small amount of pudding mix or another stabilizer as a substitute in other best Ninja Creami recipes.
Ninja Creami Vanilla Ice Cream
This simple Ninja Creami recipe creates a classic vanilla ice cream with a rich flavor and an unbelievably smooth texture. It’s an easy and delicious homemade dessert that’s fantastic on its own or with your favorite mix-ins.
Ingredients
Instructions
- In a microwave-safe bowl, soften the cream cheese for about 10 seconds. Add the granulated sugar and vanilla extract, then mix with a spatula until a smooth, well-combined paste forms.
- Slowly add the whole milk and heavy cream to the cream cheese mixture, a little at a time, stirring well after each addition. Continue mixing until the sugar is completely dissolved and the base is smooth.
- Pour the ice cream base into a Ninja Creami pint container and secure the lid tightly.
- Place the pint on a level surface in your freezer and freeze for at least 24 hours until solid.
- Remove the pint from the freezer, place it in the outer bowl of the Ninja Creami machine, and secure the processing lid.
- Insert the bowl assembly into the machine and select the ‘Ice Cream’ function.
- Once the cycle is complete, remove the pint and serve your homemade vanilla ice cream immediately.
Notes
If the ice cream appears crumbly after the first spin, use the Re-Spin function. If it remains crumbly, add 1 tablespoon of milk and Re-Spin again.
For the best flavor, use a high-quality pure vanilla extract, as it is the main flavor of the recipe.
Feel free to add mix-ins like chocolate chips, sprinkles, or crushed cookies by using the ‘Mix-In’ function after the initial processing cycle is complete.
Nutrition
Calories
Sugar
Fat
Carbs