Have you ever found yourself staring into the freezer, wishing for a scoop of creamy ice cream that won’t undo all your healthy choices? I’ve been there so many times. It’s a classic dilemma. You want something sweet and satisfying, but you also want to feel good about what you’re eating. That’s where the magic of the Ninja Creami comes in, and I have just the recipe for you.
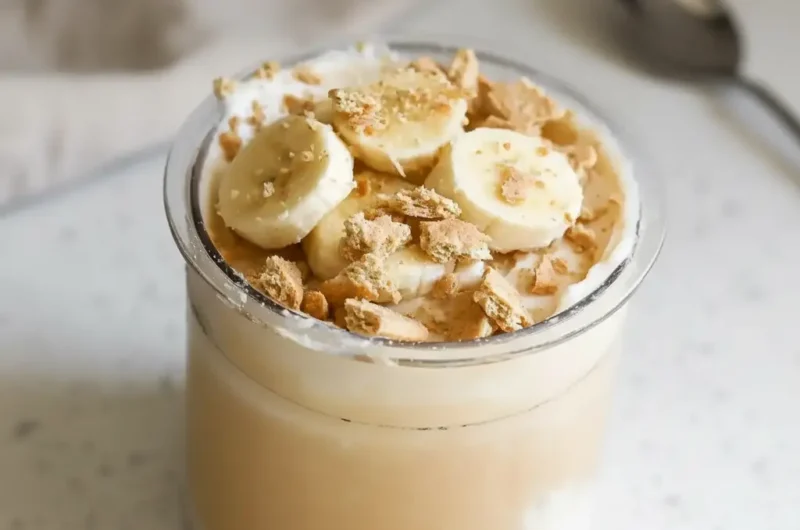
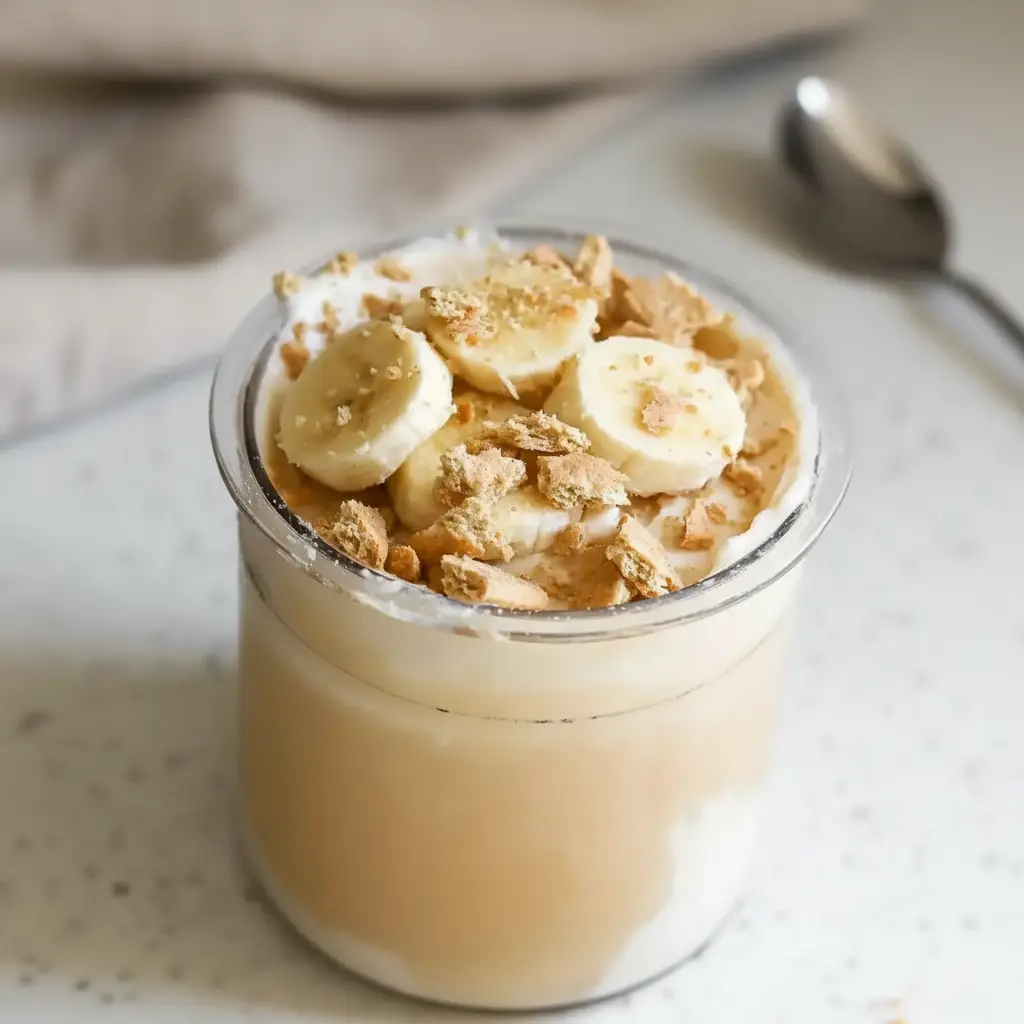
This Banana Cream Pie Healthy Ninja Creami Recipe is an absolute treat. It tastes just like the classic dessert, but it’s packed with protein and made with simple ingredients. It’s the kind of dessert that feels like a total indulgence but is actually working with your health goals. Ready to make some magic?
Jump To:
Why You’ll Love This Recipe
Honestly, what’s not to love? This recipe is one of my go to options for a reason, and I think it will be one of yours too. It’s more than just a sweet treat. It is a smart way to enjoy dessert.
First off, it’s packed with protein. Thanks to a scoop of vanilla protein powder and high quality milk, a single serving can help you meet your protein goals. It makes a fantastic post workout snack or a satisfying evening treat that won’t leave you feeling hungry.
It’s also surprisingly low in calories. We use smart swaps like unsweetened almond milk and a sugar free pudding mix to keep the numbers down without sacrificing any flavor. This is one of the best Ninja Creami Ice Cream Recipes High Protein Low Cal you can find.
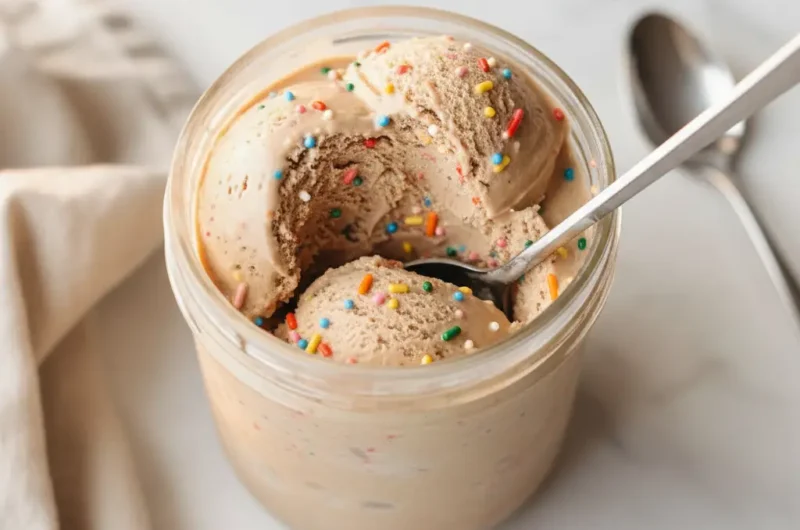
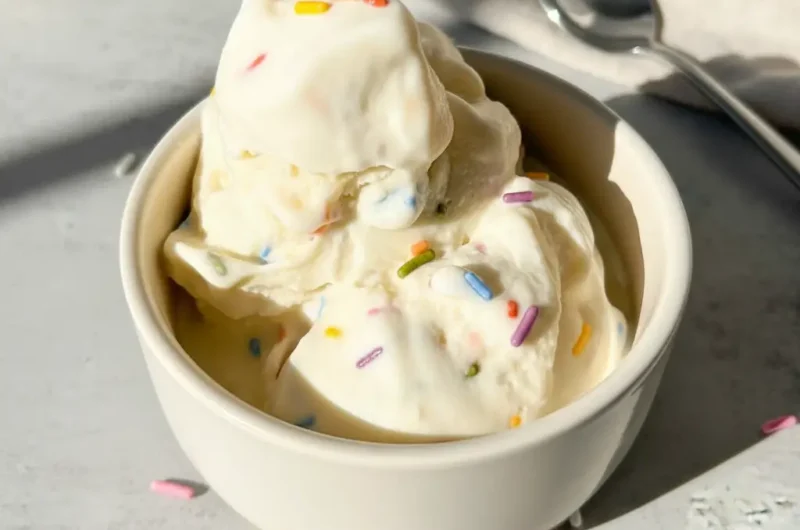
The texture is unbelievable. If you’re worried about homemade protein ice cream being icy or chalky, you can forget about that. The Ninja Creami works its magic to create a super smooth and creamy consistency that’s just like traditional ice cream. It is one of my favorite Ninja Ice Cream Recipes Healthy style.
Plus, this Healthy Ninja Creami Recipe is so simple to make. You just blend the ingredients, freeze the base, and let the machine do the hard work. It’s a straightforward process that anyone can follow, even if you are new to making your own ice cream.
Ingredients
The ingredient list for this Healthy Ninja Creami Recipe is short and sweet. Each component plays a key role in creating that amazing flavor and texture. Here’s what you’ll need to get started.
- 1 cup Fairlife 2% milk
- 1 cup unsweetened almond milk
- 1 scoop vanilla protein powder
- 1.5 tbsp banana cream jello pudding mix (sugar free)
- ½ banana
- 2 graham wafers
Fairlife milk is a great choice here because it’s ultra filtered, which means it’s higher in protein and lower in sugar than regular milk. This contributes to the fantastic creamy texture. You can use skim milk if you prefer, but the extra fat in 2% milk makes the final product richer.
The protein powder is where a lot of the protein boost comes from. I use PEScience Gourmet Vanilla because it blends well and tastes great, but feel free to use your favorite brand. A good quality vanilla protein powder makes a huge difference in these Ninja Ice Cream Recipes Healthy versions.
Don’t skip the pudding mix! This little ingredient is a game changer. It acts as a stabilizer and an emulsifier, which helps prevent ice crystals from forming. This gives your ice cream a much smoother, creamier texture that holds up well.
And of course, the banana and graham wafers are what give this its classic banana cream pie flavor. The banana adds natural sweetness and that authentic taste, while the crushed graham wafers provide that lovely bit of texture and buttery crust flavor. It makes for a truly wonderful Healthy Ninja Creami Recipe.
Step By Step Instructions
Making this recipe is a breeze. The Ninja Creami does most of the work for you. Just follow these simple steps for a perfect pint every time. Let’s walk through it together.
Step 1: Mix The Base
First things first, let’s create our ice cream base. Grab a blender or a food processor. Add the Fairlife milk, unsweetened almond milk, vanilla protein powder, banana cream pudding mix, and the half banana. Do not add the graham wafers just yet. We’ll save those for the end.
Blend all those ingredients together until the mixture is completely smooth. You want to make sure there are no clumps of protein powder or banana left. Once it’s blended, pour the liquid base into your Ninja Creami pint container. I like to use a handheld frother for a final mix in the pint to make sure it’s well combined and a little aerated.
Step 2: Freeze Until Solid
Now for the waiting game. Secure the lid on your pint container and place it in the freezer. Make sure you place it on a level surface so it freezes evenly. For the best results, you need to let it freeze for a full 24 hours. This ensures the base is frozen solid, which is key for a creamy outcome.
Step 3: The First Spin
After 24 hours, it’s time for the fun part. Take the pint out of the freezer. The base might have a small raised peak in the center, which is totally normal. Before you put it in the machine, it’s a good idea to run the outside of the pint under hot water for about 60 to 90 seconds. This helps loosen the frozen block from the sides.
Place the pint into the outer bowl, attach the creamerizer paddle lid, and lock it into your Ninja Creami machine. Select the Lite Ice Cream button and let it run through the cycle. This is the first step to turning that frozen block into a scoopable treat. It is an essential step in any Healthy Ninja Creami Recipe.
Step 4: Check The Texture And Re Spin
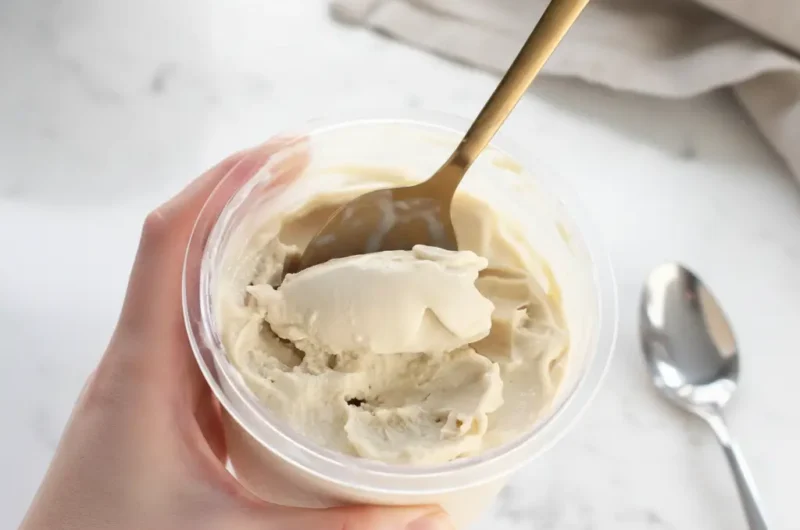
Once the first spin is done, remove the pint and take a look. It’s very common for the texture to look a bit dry or powdery. Don’t worry! This is exactly what the Re Spin button is for. Simply put the pint back into the machine and press Re Spin. This second cycle is usually all it takes to make it perfectly smooth and creamy.
If, after a re spin, it still isn’t quite at that perfect consistency, you can add a tablespoon of milk and spin it one more time on the Re Spin setting. This usually does the trick. You want it to look creamy before adding any mix ins.
Step 5: Add The Mix Ins
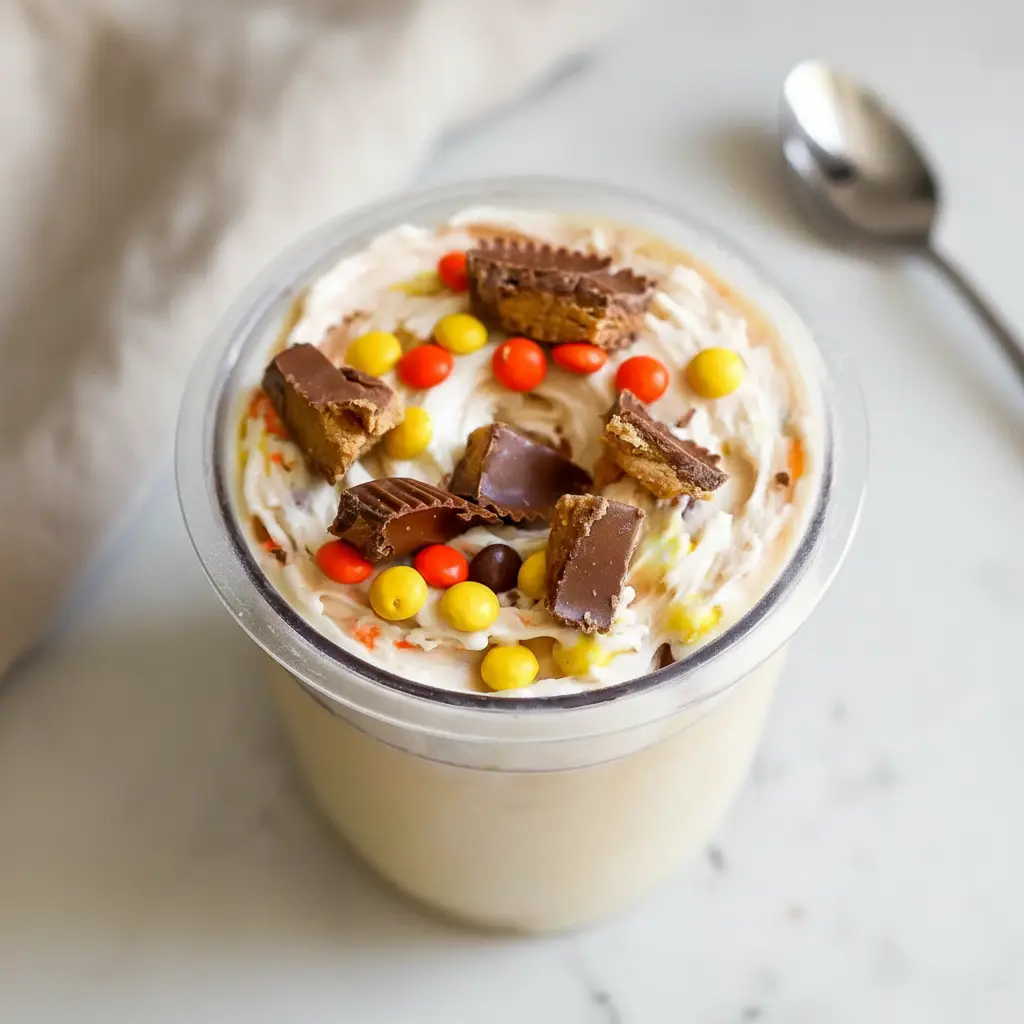
Now for the finishing touch! Once your ice cream is creamy, use a spoon to create a small hole in the center, about an inch or two wide, that goes all the way to the bottom. Add your crushed graham wafers into that hole.
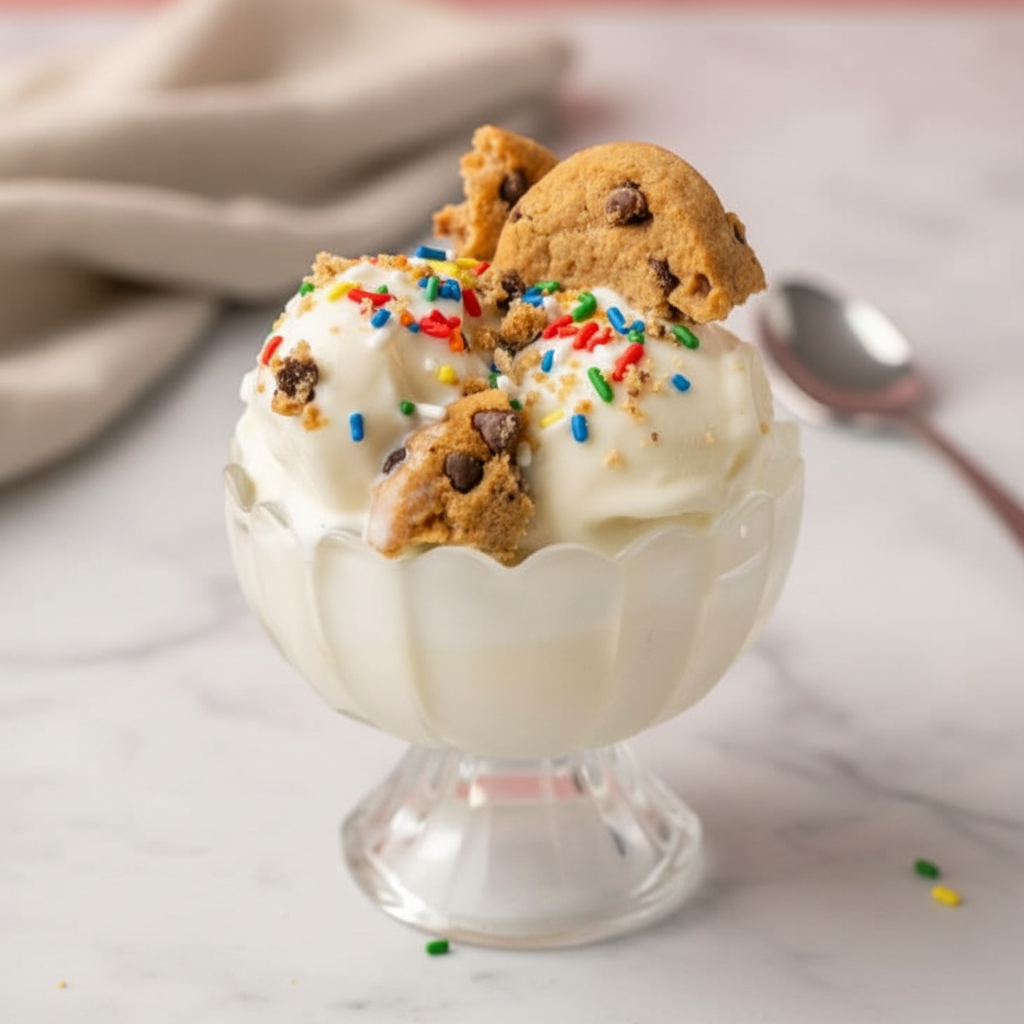
Place the pint back into the Ninja Creami and press the Mix In button. This cycle will evenly distribute the graham wafer pieces throughout your ice cream. And that’s it! Your Banana Cream Pie ice cream is ready to enjoy. You can also just add toppings on top if you prefer.
How To Store Leftovers
If you have any leftovers, storing them is simple. Just smooth out the top of the ice cream in the pint container as flat as you can. This helps prevent large ice crystals from forming. Secure the lid tightly and place it back in the freezer.
When you’re ready for another serving, the ice cream will be frozen solid again. You’ll need to process it again to get that creamy texture back. Just pop it back into the machine and run it on the Re Spin cycle. Sometimes you might need to add a splash of milk before the re spin if it’s extra hard. This method works for most Ninja Creami Ice Cream Recipes High Protein Low Cal.
Tips
Here are a few extra tips to make sure your Healthy Ninja Creami Recipe comes out great every single time. These little tricks can make a big difference.
First, milk choices matter. You can use Fairlife skim milk in this recipe to save a few calories. However, remember that milk with a higher fat content will result in a richer and creamier ice cream. The 2% milk really helps create a dreamier texture.
Feeling impatient? While 24 hours of freezing is best, you can get away with less. If you only froze your pint for 12 to 16 hours, you can still make it work. Just be sure to use the Mix In cycle after the initial Lite Ice Cream spin instead of the Re Spin button. This prevents the softer base from getting overworked and turning soupy.
If your ice cream is powdery after the first spin, always try the Re Spin button first before adding more liquid. Nine times out of ten, that’s all you need to get it to that perfect creamy state. Adding liquid too soon can sometimes lead to a thinner result.
Finally, always prepare your mix ins ahead of time. I like to pre crush my graham wafers so they are ready to go as soon as the ice cream base is creamy. This makes the final step quick and easy. It’s a good habit for all your Ninja Ice Cream Recipes Healthy adventures.
Conclusion
And there you have it! A delicious, guilt free Banana Cream Pie ice cream that you can make right at home. This Healthy Ninja Creami Recipe is proof that you don’t have to choose between your favorite desserts and your wellness goals. You can absolutely have both.
The Ninja Creami opens up a world of possibilities for creating amazing frozen treats that fit your lifestyle. This recipe is just a starting point. Feel free to experiment with different flavors and mix ins. I hope you love this creamy, protein packed dessert as much as I do. Give this Healthy Ninja Creami Recipe a try and enjoy every scoop!
FAQ
Can I Use A Different Protein Powder?
Yes, you can definitely use a different brand of vanilla protein powder. However, keep in mind that different powders have different formulations. Some blend better than others, and the taste can vary. The texture of your final product might change slightly, so you may need to experiment to find what works best for you.
What If I Don’t Have Pudding Mix?
The pudding mix is important for achieving a smooth, creamy texture as it acts as a binder. If you don’t have it, you can try a small amount of a different thickener, like 1/4 teaspoon of xanthan gum or guar gum. Be careful not to use too much, as it can make the texture gummy. It is a key part of this Healthy Ninja Creami Recipe.
Can I Make This Dairy Free?
You can make a dairy free version. To do so, replace the Fairlife milk with more unsweetened almond milk or another plant based milk like cashew or oat milk. You will also need to use a plant based protein powder. The final texture might be a little less creamy than the dairy version, as dairy proteins contribute to the rich mouthfeel, but it will still be delicious.
Why Is My Ice Cream Icy?
Icy texture is usually caused by one of two things. Either the base was not frozen solid enough before spinning, or the ingredients were not blended thoroughly. Make sure you freeze for at least 24 hours and that your base is completely smooth before you freeze it. Using the pudding mix also helps a lot to prevent iciness in Ninja Creami Ice Cream Recipes High Protein Low Cal.
Healthy Banana Cream Pie Ninja Creami
Enjoy the classic taste of banana cream pie in a creamy, high-protein ice cream. This simple Ninja Creami recipe is a satisfying and healthy dessert, perfect for a post-workout snack or a guilt-free evening treat.
Ingredients
Instructions
- In a blender, combine the Fairlife milk, almond milk, vanilla protein powder, pudding mix, and the half banana. Blend until completely smooth.
- Pour the mixture into a Ninja Creami pint container, secure the lid, and place it on a level surface in the freezer.
- Freeze for at least 24 hours until frozen solid.
- Once frozen, place the pint into the outer bowl, attach the paddle lid, and lock it into the Ninja Creami machine. Select the ‘Lite Ice Cream’ function and run the cycle.
- After the cycle, check the texture. If it appears powdery, place it back in the machine and press the ‘Re-Spin’ button. If still not creamy, add 1 tbsp of milk and re-spin again.
- Once the ice cream is smooth and creamy, use a spoon to create a hole down the center. Add the crushed graham wafers into the hole.
- Place the pint back into the machine and select the ‘Mix-In’ function to evenly distribute the wafers. Serve immediately and enjoy.
Notes
Milk choices matter: a milk with higher fat content like 2% will result in a richer, creamier ice cream.
If your ice cream is powdery after the first spin, always try the Re-Spin button first before adding more liquid.
For a shorter freeze time (12-16 hours), use the ‘Mix-In’ cycle after the initial spin instead of ‘Re-Spin’ to avoid an overly soft result.
Nutrition
Calories
Sugar
Fat
Protein