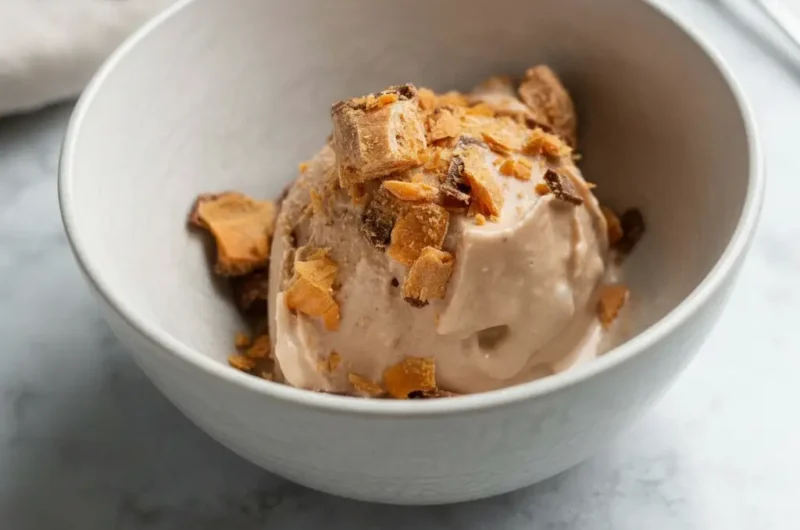
Have you ever found yourself staring into the freezer, wishing a tub of delicious ice cream would magically appear? But not just any ice cream. You want something creamy, satisfying, and something that does not derail your health goals. Well, what if I told you that you could make it yourself, and it is incredibly easy? Get ready to meet your new favorite kitchen gadget and your new favorite treat with these Healthy Ninja Creami Ice Cream Recipes.
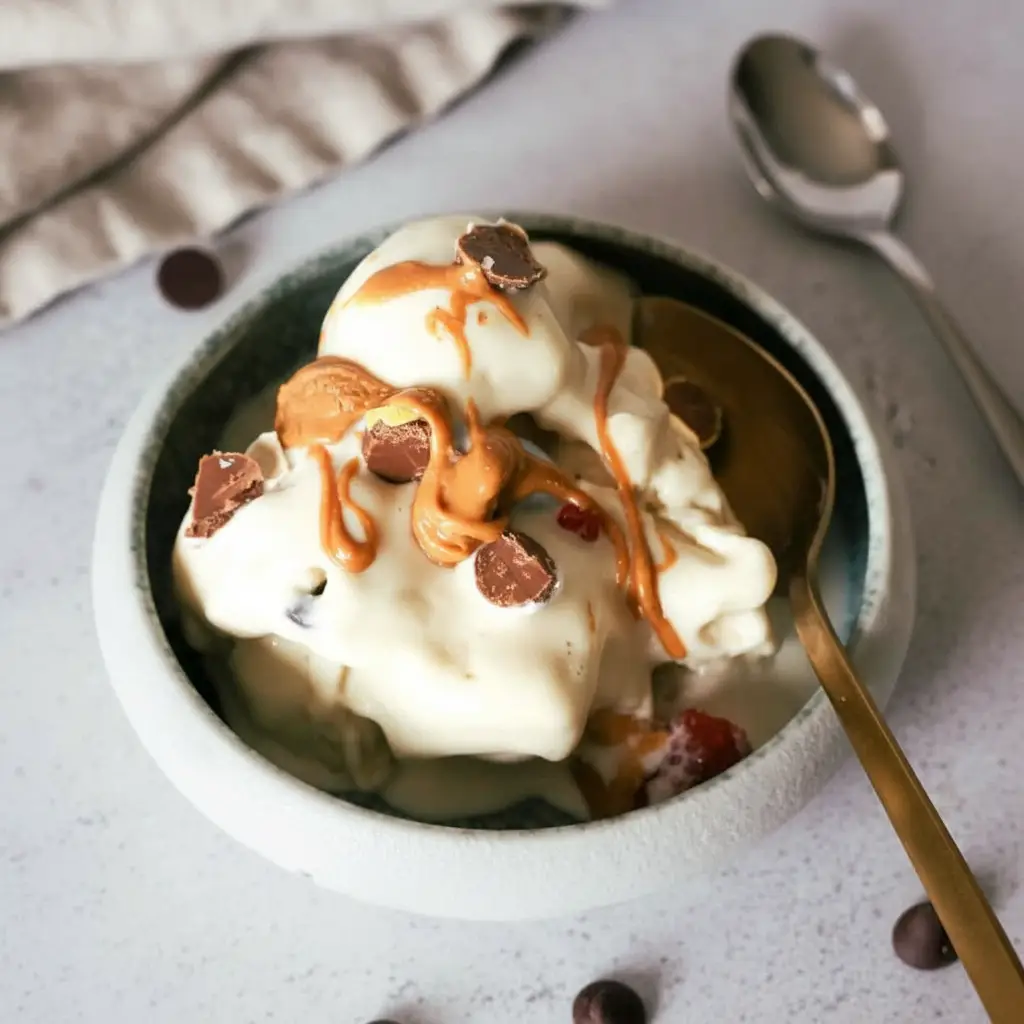
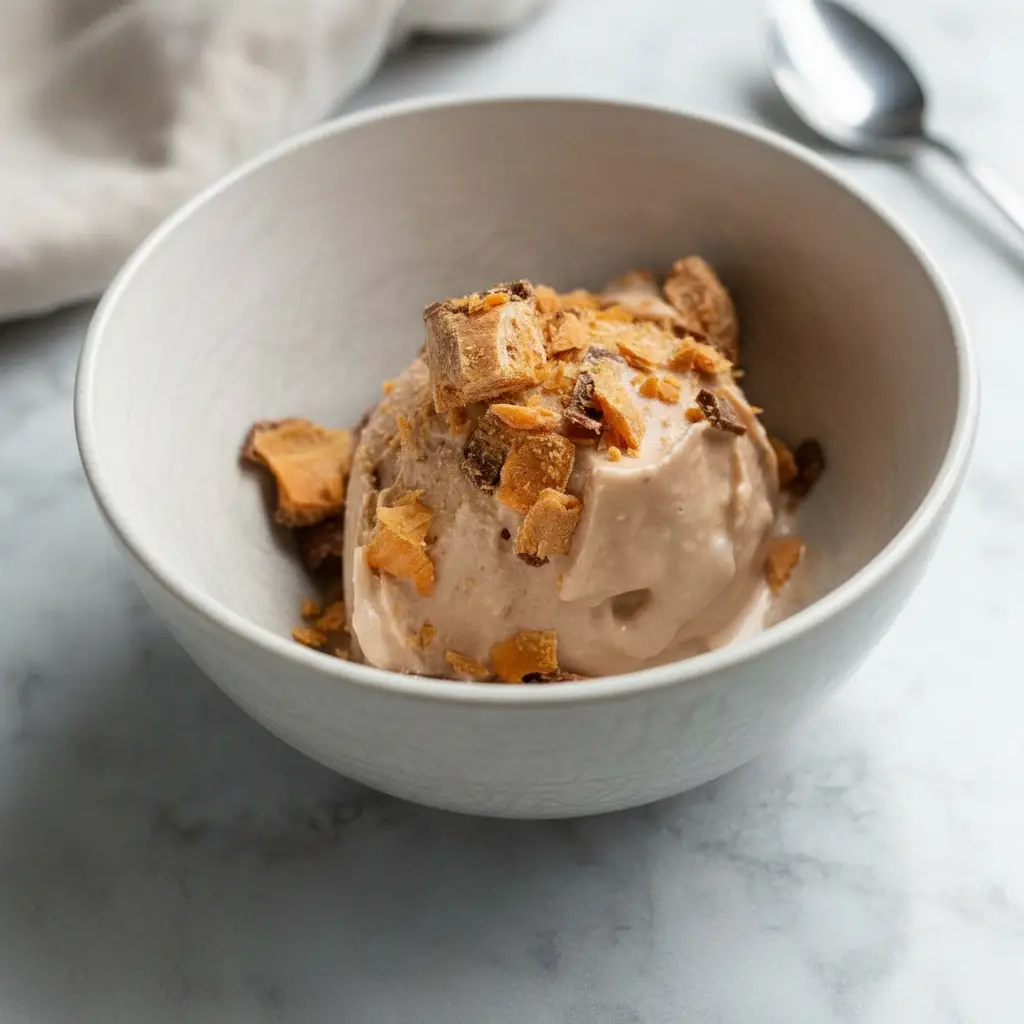
We are talking about rich, smooth, and flavorful ice cream that is packed with protein. It is the kind of dessert that feels like a total indulgence but is actually good for you. Whether you are a fitness enthusiast looking for a post workout reward or just someone who wants a smarter way to satisfy a sweet tooth, this is for you. Making Protein Ice Cream Ninja Creami Recipes at home is a total game changer.
Jump To:
Why You’ll Love This Recipe
Honestly, there are so many reasons to get excited about this recipe. First off, it is unbelievably simple. You do not need to be a chef or have any fancy skills. If you can mix a few things in a container and push a button, you can make this. It is a fantastic starting point for anyone new to making their own frozen desserts at home.
The health benefits are a huge plus. We are using protein powder as the base, which makes this a powerhouse dessert. It helps keep you full and satisfied, making it much more than just empty calories. It is a smart way to get more protein into your day, especially if you have a hard time hitting your goals. These Ninja Creami Ice Cream Recipes High Protein Low Cal are designed to fit your lifestyle.
Ingredients
- 1 scoop vegan chocolate protein powder
- 1 tablespoon cocoa powder, (optional for extra chocolate)
- 1 tablespoon cashew butter or almond butter, (or peanut butter for chocolate PB flavor)
- 1 teaspoon vanilla extract
- ¼ teaspoon xanthan gum, (optional, makes it extra silky)
- 1 pinch salt
- 1 to 6 teaspoons agave or sweetener of choice, (optional, if needed)
- 2 cups plain or chocolate plant based milk
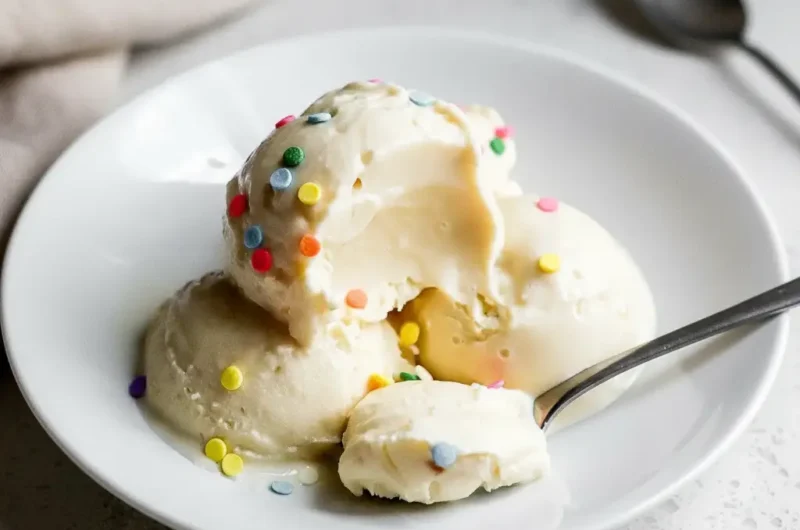
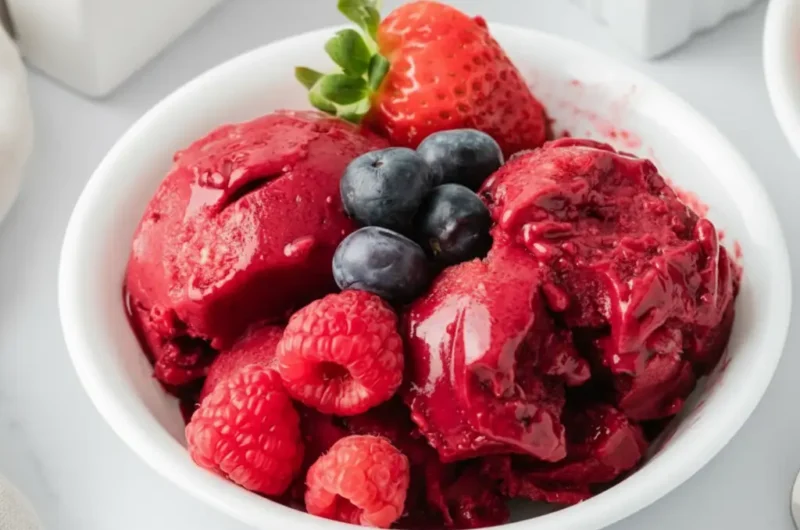
- 1 to 2 tablespoons mix ins or toppings of choice, (optional, see notes)
Step By Step Instructions
Step 1: Mix The Base
First things first, let us get our base ready. Grab your Ninja Creami pint container. Add in your scoop of vegan chocolate protein powder. If you are a serious chocolate lover like me, go ahead and add that extra tablespoon of cocoa powder. You will not regret it.
Next, add your nut butter. Cashew or almond butter gives a really creamy, neutral flavor, but peanut butter is fantastic if you want a chocolate peanut butter vibe. Then, add the vanilla extract, a pinch of salt, and the optional xanthan gum. The xanthan gum really helps with that silky smooth texture.
Now it is time for the liquid. Pour your plant based milk into the container, stopping just below the max fill line. This usually comes out to about two cups. Using a whisk, a fork, or even a small milk frother, mix everything together really well. You want the base to be completely smooth with no clumps. An immersion blender works wonders here if you have one.
Step 2: Sweeten To Taste
Here is a little tip about sweetness. The final frozen product will taste less sweet than the liquid base. So, you want to make the base a little bit sweeter than you think you will need. Give it a small taste. If your protein powder or milk is already sweet, you might not need anything extra.
If it does need a boost, add your sweetener of choice. Agave, maple syrup, or even a sugar free syrup works well. I have been enjoying a salted caramel sugar free syrup lately for an extra layer of flavor. Adjust it until it tastes just right for you.
Step 3: Freeze Flat
Once your base is mixed and sweetened, it is time to freeze it. This is a very important step for getting the best results. Place the pint container in your freezer without the lid on. You need to let it freeze for a full 24 hours. This ensures it gets completely solid.
Freezing it without the lid helps the top freeze flat, without a hump in the middle. A flat surface helps the Ninja Creami blade process the mixture evenly. After it is fully frozen, you can pop the lid on for longer storage if you are not making it right away.
Step 4: Spin It
This is where the magic happens. Take your frozen pint out of the freezer. Sometimes the edges can get a little extra frosty. To help with this, run the outside of the container under hot water for a minute or two. This helps loosen it up a bit.
Place the pint into the outer bowl, attach the lid with the blade, and lock it into your Ninja Creami machine. Select the “Lite Ice Cream” setting and let it do its thing. It is amazing to watch it turn a solid block into something creamy. This is the core of our Healthy Ninja Creami Ice Cream Recipes process.
Step 5: Re-spin If Crumbly
After the first spin, check the texture. Sometimes, especially with low fat or high protein bases, it can come out looking a bit dry or powdery. Do not worry. This is completely normal and very easy to fix. This is a common step in many Protein Ice Cream Ninja Creami Recipes.
Simply add a splash of your plant based milk, about one or two tablespoons. Then, put it back in the machine and press the “Re-spin” button. This little bit of extra liquid helps it get super creamy. You can repeat this process if it is still a bit crumbly after the first re-spin. You are looking for a smooth, scoopable texture.
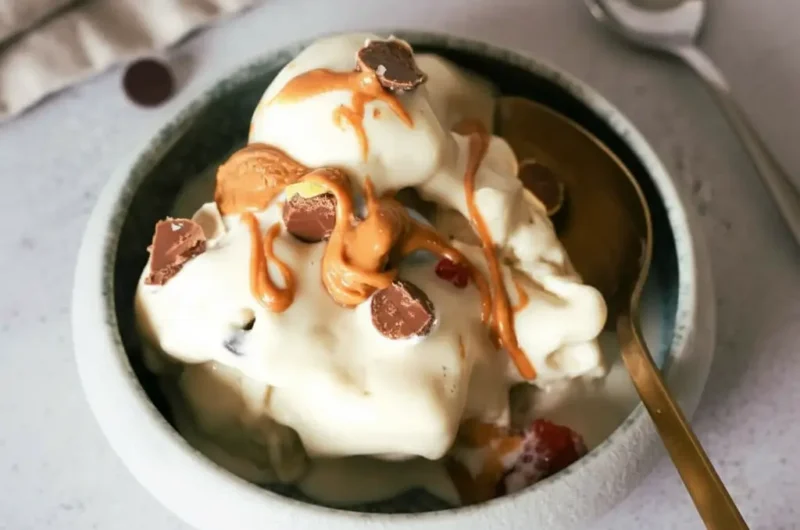
Step 6: Add Mix Ins
Want to add some extra texture and flavor? Now is the time for mix ins. After you have the perfect creamy base, use a spoon to dig a small hole down the center of the ice cream. The hole should be about an inch wide.
Add one or two tablespoons of your favorite mix ins. Things like chocolate chips, crushed cookies, or chopped nuts are all great choices. Place the container back into the machine and press the “Mix in” button. This cycle will gently fold your additions into the ice cream without overmixing.
Step 7: Serve Or Store
And just like that, you have incredible homemade protein ice cream. For the best possible texture, you should enjoy it right away. It will be at its creamiest and smoothest peak right after the final spin. If you do have leftovers, we will cover how to store them next. Enjoy your delicious creation!

How To Store Leftovers
If you cannot finish the entire pint in one sitting, storing leftovers is simple. Take a spoon and smooth out the top surface of the remaining ice cream in the container. Getting it as level and flat as possible is key. This helps it freeze evenly again.
Place the storage lid back on the pint container securely. Pop it back into the freezer and make sure it is on a flat surface. It will freeze solid again just like the initial base. Your delicious treat will be waiting for you whenever you are ready for it next.
When you want to eat the leftovers, you will need to process it again. Just take it out of the freezer, place it back into the machine, and select the “Lite Ice Cream” or the “Re-spin” setting. Sometimes adding another small splash of milk helps it get back to that original creamy texture. It will be just as good as when you first made it. This is a fantastic feature for single servings.
Tips
Want to make your Healthy Ninja Creami Ice Cream Recipes even better? I have picked up a few helpful tips along the way. First, the type of protein powder you use matters. Vegan protein powders, especially those with a blend of pea and brown rice protein, tend to create a wonderfully creamy texture. Whey protein can sometimes get a little gummy, but it still works.
Conclusion
So there you have it. A simple, delicious, and incredibly satisfying way to make dessert that fits your healthy lifestyle. These Healthy Ninja Creami Ice Cream Recipes open up a whole new world of possibilities. You can finally have a treat that is both enjoyable and nourishing, right from your own kitchen.
No more compromising on flavor or texture. With a few basic ingredients and the amazing Ninja Creami machine, you are in complete control. I hope you feel inspired to try this recipe and start experimenting with your own unique creations. Happy ice cream making!
FAQ
Can I Make This With Whey Protein?
Yes, you absolutely can use whey protein instead of a vegan blend. The process is the same. Just be aware that whey protein can sometimes result in a slightly gummier or stickier texture after spinning. It is still delicious, just a little different from the creaminess of plant based powders.
Why Is My Ice Cream Powdery?
A powdery or crumbly texture is very common after the first spin, especially for Ninja Creami Ice Cream Recipes High Protein Low Cal. It just means the base needs a little more moisture to become creamy. Add one to two tablespoons of milk and use the “Re-spin” function. That should fix it right up.
What If I Do Not Have Xanthan Gum?
If you do not have xanthan gum, you can leave it out. Your ice cream will still be good. The xanthan gum is a stabilizer that helps make the final product extra silky and prevents large ice crystals from forming. Without it, the texture might be slightly more icy, but it will still be a tasty treat.
How Long Does It Really Take To Freeze?
For the best results, you need to freeze the base for a minimum of 24 hours. This ensures the entire pint container is frozen completely solid all the way through. A partially frozen base will not spin correctly. Make sure your freezer is set to a cold temperature for optimal freezing.
Can I Use Regular Dairy Milk?
Yes, regular dairy milk works perfectly well in these Protein Ice Cream Recipes. You can use whole milk, 2 percent, or even skim milk. The higher the fat content in the milk, the creamier your final ice cream will be. Feel free to use whatever milk you prefer or have on hand.
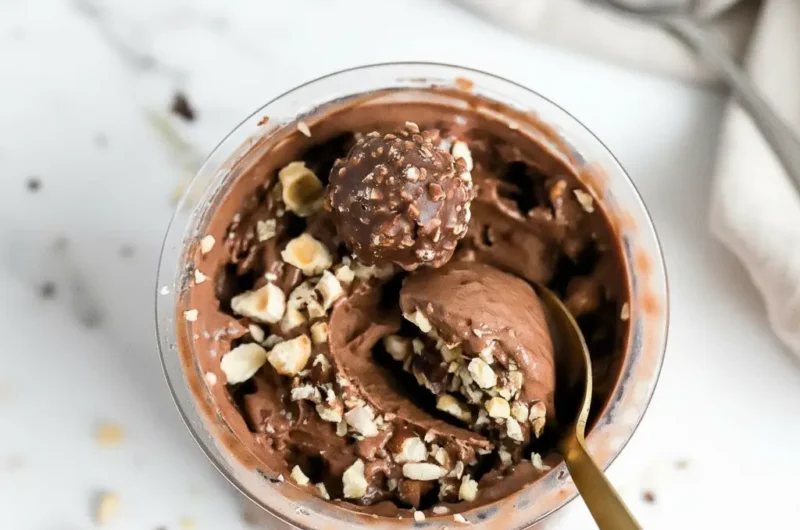
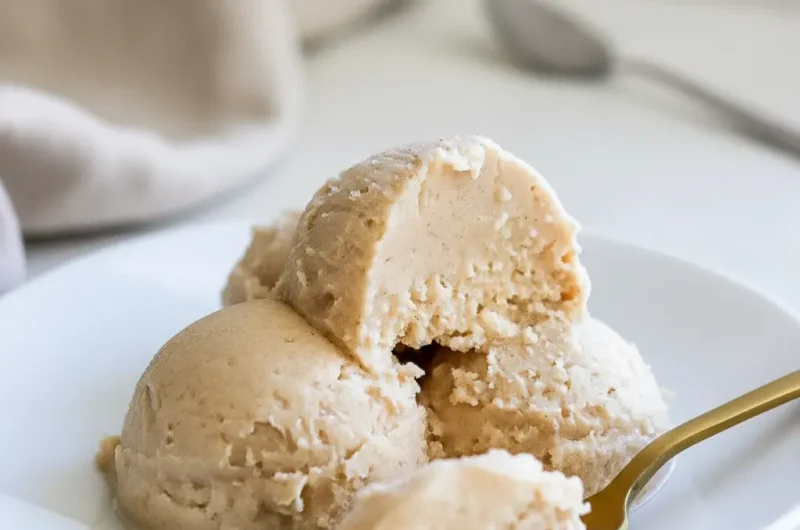
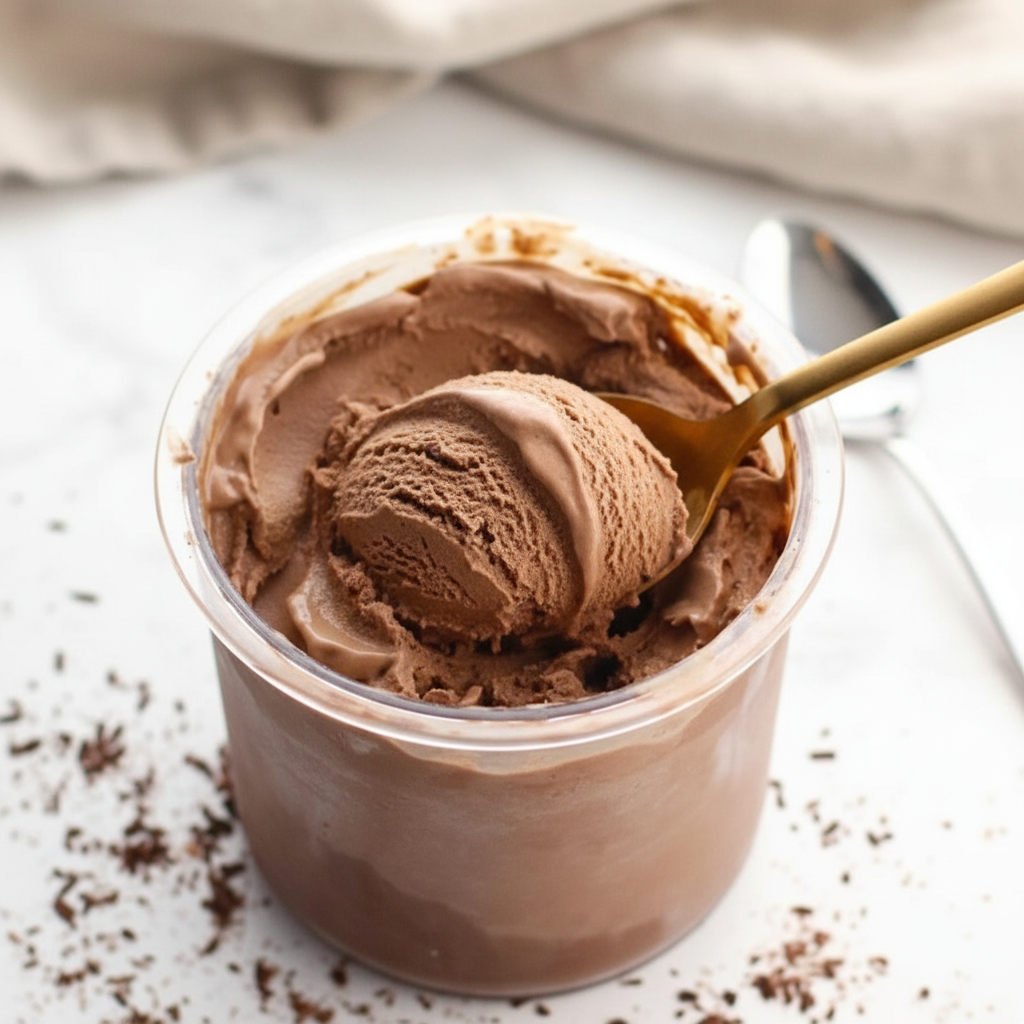
High-Protein Chocolate Ninja Creami Ice Cream
Create a rich and creamy high-protein chocolate ice cream with this simple recipe. Using a Ninja Creami, this dessert has a smooth, scoopable texture that feels indulgent but fits a healthy lifestyle. It’s a flavorful and satisfying homemade treat.
Ingredients
Instructions
- In a Ninja Creami pint container, add protein powder, optional cocoa powder, nut butter, vanilla extract, salt, and optional xanthan gum.
- Pour in the plant-based milk up to the max fill line. Whisk or use a milk frother until the base is completely smooth and free of clumps.
- Taste the base and add sweetener if needed. Remember the frozen product will taste less sweet than the liquid base.
- Place the pint container, without the lid, on a flat surface in your freezer. Freeze for a full 24 hours until completely solid.
- Once frozen, place the pint into the outer bowl, attach the blade lid, and lock it into your Ninja Creami machine. Select the ‘Lite Ice Cream’ setting.
- If the ice cream is crumbly after the first spin, add 1-2 tablespoons of plant-based milk and use the ‘Re-spin’ function until creamy.
- If desired, create a small hole in the center, add mix-ins, and process using the ‘Mix-in’ button.
- Serve immediately for the best texture, or smooth the top and refreeze for later.
Notes
Vegan protein powders often create a creamier texture than whey protein, which can sometimes be gummy.
A small amount of xanthan gum is recommended for a silky smooth texture and to help prevent ice crystals.
Ensure the base is frozen completely solid for at least 24 hours for the best results. A partially frozen base will result in a slushy texture.
Nutrition
Calories
Sugar
Fat
Carbs
Protein