Have you ever found yourself staring into the freezer, wishing for a dessert that was both incredibly delicious and also something you could feel good about eating? I know I have. It’s that classic battle between wanting a sweet treat and trying to stick to healthier choices. It feels like you can’t have both. But what if I told you that you absolutely can?
That’s where the Ninja Creami comes in and completely changes the game. This little machine has taken my kitchen by storm, letting me create amazing frozen treats. And today, I’m sharing my absolute favorite creation. Get ready for a truly special Creami Ninja Recipe that tastes just like a slice of key lime pie. It is the perfect blend of tart, sweet, and creamy. Let’s get started.
Jump To:
Why You’ll Love This Recipe
Honestly, what’s not to love? This key lime pie inspired Creami Ninja Recipe is a dream come true for anyone who loves dessert. First off, the flavor is just out of this world. It has that bright, zesty punch from real lime juice and zest. It is perfectly balanced with a gentle sweetness and a rich, creamy base from Greek yogurt. It tastes indulgent, like a real dessert from a fancy shop.
But the best part? It’s packed with protein. Thanks to the Greek yogurt, this isn’t just empty calories. It’s a satisfying treat that can actually fit into your health goals. This is a fantastic example of a Protein Ice Cream that doesn’t taste like one. You get all the flavor without any of the guilt. It’s a wonderful way to satisfy a sweet craving while getting a nice protein boost.
This recipe is also incredibly easy to make. You don’t need to be a professional chef. If you can mix a few ingredients together in a pint, you can make this. The Ninja Creami does all the heavy lifting for you, turning a simple frozen block into a smooth and creamy masterpiece. It’s one of those set it and forget it type of recipes, which is great for busy weeknights.
It’s also super customizable. The graham cracker mix in gives it that authentic key lime pie crust flavor. But you could totally get creative. Imagine adding white chocolate chips or toasted coconut. The possibilities are endless. This is one of those foundational Ninja Cremini Recipes Protein that you can adapt to your own tastes. It’s simple, fun, and gives you a delicious result every single time.
Finally, it’s just so refreshing. On a warm day, a scoop of this tangy lime ice cream is the best thing ever. It’s light, it’s flavorful, and it’s one of the best Ninja Creami Ice Cream Recipes High Protein Low Cal you will find. It’s a dessert that leaves you feeling good, not weighed down. What more could you ask for?
Ingredients
Let’s talk about what you will need. The beauty of this Creami Ninja Recipe is its simplicity. We are using just a handful of wholesome ingredients to create something truly special. Each one plays an important role in building that classic key lime pie flavor and that wonderful creamy texture.
The star of the show is Greek yogurt. It provides the creamy base and a huge boost of protein. You can use full fat for a richer result or non fat for a lighter option. The milk helps get the consistency just right, especially during the re spin process. And of course, fresh limes are key. The zest and juice provide that authentic, bright citrus flavor that makes this recipe shine. You just can’t get that from a bottle.
- 1 ⅔ cups plain Greek Yogurt, full fat or non fat
- ¼ cup milk, non fat, low fat, or whole. Plus 1 to 2 tablespoons additional for re spin.
- 2 teaspoons vanilla extract
- ¼ to ⅓ cup white granulated sugar, depending on your sweet preference
- 2 limes, zested and juiced
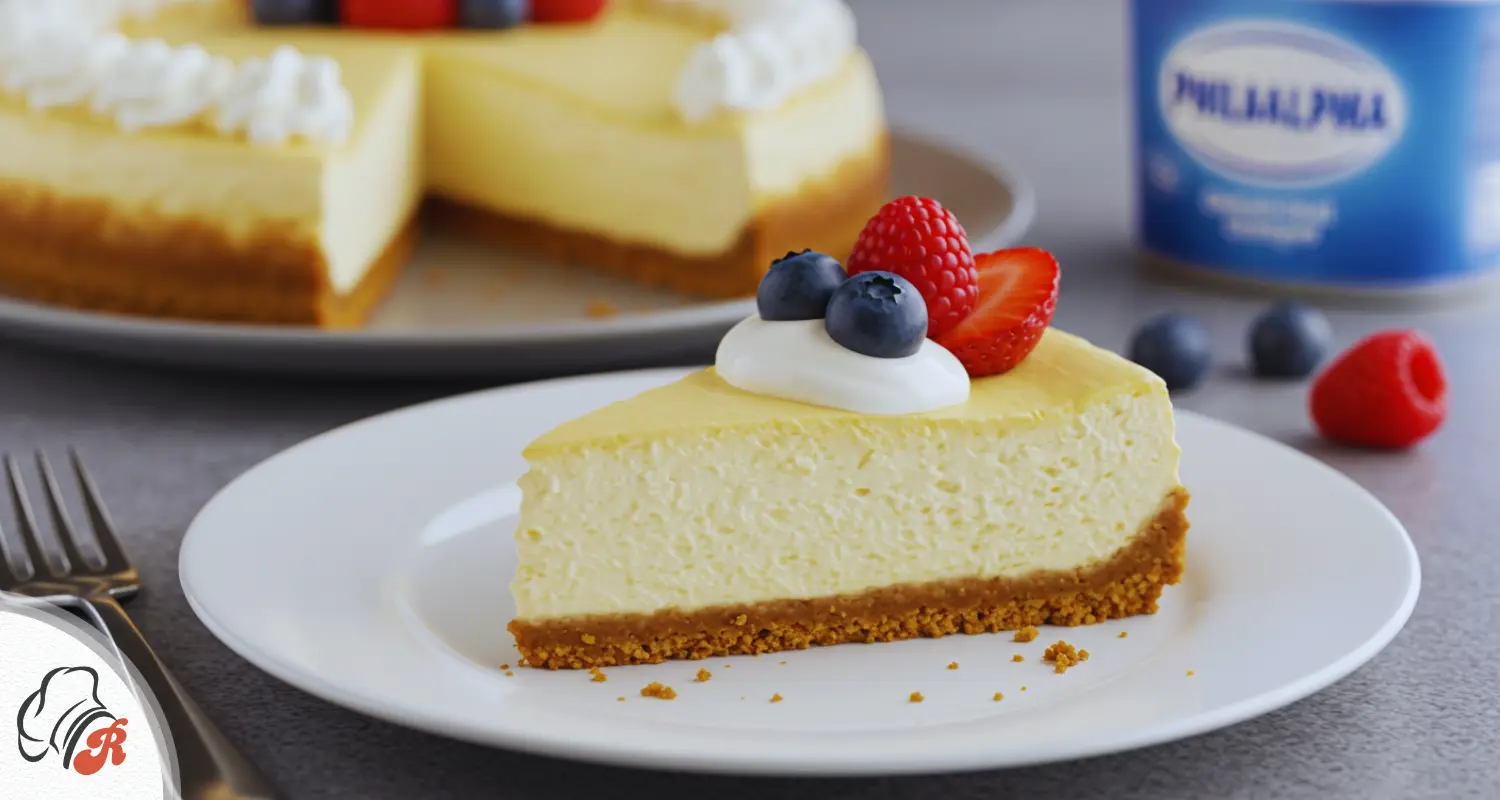
- 2 graham cracker sheets, optional for mix ins
Step By Step Instructions
Making this delightful Protein Ice Cream is so straightforward. The Ninja Creami does most of the work. Just follow these simple steps, and you’ll have a delicious frozen treat ready to enjoy. Let’s walk through it together.
Step 1: Mix Together
First things first, grab your Ninja Creami pint container. This is where all the magic begins. Add the Greek yogurt, the initial quarter cup of milk, the vanilla extract, and your desired amount of sugar directly into the pint. I usually go with about a quarter cup of sugar, but if you have a sweeter tooth, feel free to add a bit more.
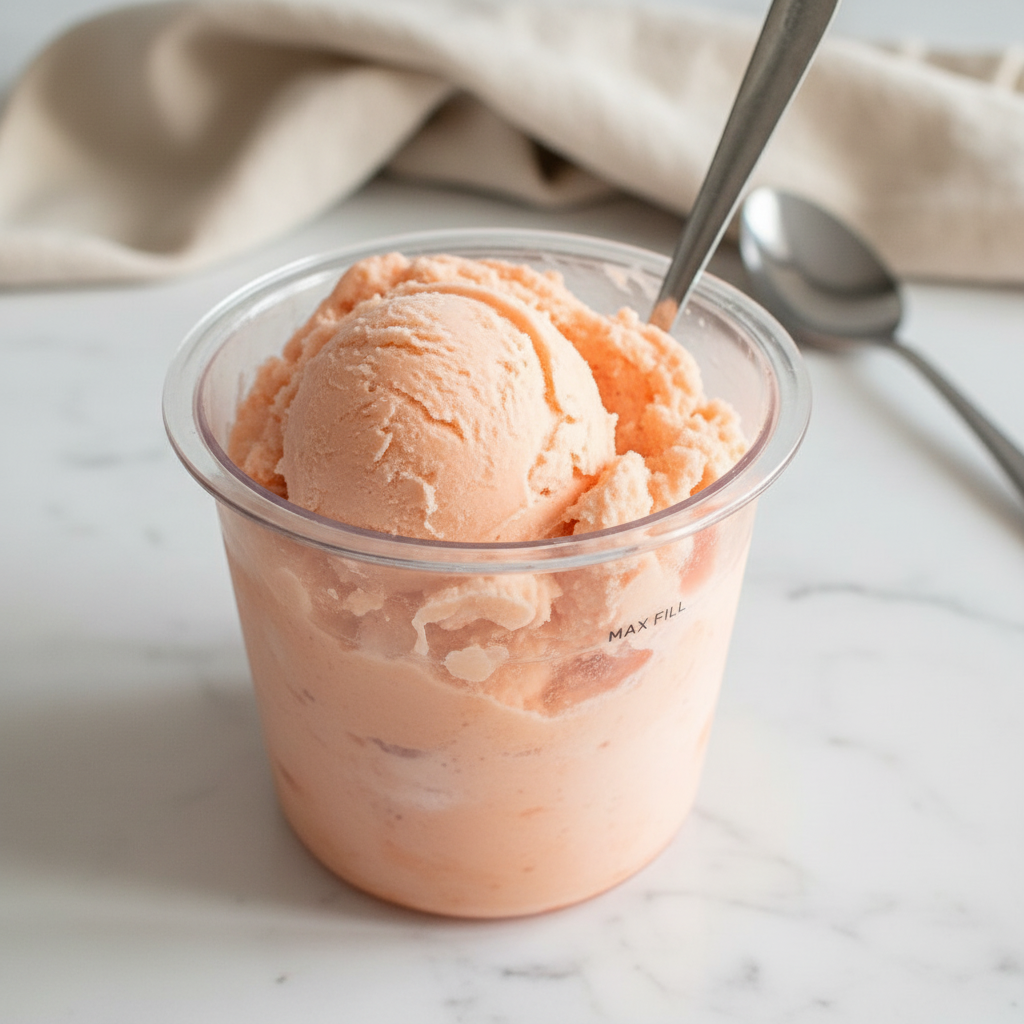
Next, it’s time for that amazing lime flavor. Zest your two limes directly into the pint to catch all those fragrant oils. Then, juice the limes and add the juice as well. Now, take a spoon or a small whisk and mix everything together right in the pint. You want to stir until the sugar is dissolved and everything is well combined. The mixture should be smooth.
Step 2: Freeze
This step requires a little patience, but it is the most important one. Place the pint in your freezer. For the best results, you need to let it freeze for a full 24 hours. This ensures the base is frozen completely solid, which is crucial for the Creami to work its magic. A partially frozen base will result in a slushy texture, and we are aiming for creamy perfection.
Here’s a little tip I’ve learned. I like to freeze the pint with the lid off. I’ve found this helps reduce that little hump that sometimes forms in the middle as it freezes. Just make sure you place it on a flat, level surface in your freezer so it doesn’t spill. A solid, level base makes for a better spin later on.
Step 3: First Spin
After 24 hours, your pint is ready for its transformation. Take it out of the freezer. Place the frozen pint into the outer bowl that came with your Ninja Creami. Snap the lid on, making sure it’s secure. Then, lock the whole assembly into your machine. You’ll hear a click when it’s in place. Select the ‘Lite Ice Cream’ button and let the machine do its thing. It is loud, but it is so worth it.
Step 4: Re Spin
Once the first spin is complete, take the pint out and have a look. Don’t be alarmed if it looks dry and crumbly. This is totally normal, especially for higher protein and lower fat bases. This is where the re spin comes to the rescue. Add a splash of milk, about one or two tablespoons, right on top of the crumbly mixture.
Put the lid back on, lock it back into the machine, and press the ‘Re spin’ button. This second spin is what will bring it all together. It helps incorporate that little bit of extra liquid and turns the powdery base into a wonderfully smooth and creamy texture. If for some reason it’s still a little crumbly after the first re spin, it’s okay to give it one more. You’re looking for a texture like soft serve ice cream.
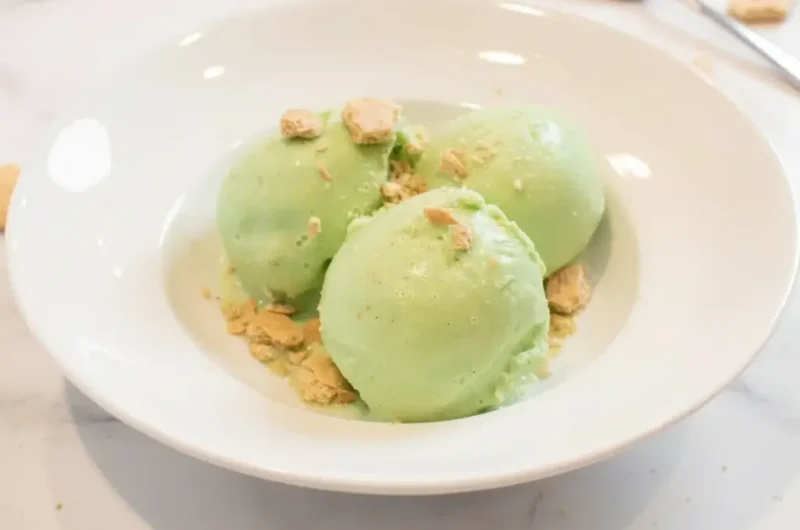
Step 5: Mix Ins
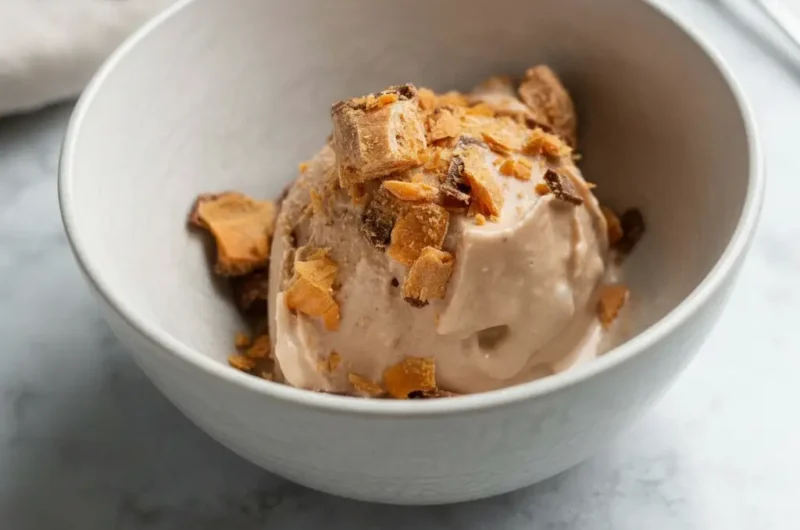
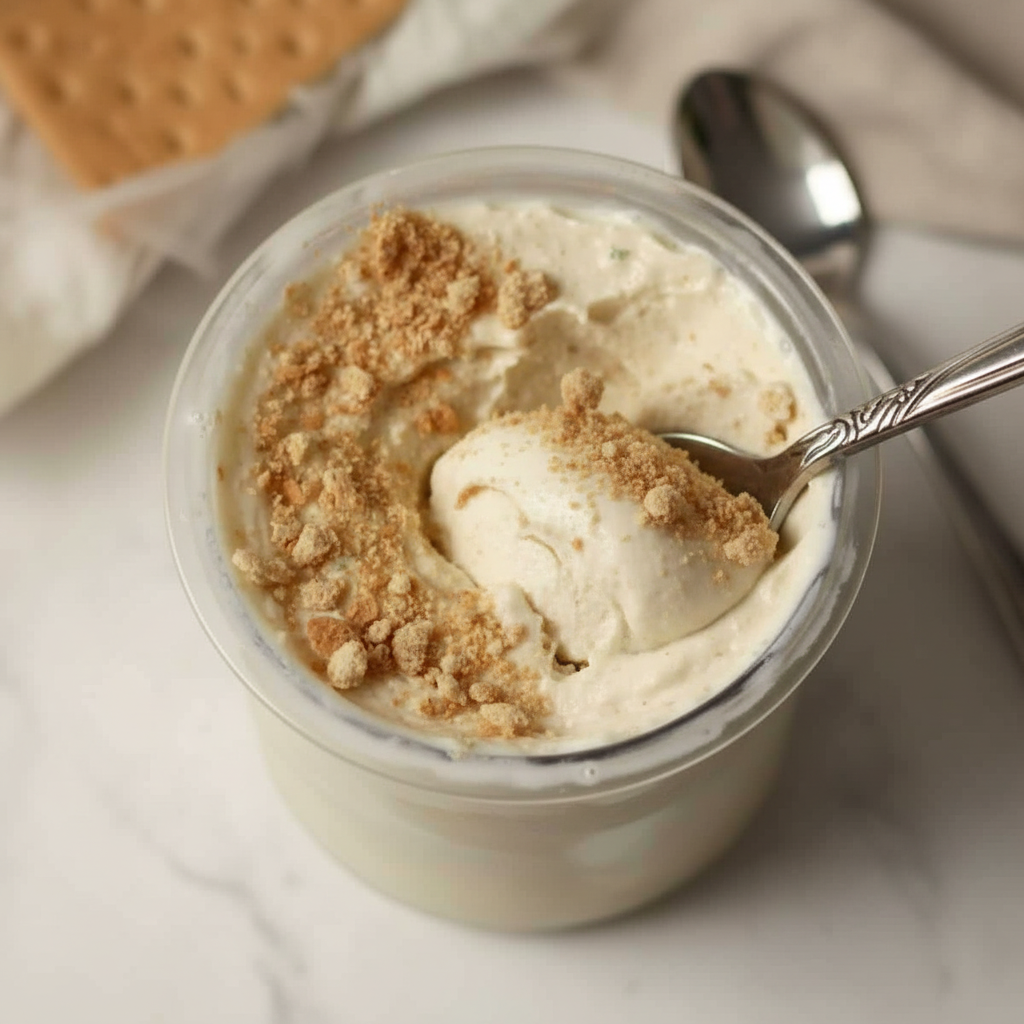
Now for the fun part that really brings the key lime pie theme to life. Take your two sheets of graham crackers and break them into smaller pieces, maybe about fourths. Create a little well in the center of your creamy ice cream and place the graham cracker pieces inside. I like to push some of them down towards the bottom with a spoon. This helps ensure you get crunchy bits distributed throughout the pint, not just on top.
Once your mix ins are in, place the pint back into the machine and press the ‘Mix In’ button. This cycle is much shorter and is designed to gently fold the pieces into your ice cream without completely pulverizing them. It creates that lovely texture of smooth creaminess with a delightful crunch. This is a key step for the best Creami Ninja Recipe experience.
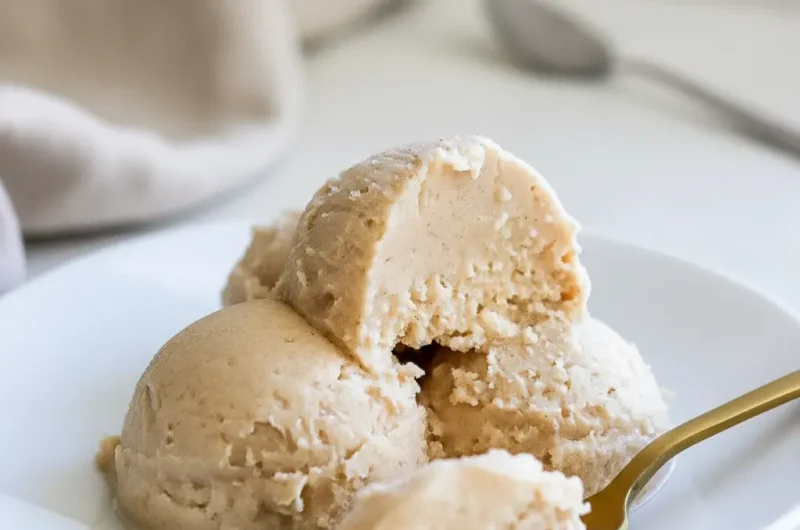
Step 6: Enjoy!
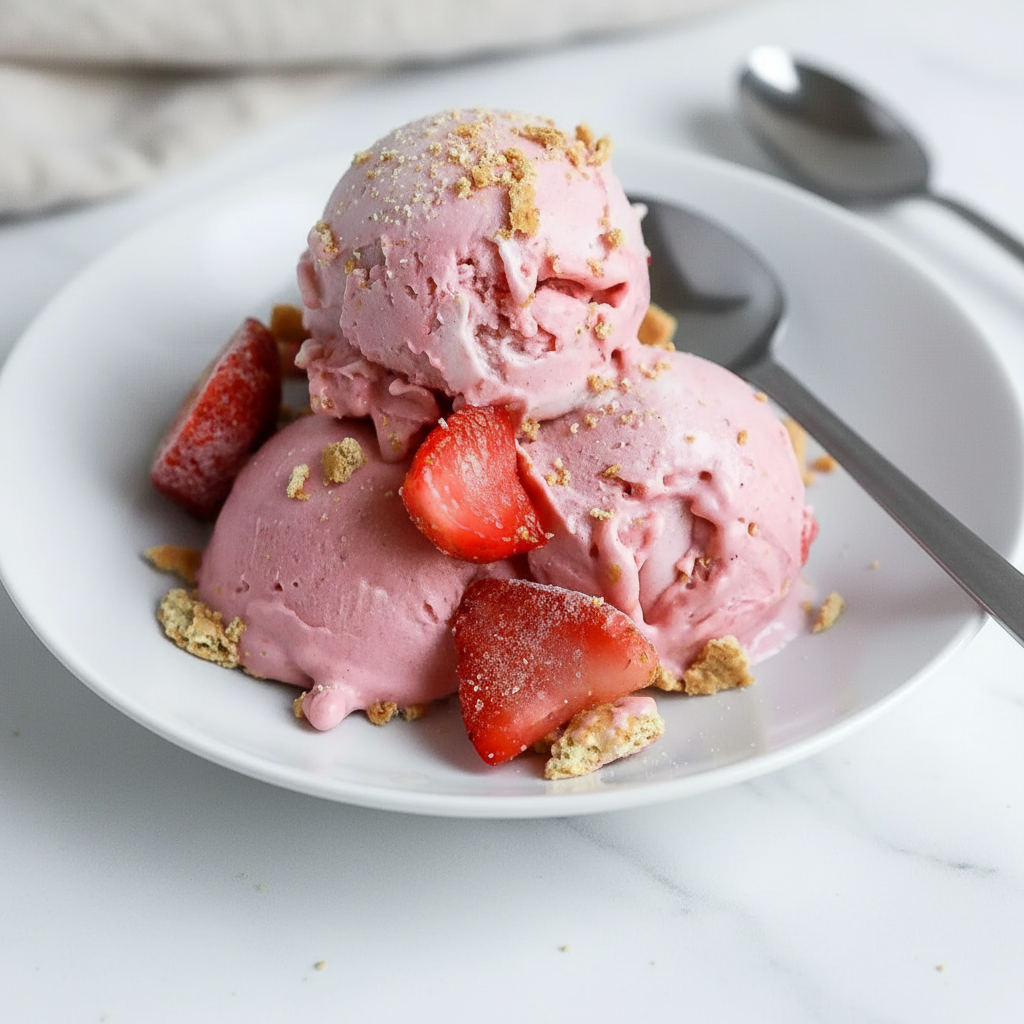
And that’s it! Your key lime pie Protein Ice Cream is ready to eat. You can scoop it out and enjoy it right away. The texture is at its absolute best right after the final spin. It’s creamy, flavorful, and just so satisfying. I bet you will be amazed that you made something so delicious and healthy right in your own kitchen.
How To Store Leftovers
So, you’ve made a delicious pint of this Creami Ninja Recipe and somehow you have leftovers. First of all, congratulations on your self control. Storing leftovers is easy, and you have a couple of options depending on how you plan to eat them later. Both methods work well, so it’s really a matter of personal preference.
Your first option is to keep it right in the Ninja Creami pint. Simply take a spoon and smooth out the top surface of the remaining ice cream. Try to get it as flat and level as you can. Then, pop the storage lid on and place the pint back in the freezer. When you’re ready for another serving, you can just put it back in the machine and spin it again on the ‘Lite Ice Cream’ setting. This will bring it right back to that fresh, creamy texture.
The second option is to transfer the leftovers to a different freezer safe container. This is a good choice if you need your Creami pint for another recipe. Just scoop the remaining ice cream into the container, seal it tightly, and freeze. When you want to eat it, you won’t be able to re spin it. Instead, you can let it sit on the counter for a few minutes to soften. Or, if you’re impatient like me, you can zap it in the microwave for just 5 to 10 seconds to make it easily scoopable again. It works like a charm.
Tips
Over time, I’ve gathered a few little tricks that help make my Ninja Cremini Recipes Protein even better. For the creamiest possible texture, make sure your base is frozen rock solid. 24 hours is the sweet spot. A less frozen base leads to an icier result. Also, don’t skip the re spin. It seems like an extra step, but it is almost always necessary for low fat and high protein recipes to get that smooth consistency.
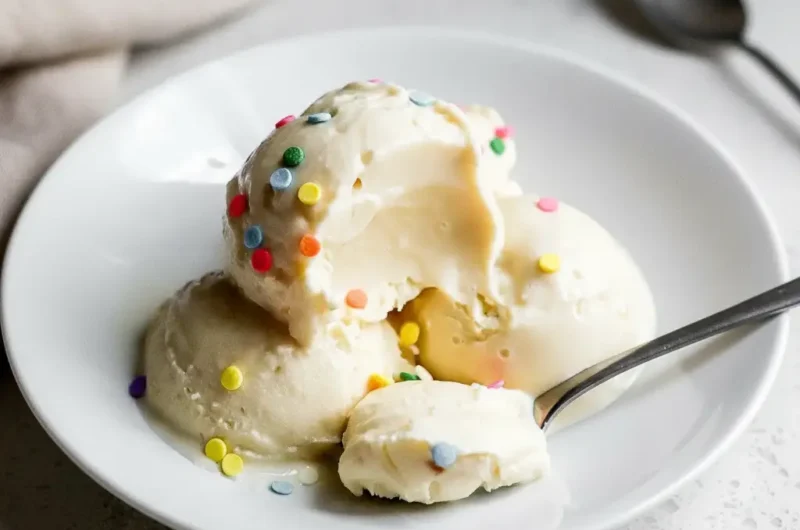
Feel free to play around with the sweetness. The amount of sugar can be adjusted to your liking. You could also try alternative sweeteners like maple syrup or a sugar substitute. Just be aware that this might slightly change the final texture. The type of milk you use for the re spin can also affect the final product. Whole milk will give you a richer result, while skim milk keeps it lighter.
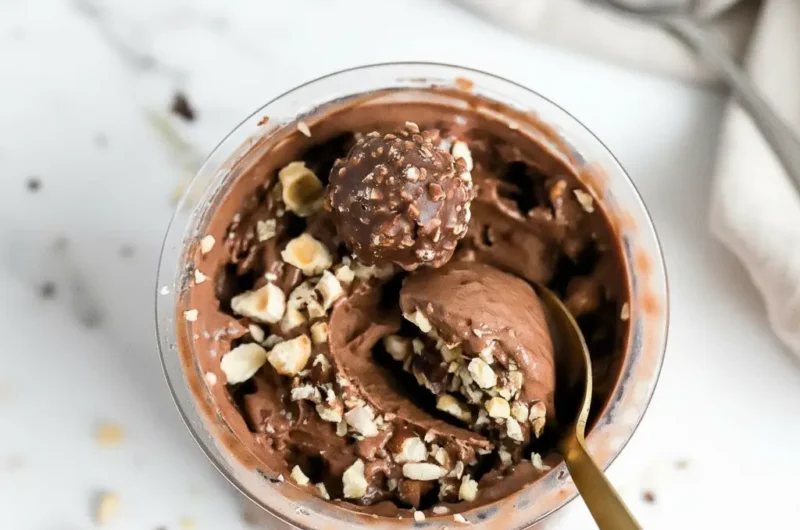
When it comes to mix ins, the sky is the limit. While graham crackers are classic for this key lime pie flavor, you could try crushed shortbread cookies, white chocolate chips, or even some toasted coconut flakes. Just be sure to add them after you have achieved your desired creamy base. The mix in cycle is gentle and will keep your additions chunky and delicious.
If you find your ice cream is a bit too hard on the bottom of the pint after spinning, try running the outside of the pint under warm water for about a minute before you put it in the machine. This can help loosen it up just enough for a smoother spin. This little trick can be especially helpful if your freezer is extra cold.
Conclusion
And there you have it. A simple, delicious, and healthy Key Lime Pie Creami Ninja Recipe that you can make anytime you want. It’s proof that you don’t have to choose between a satisfying dessert and your wellness goals. This recipe delivers big on flavor, provides a great source of protein, and is just plain fun to make. It’s one of my all time favorite Ninja Creami Ice Cream Recipes High Protein Low Cal.
I really hope you give this recipe a try. The Ninja Creami is such a fantastic tool for creating healthier frozen treats at home, and this recipe is a perfect example of its potential. Whether you make it for yourself after a long day or share it with family and friends, it’s sure to be a hit. Enjoy every creamy, tangy, and crunchy spoonful. Happy creating!
FAQ
Can I Use A Different Type Of Yogurt?
Yes, you absolutely can. While I love the thickness and high protein content of Greek yogurt, you could experiment with others. A dairy free yogurt like coconut or almond based yogurt could work for a vegan version. Just be aware that the texture and nutritional content will change. The freezing and spinning process might require an extra re spin to get creamy.
What If I Don’t Have Limes?
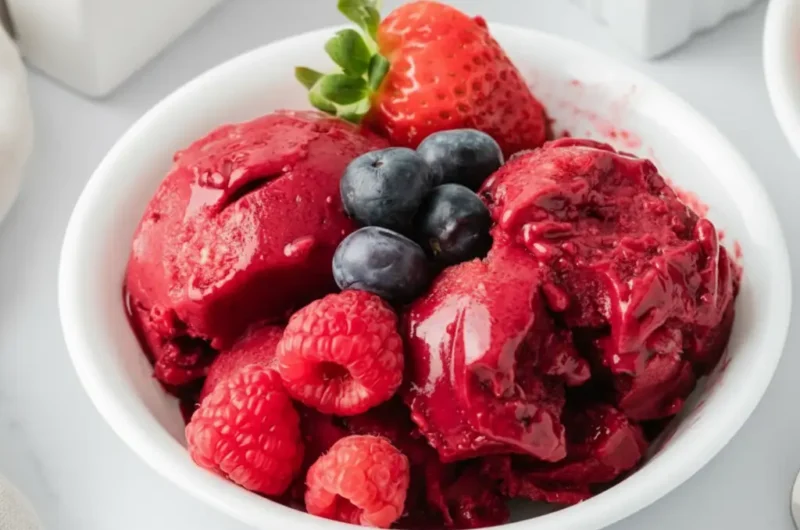
If you don’t have limes, you can definitely use lemons for a lemon cream pie flavor. The process would be exactly the same. You could also try other citrus fruits like oranges or even grapefruit for a unique twist. The key is to use fresh zest and juice for the brightest, most natural flavor. I would avoid bottled juice as it can have a different taste.
Can I Make This Recipe Without Sugar?
Of course. You can substitute the granulated sugar with your favorite sweetener. Monk fruit, stevia, or erythritol are popular choices. You might need to adjust the amount based on the sweetness level of the product you choose. Keep in mind that sugar also plays a role in the texture of ice cream, so using a sugar free sweetener might result in a slightly harder, more icy final product.
Why Is My Ice Cream Icy Instead Of Creamy?
An icy texture is usually caused by one of two things. First, the base might not have been frozen solid enough. It really needs that full 24 hours to freeze through completely. Second, it might just need another re spin. Don’t be shy about adding a tablespoon of liquid and hitting that re spin button again. It often takes a couple of spins to break down the ice crystals and create that smooth, creamy texture we all want from a good Creami Ninja Recipe.
Is This Really A Protein Ice Cream?
Yes, it is. The main ingredient is Greek yogurt, which is naturally very high in protein. Depending on the specific brand of yogurt you use, a single pint of this ice cream can contain a significant amount of protein. It’s a fantastic way to make a delicious dessert that also helps you meet your protein goals. This is why it’s one of the best Ninja Cremini Recipes Protein you can find.
Do I Have To Use The Mix In Function?
Not at all. The lime ice cream is absolutely delicious on its own. The mix in function is just for adding things like the graham crackers to get that pie crust effect. If you prefer a smooth ice cream, you can simply skip the mix in step and enjoy your creation right after the re spin. You could also just sprinkle the graham cracker crumbs on top before serving.
Key Lime Pie Protein Ice Cream
A refreshing and healthy Key Lime Pie Protein Ice Cream made in the Ninja Creami. This easy recipe delivers a creamy, tangy, and sweet frozen treat packed with protein, making it a guilt-free dessert.
Ingredients
Instructions
- In a Ninja Creami pint container, combine the Greek yogurt, ¼ cup of milk, vanilla extract, sugar, lime zest, and lime juice. Stir with a spoon or small whisk until the sugar is dissolved and the mixture is smooth.
- Place the pint on a level surface in your freezer and freeze for at least 24 hours. Ensure the base is frozen completely solid.
- Once frozen, place the pint into the outer bowl, secure the lid, and lock it into the Ninja Creami machine. Select the ‘Lite Ice Cream’ button to process.
- After the first spin, the mixture will likely look dry or crumbly. Add 1 to 2 tablespoons of milk, place it back in the machine, and press the ‘Re-spin’ button. Repeat if necessary until the texture is smooth and creamy.
- Create a well in the center of the ice cream. Break the graham cracker sheets into small pieces and add them to the well.
- Place the pint back into the machine and select the ‘Mix-In’ button to incorporate the graham cracker pieces.
- Scoop and enjoy immediately for the best creamy texture.
Notes
Ensure the base is frozen solid (at least 24 hours) for the creamiest texture.
The re-spin step is essential for high-protein, low-fat bases to become smooth. Don’t be afraid to re-spin a second time if needed.
Store leftovers by leveling the surface in the pint and re-freezing. It will need to be processed again on ‘Lite Ice Cream’ or ‘Re-spin’ before serving.
Nutrition
Calories
Sugar
Fat
Carbs