Have you ever wished you could turn your daily protein shake into a delicious, creamy bowl of ice cream? What if I told you it’s not just possible, but actually really simple? That’s where the magic of the ninja creami comes in. It’s a fantastic tool for creating amazing frozen treats at home.
This guide is all about making wonderful Ninja Creami recipes protein. We are going to walk through a basic formula you can customize in endless ways. Get ready to make some of the best high protein meals that taste like a total indulgence. You won’t believe how easy it is to get started.
Jump To:
Why You’ll Love This Recipe
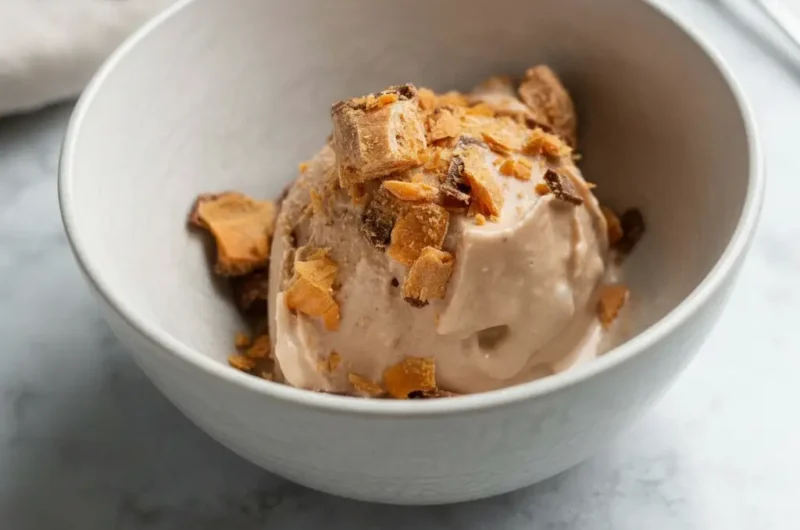
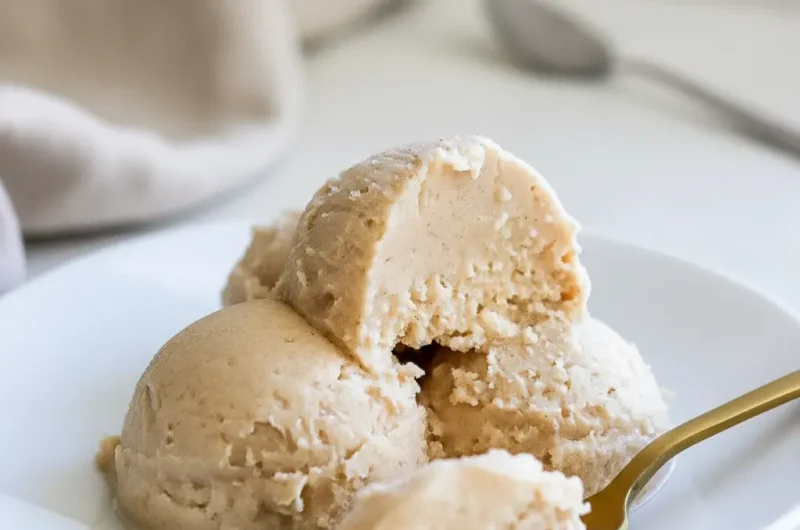
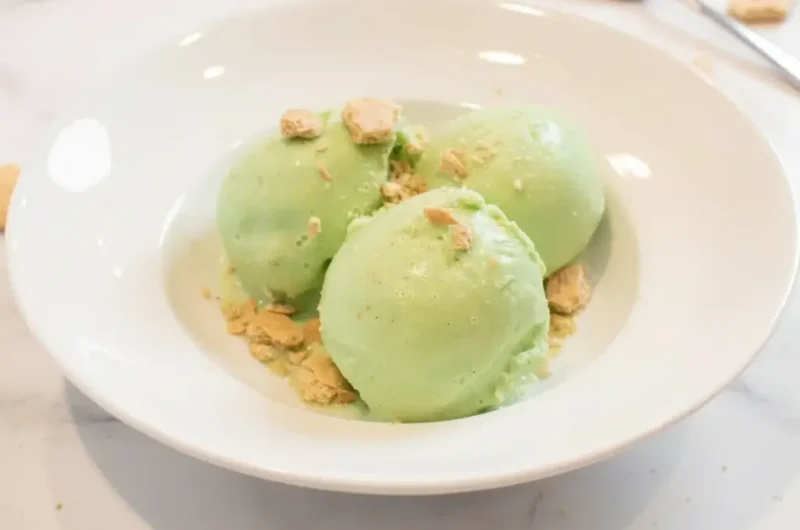
First off, the texture is just incredible. The ninja creami transforms simple ingredients into a smooth, soft serve like consistency. It is so much better than just blending a frozen banana. You get a real ice cream experience without all the sugar and fat.
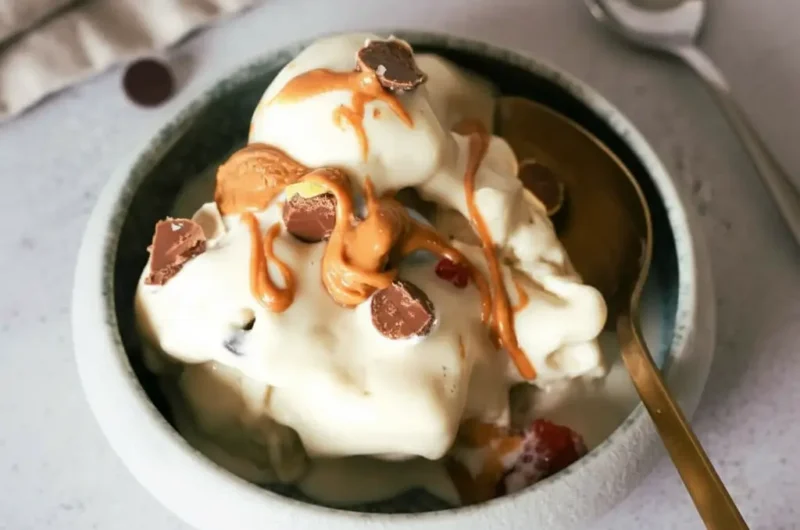
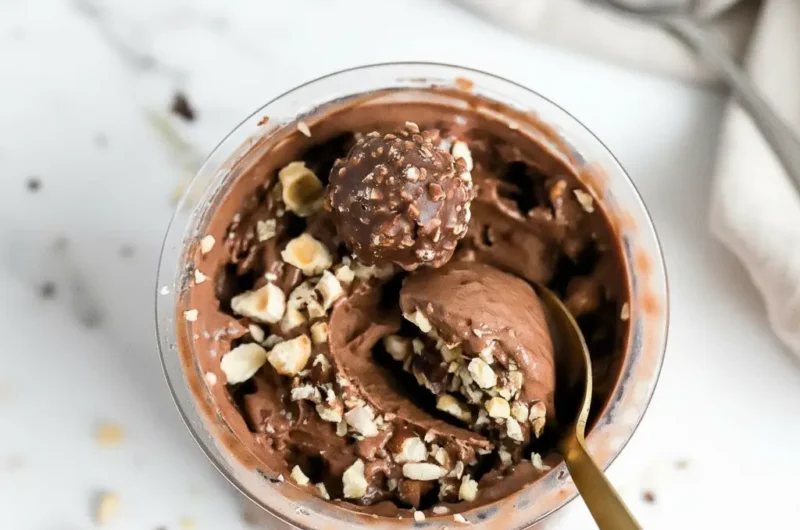
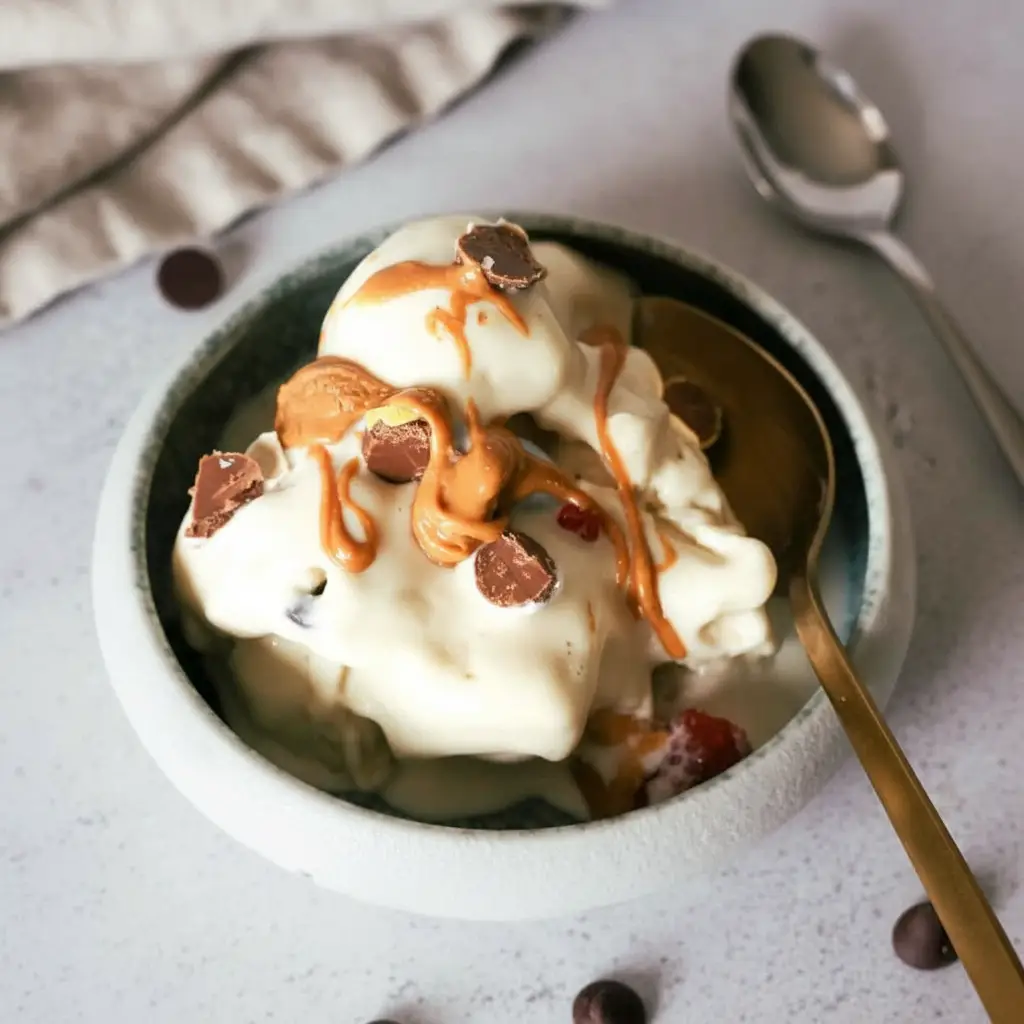
Another great thing is how versatile it is. You can create countless Ninja Creami recipes protein by just swapping a few ingredients. Want a chocolate peanut butter cup flavor? Easy. Craving strawberry cheesecake? You can do that too. It’s a fun way to get creative in the kitchen.
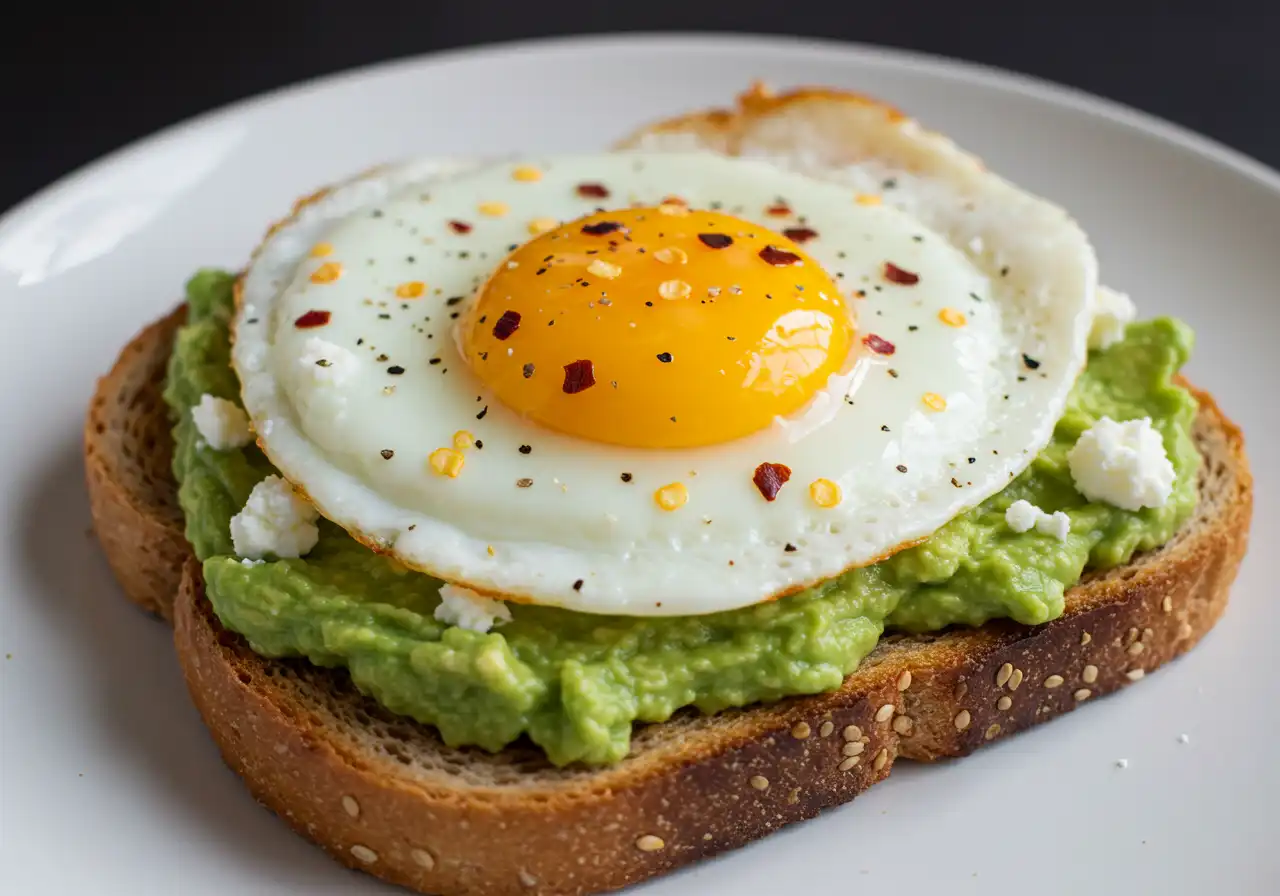
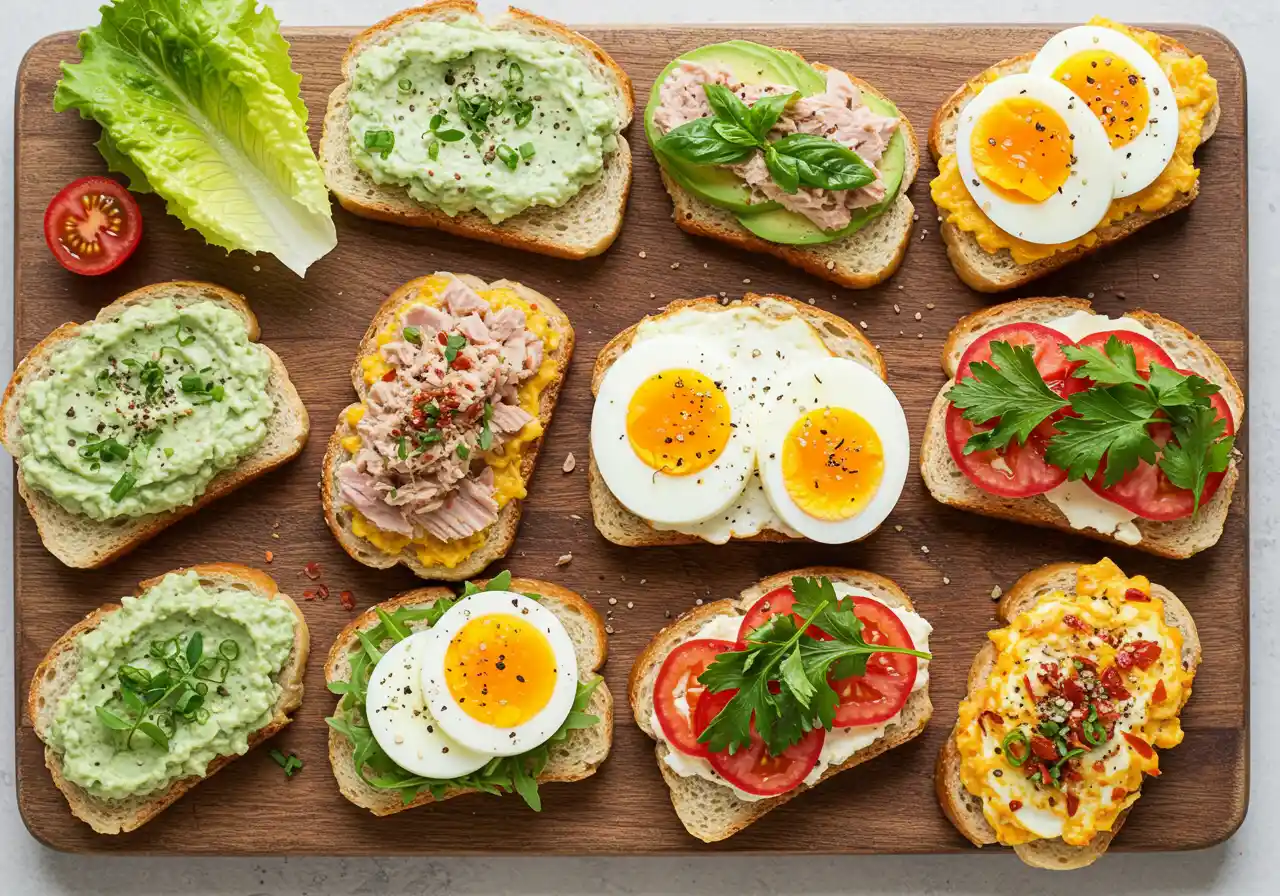
This recipe is also a fantastic way to hit your protein goals. It turns a necessary nutrient into a delightful treat. It works for a post workout snack, a guilt free dessert, or even as one of your new favorite breakfast ideas. These Ninja Ice Cream recipes healthy versions are so satisfying.
Finally, it’s really budget friendly. Protein bars and pre made high protein ice creams can be expensive. Making your own Ninja Creami recipes protein at home saves you money. You control the ingredients, so you know exactly what is going into your body. No strange additives or preservatives.
Ingredients
Here is the fun part. Think of this as a build your own adventure for ice cream. You just need to pick an item from each category to create your base. This is the foundation for your Ninja Creami recipes protein creation.
Base Liquid (Pick One)
- 240 milliliters Dairy milk (whole, low fat, or skim)
- 240 milliliters Fairlife or other high protein milk
- 240 milliliters Plant based milk (cashew, soy or barista style oat work best)
For Creaminess (Add One or Two)
These ingredients are key for that smooth, scoopable texture in your Ninja Ice Cream recipes healthy style.
- ½ a ripe banana (about 50 grams)
- 5 grams sugar free pudding mix
- ⅛ teaspoon xanthan or guar gum
For Extra Protein (Add One or More)
This is where we turn a simple treat into one of those great high protein meals.
- 20 grams protein powder (casein or a whey casein blend works best)
- 60 grams low fat cottage cheese (blend well so it’s smooth)
- 60 grams Greek yogurt
Flavor Boosters (Optional, Pre Freeze)
- A few drops of vanilla extract or other flavouring
- 1 teaspoon Sweetener to taste (e.g., stevia, honey, maple syrup)
- A dash of cinnamon or cocoa powder
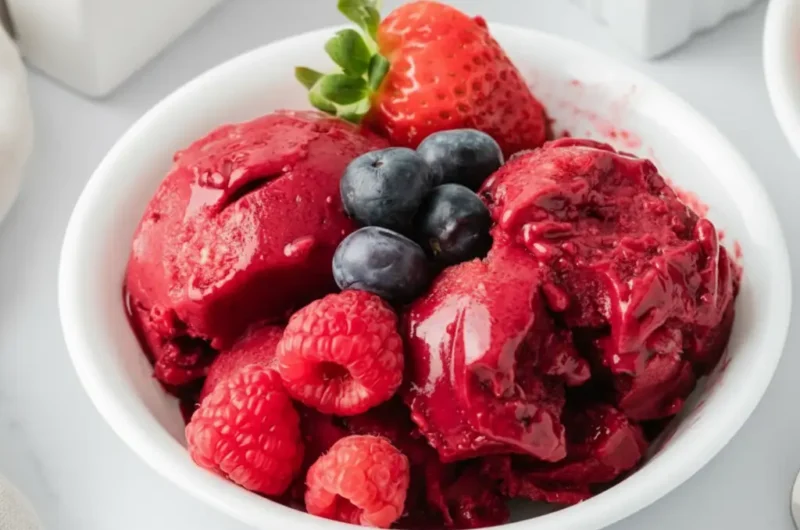
- Berries or frozen fruit
- pinch of salt to enhance flavor
After Freeze Mix Ins (Added at the End)
These are the goodies you add after spinning for extra texture and flavor.
- ½ chopped protein bar
- 10 grams peanut butter or almond butter
- 1 tablespoon Chocolate chips
- 1 to 2 tablespoons cereal or pretzels
Step By Step Instructions
Making your own Ninja Creami recipes protein is a straightforward process. Just follow these steps and you will be enjoying your creation in no time. It’s one of the easiest high protein meals you can make.
Step 1: Blend Your Base
First things first, you need to combine your base ingredients. Grab a blender or a milk frother. Add your milk of choice, protein powder, and your creaminess booster. A good blend is so important.
If you are using Greek yogurt or cottage cheese, you should definitely use a blender. This ensures there are no lumps in your final product. A smooth base makes for a smooth ice cream. This is also the time to add any pre freeze flavor boosters like vanilla or cocoa powder.
Step 2: Freeze For 24 Hours
Pour your blended mixture into the ninja creami pint container. Now comes the hard part, waiting. For the best texture, you need to freeze the base for a full 24 hours. This allows it to freeze solid all the way through.
If you are short on time, 12 hours can work. Just know that the texture might not be as good. A helpful tip is to freeze it with the lid off. This helps prevent that annoying little dome that sometimes forms on top.
Step 3: Soften Slightly Before Spinning
Your base will be a frozen solid block. You need to temper it just a little before it goes into the machine. This helps the ninja creami work its magic and avoids an icy texture around the edges.
I usually let it sit on the counter for about five to ten minutes. Another trick is to run the container under warm water for about 30 to 60 seconds. You just want to see the sides loosen up a tiny bit. You can also pop it in the microwave for 10 to 20 seconds.
Step 4: Spin It
Now for the main event. Place the container into your ninja creami machine. Select the Lite Ice Cream cycle and let it run. After the first spin, check the texture. Sometimes it looks a bit powdery or crumbly. Don’t worry, this is normal.
If it is powdery, just add a splash of milk and hit the re spin button. This usually does the trick. I would avoid going beyond two re spins. If it is still not creamy, something might be a little off with your base ratio. It’s a key step for all Ninja Creami recipes protein.
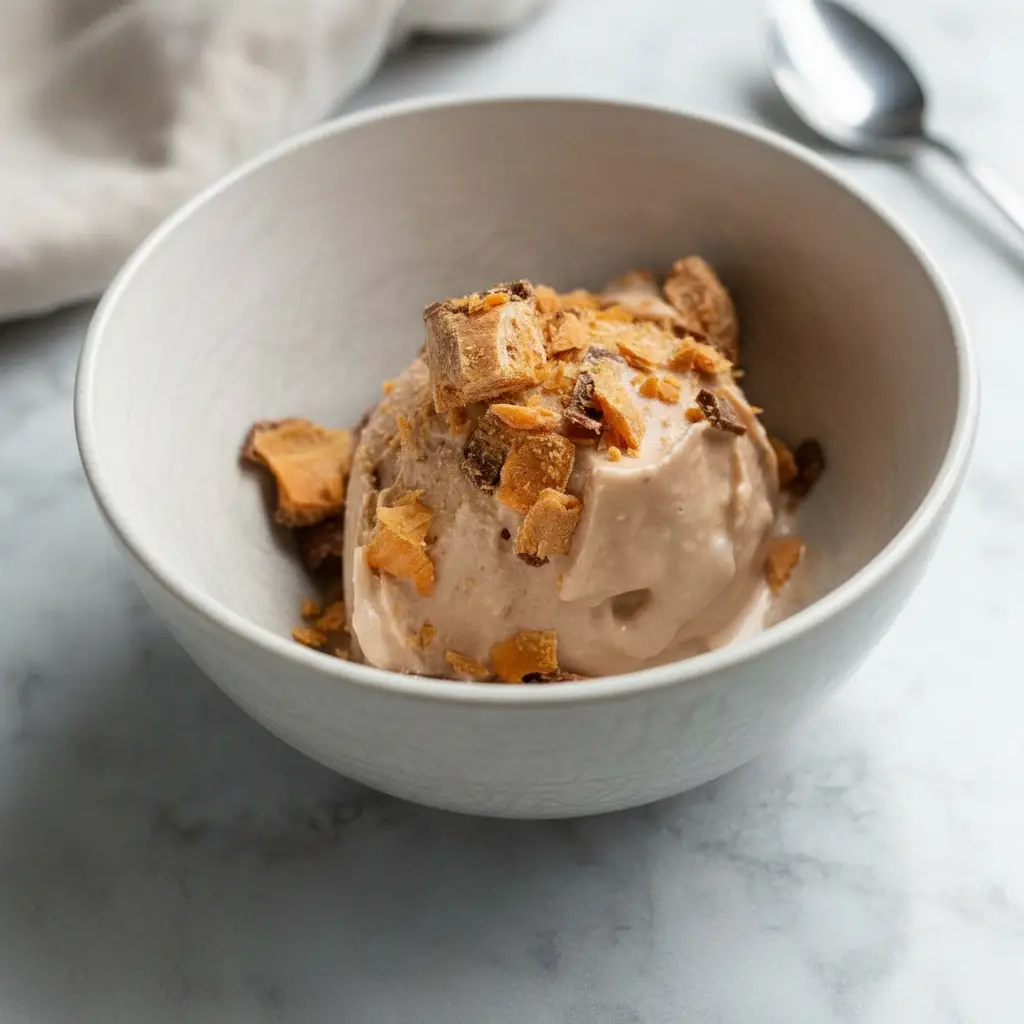
Step 5: Add Mix Ins
Once your ice cream is smooth and creamy, it is time for mix ins. Use a spoon to create a small hole in the center of the ice cream. Add your chopped protein bar, peanut butter, or whatever else you are using.
Place it back in the machine and run the mix in cycle. This will evenly distribute your goodies throughout the pint. You can also just mix them in by hand if you prefer a chunkier texture. This makes your Ninja Ice Cream recipes healthy but also fun.
Step 6: Serve and Enjoy!
That is it. You have successfully made a delicious protein ice cream. I recommend eating it all right away for the best experience. The texture is truly at its peak right after the final spin. Enjoy your homemade treat!

How To Store Leftovers
Honestly, these Ninja Creami recipes protein are best enjoyed fresh. The texture is just not the same after it has been refrozen. It tends to get much harder and icier than the first time around.
But if you do have leftovers, you can freeze them. Just smooth the top in the pint container, put the lid on, and place it back in the freezer. When you are ready to eat it again, you will need to re spin it.
You might need to let it soften on the counter for a few minutes first. Then run it on the Lite Ice Cream or re spin cycle. It likely won’t be as creamy as the first time, but it will still be a tasty protein packed snack.
Tips
Let’s talk about a few extra tips to make your Ninja Creami recipes protein experience even better. First, the type of protein powder matters. A casein or a whey casein blend generally produces a creamier result than pure whey isolate. Whey isolate can sometimes lead to a slightly icy texture.
Don’t be afraid to experiment with flavors. The base recipe is just a starting point. Think about your favorite dessert flavors and try to recreate them. Adding things like instant espresso powder, different extracts, or fruit purees to the base can lead to amazing results.
Also, a tiny pinch of salt can make a big difference. Salt enhances sweetness and balances flavors. It is a small addition that can really make your high protein meals and treats taste better. This is a pro tip for many sweet recipes, including these Ninja Ice Cream recipes healthy style.
Make sure your base is frozen completely solid. If the center is still a bit soft, the ninja creami blade might not be able to process it correctly. This can result in a soupy texture rather than a creamy one. Patience during the freezing stage is really important.
Finally, consider making a few bases at once. If you have extra pint containers, you can mix up several different flavors. Then just pop them in the freezer. This way, you will always have a base ready to spin whenever a craving strikes. It’s great for meal prepping your breakfast ideas too.
Conclusion
So there you have it. A simple, customizable formula for creating amazing Ninja Creami recipes protein. It is a wonderful way to enjoy a sweet treat while still hitting your nutrition goals. Say goodbye to boring shakes and hello to creamy, delicious ice cream.
With a ninja creami, you can easily make high protein meals and snacks that you will look forward to eating. I hope this guide inspires you to get creative and start spinning up your own unique flavors. Happy ice cream making!
FAQ
Can I Use Whey Isolate Protein Powder?
Yes, you can use whey isolate. However, casein or a whey casein blend is often recommended for Ninja Creami recipes protein. These types of protein tend to create a thicker, creamier texture. Whey isolate can sometimes result in a slightly icier final product.
Why Is My Protein Ice Cream Powdery?
A powdery or crumbly texture is very common after the first spin. It usually means the base is very cold and dry. To fix it, simply add a tablespoon or two of your base milk and use the re spin function. This adds a little moisture and helps it blend into a creamy texture.
Can I Make This Without Protein Powder?
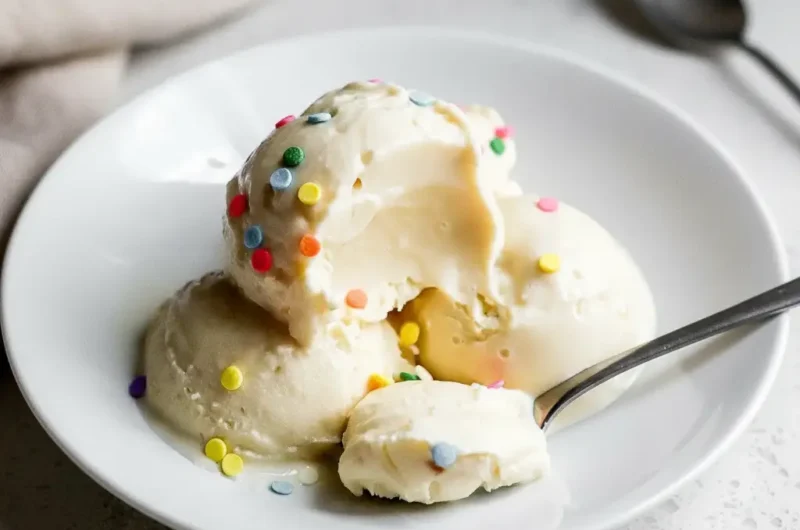
Absolutely. You can still make delicious ice cream in the ninja creami without protein powder. Use ingredients like Greek yogurt or cottage cheese for a protein boost. Or, you can make a more traditional light ice cream using milk, sweetener, and flavorings. The process remains the same.
What Are Some Good Flavor Combination Ideas?
The options are endless! For great breakfast ideas, try a vanilla base with cinnamon and add crushed cereal as a mix in. For a dessert, a chocolate base with peanut butter and a chopped protein bar is fantastic. Another favorite is a strawberry base with cheesecake pudding mix and graham cracker pieces.
Do I Have To Use Gums Like Xanthan Or Guar?
No, you do not have to use them. Gums are thickeners and stabilizers that help create a very smooth, soft serve like texture. They prevent ice crystals from forming. You can achieve a great texture using a sugar free pudding mix or a ripe banana instead. It is all about personal preference.
Ninja Creami Protein Ice Cream
A simple, customizable recipe for making creamy, high-protein ice cream at home using the Ninja Creami. Turn your daily protein shake into a delicious frozen treat.
Ingredients
Instructions
- In a blender or with a milk frother, combine your chosen milk, protein powder, and creaminess booster (like pudding mix or banana). Blend until completely smooth, ensuring no lumps remain.
- Pour the blended mixture into the Ninja Creami pint container. Secure the lid and place it in the freezer on a level surface. Freeze for at least 24 hours until frozen solid.
- Remove the pint from the freezer and let it sit on the counter for 5-10 minutes to temper slightly. This helps prevent an icy texture.
- Place the pint into the outer bowl, attach the lid with the blade, and secure it in the Ninja Creami machine. Select the ‘Lite Ice Cream’ cycle and run it.
- After the first spin, check the texture. If it’s powdery or crumbly, add a tablespoon of milk and run the ‘Re-spin’ cycle. Repeat if necessary.
- Once the ice cream is creamy, create a small hole in the center and add your desired mix-ins. Place it back in the machine and run the ‘Mix-In’ cycle.
- Serve immediately for the best creamy texture and enjoy your homemade protein ice cream.
Notes
A casein or whey-casein blend of protein powder generally produces a creamier result than pure whey isolate.
A tiny pinch of salt can make a big difference in enhancing the sweetness and balancing the flavors.
For best results, make sure your base is frozen completely solid. Patience during the freezing stage is key!
Consider making a few bases at once in separate pint containers so you always have one ready to spin.
Nutrition
Calories
Sugar
Fat
Carbs