Have you ever found yourself staring into the freezer, wishing for a scoop of delicious ice cream but not the guilt that comes with it? I have been there more times than I can count. That craving for something sweet, cold, and creamy is a powerful thing. But so often, store bought options are loaded with sugar and things I can’t even pronounce.
Well, what if I told you that you could make an amazing, flavorful, and satisfying frozen treat right at home? And what if it was also packed with protein? It sounds pretty good, right? This is where the magic of this Creami Ninja Recipe comes into play. It has completely changed my dessert game, and I know it will change yours too.
Jump To:
Why You’ll Love This Recipe
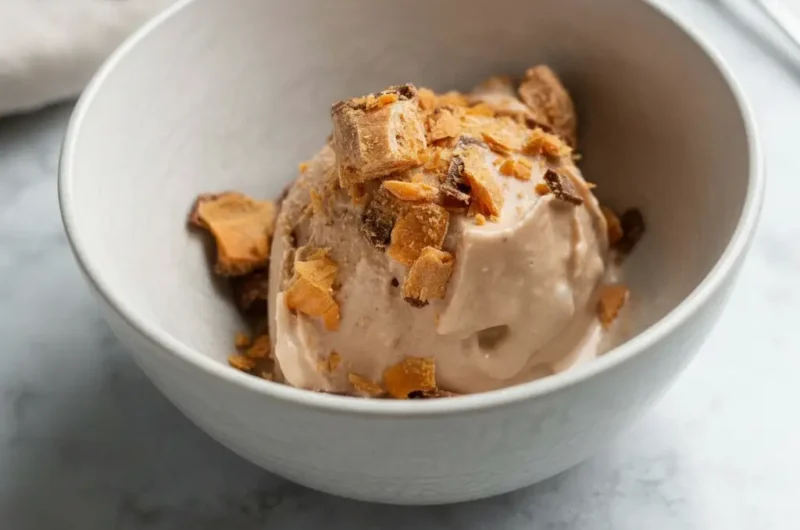
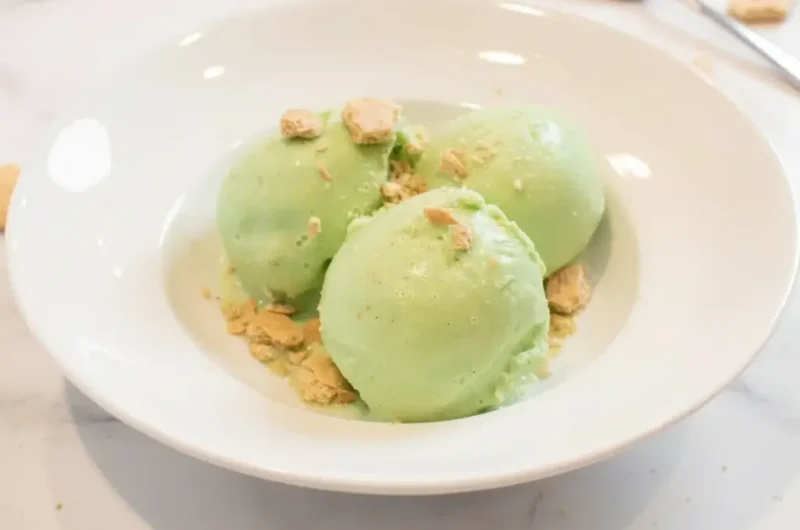
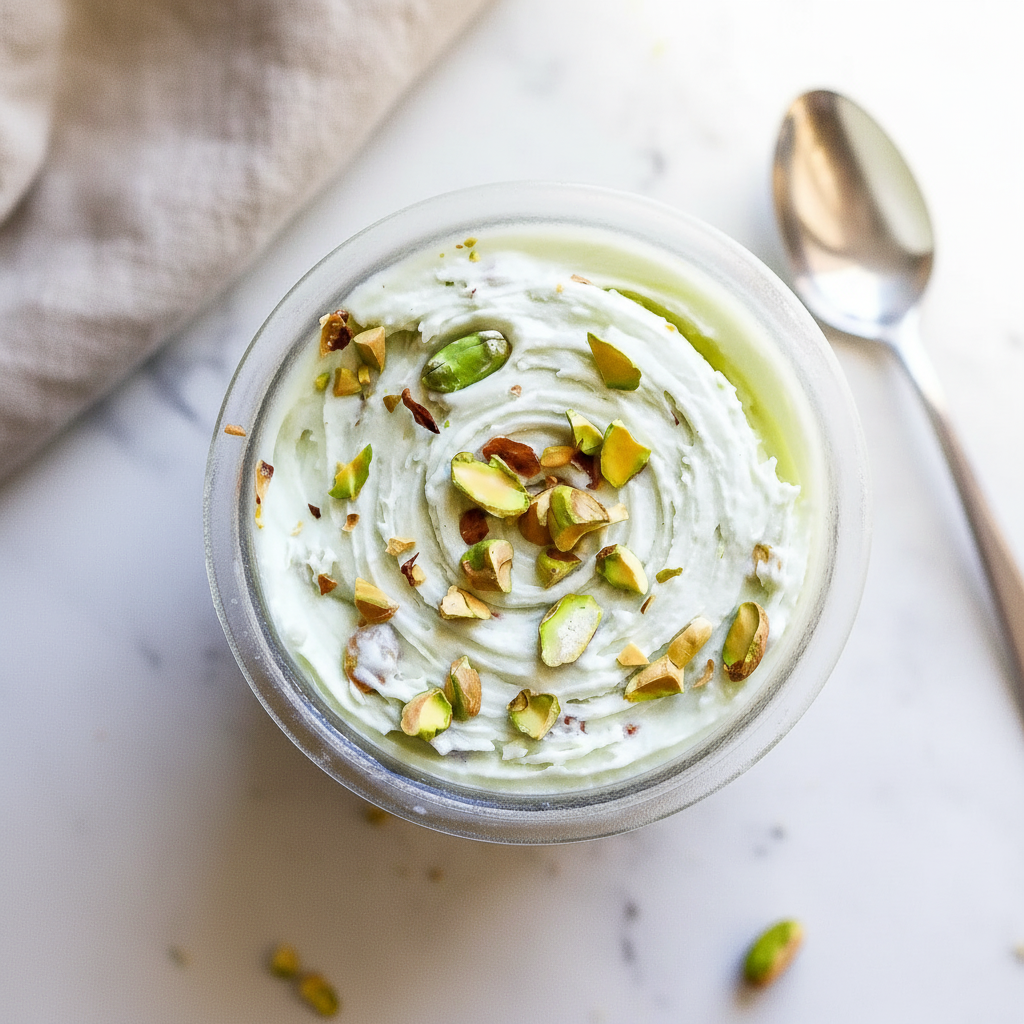
Honestly, there are so many reasons to adore this pistachio Protein Ice Cream. First and foremost is the flavor. It has this wonderfully nutty and slightly sweet pistachio taste that feels so luxurious. It’s not overpowering at all, just a gentle, authentic flavor that is truly satisfying.
Another huge plus is how simple it is to prepare. You are basically just mixing a few ingredients together and letting the freezer and the ninja creami do all the heavy lifting. There is no complicated churning or watching over a machine for hours. It’s a set it and forget it kind of situation until you are ready to spin.
We also have to talk about the texture. The ninja creami machine is a wizard at creating an incredibly smooth and creamy final product. You will be amazed that something with so few ingredients, and so much protein, can come out with a texture that rivals your favorite ice cream parlor. It’s just so good.
And of course, the nutrition is a major highlight. This is one of the best Ninja Creami Ice Cream Recipes High Protein Low Cal you will find. It is a fantastic way to satisfy your sweet tooth while also hitting your protein goals for the day. It makes for a great post workout refuel or a late night snack that you can feel really good about eating.
It’s also incredibly customizable. While this pistachio version is a favorite of mine, you can easily use this base Creami Ninja Recipe to create other flavors. Think of it as a blank canvas for all your frozen dessert dreams. You can swap out the flavorings and mix ins to your heart’s content.
Ingredients
The ingredient list for this is beautifully simple. You do not need a ton of complicated items to create something truly delicious. Here is what you will need to gather.
- 1 cup Fairlife skim milk
- ¾ cup unsweetened almond milk
- 2 tbsp sugar free pistachio flavored mix (with a plant based gelling agent)
- 1 scoop vanilla protein powder
- 1 tbsp powdered monk fruit sweetener
- 2 tbsp raw pistachios
A quick note on the ingredients. The Fairlife milk is great because it is ultra filtered, which means it is higher in protein and lower in sugar. The pistachio mix with a gelling agent like guar gum or xanthan gum helps create that creamy texture we all love. It prevents ice crystals from forming, which is key for a smooth finish.
Step By Step Instructions
Ready to make some magic? Following these steps will give you the most amazing Protein Ice Cream. It is so easy, you will be making this all the time. Let’s get started.
Step 1: Mix Your Base
First things first, grab your ninja creami pint container. You are going to add all of your ingredients into it except for the raw pistachios. So, in goes the skim milk, almond milk, pistachio flavored mix, vanilla protein powder, and the monk fruit sweetener.
Make sure you do not fill it past the max fill line printed on the side of the pint. This is super important because the mixture will expand a bit as it freezes.
Now, take a handheld frother or a small whisk and mix everything together really well. You want to make sure the protein powder and the pistachio mix are completely dissolved. There should be no clumps left. A frother works wonders here, making the base light and airy in just a few seconds.
Step 2: Freeze The Pint
Once everything is smoothly combined, secure the lid on your pint container. Now for the hardest part of the whole process. The waiting game. Place the pint on a level surface in your freezer. You need to let it freeze for a full 24 hours.
I know, waiting is tough. But this step is absolutely critical for the ninja creami to do its job properly. The base needs to be frozen completely solid, all the way through. Do not try to rush this step, or you will end up with a soupy result.
Step 3: The First Spin
After 24 hours, it is time for the fun to begin. Take your frozen pint out of the freezer. Sometimes the sides of the pint can get a little frosty, so I like to run the container under hot water for about 60 seconds. This helps loosen it just enough.
Remove the lid from the pint and place it into the outer bowl of your machine. Install it into your ninja creami and lock it into place. For this first spin, you are going to select the Lite Ice Cream button. Let the machine work its magic. It will be loud, but that is normal.
Step 4: Check And Respin If Needed
Once the cycle is finished, remove the outer bowl lid. Take a look at the texture. It is very common for the ice cream to look a bit powdery or crumbly after the first spin. Do not worry. This is a totally normal part of the process for many Ninja Cremini Recipes Protein.
If it does look powdery, simply put the pint back into the machine and press the Respin button. This second cycle is often what takes the mixture from crumbly to creamy. Let it run through the full respin cycle.
After the respin, check it again. The final product should be delightfully creamy with a smooth texture. If for some reason it is still not quite at your desired consistency, you can add a tablespoon of milk or almond milk and spin it one more time on the respin setting. This usually does the trick.
Step 5: Add The Mix Ins
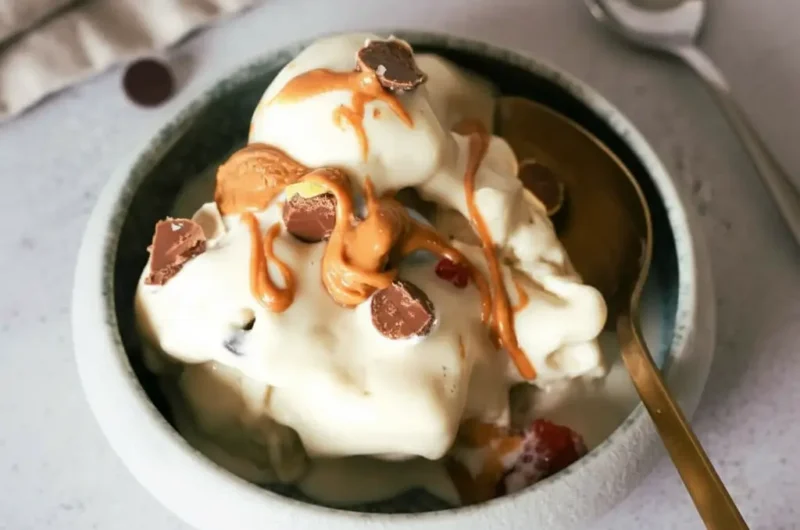
Now that your ice cream base is smooth and perfect, it is time for the best part. The mix ins. Create a small well in the center of your ice cream and add your raw pistachio pieces. You can chop them up or leave them whole, whatever you prefer.
Place the pint back into the machine one last time and press the Mix In button. This cycle is much shorter and is designed to gently fold your pistachios into the ice cream without completely pulverizing them. Once it is done, your delicious pistachio Protein Ice Cream is ready to enjoy.
How To Store Leftovers
If you somehow have leftovers, storing them is easy. Just smooth out the top of the ice cream in the pint container to make it level. Place the storage lid back on securely and pop it back into the freezer. It is best to store it on a flat surface to keep it even.
When you are ready for another scoop, you will likely need to process it again. The ice cream will freeze very hard. Just take it out, place it back in the machine, and use the Lite Ice Cream or Respin setting to bring it back to that wonderful creamy texture. It will be just as good as the first time.
Tips
Here are a few extra tips to make sure your Creami Ninja Recipe comes out perfectly every single time. First, make sure your freezer is set to a very cold temperature. The more solid your base is, the better the final texture will be.
Do not be afraid of the respin button. I almost always have to use it. It is a key step in getting that super creamy consistency, especially for high protein and low fat recipes. Patience is your friend here.
Feel free to experiment with your protein powders. Different brands and types like whey or casein can slightly alter the texture. I find that a whey casein blend often yields the creamiest results in these Ninja Cremini Recipes Protein, but a good quality vanilla whey works great too.
Finally, taste your base before you freeze it. This gives you a chance to adjust the sweetness if needed. You might prefer a little more monk fruit sweetener, or a little less. It is all up to your personal preference.
Conclusion
And there you have it. A truly simple and delicious Creami Ninja Recipe that delivers on both flavor and nutrition. This pistachio Protein Ice Cream has become a staple in my house, and I am so excited for you to try it too. It proves that you do not have to choose between a tasty dessert and a healthy lifestyle.
The ninja creami opens up a world of possibilities for homemade frozen treats. From sorbets to milkshakes to amazing ice creams like this one, it is a tool that empowers you to get creative in the kitchen. So go ahead, give this recipe a try and enjoy every single creamy spoonful.
FAQ
Can I Use A Different Type Of Milk?
Absolutely. You can substitute the skim milk and almond milk with other options like whole milk, 2 percent milk, or even a full fat coconut milk for a richer result. Just be aware that changing the fat and sugar content can slightly affect the final texture. You might need an extra respin.
What If I Don’t Have Pistachio Flavored Mix?
No problem. You can use a sugar free vanilla pudding mix instead and add a small amount of almond extract to get a similar nutty flavor profile. Or, you can blend some actual pistachio butter directly into the base before freezing for an even more authentic taste.
Why Is My Ice Cream Powdery?
A powdery or crumbly texture is very common, especially with low fat and high protein bases like this one. It usually just means it needs another spin to become creamy. Add a tablespoon of liquid and use the Respin function. This almost always solves the problem and results in a smooth texture.
Can I Make This Creami Ninja Recipe Without Protein Powder?
You can, but it will change the nutritional profile quite a bit. If you omit it, I would recommend adding a bit more of the pistachio or a vanilla pudding mix to help with the texture and flavor. The protein powder adds creaminess and stability, so the result may be more icy without it.
What Are Some Other Good Mix In Ideas?
The possibilities are endless. For this pistachio base, white chocolate chips would be amazing. You could also add some crushed graham crackers, a swirl of sugar free caramel, or even some dark chocolate chunks. Get creative and have fun with it.
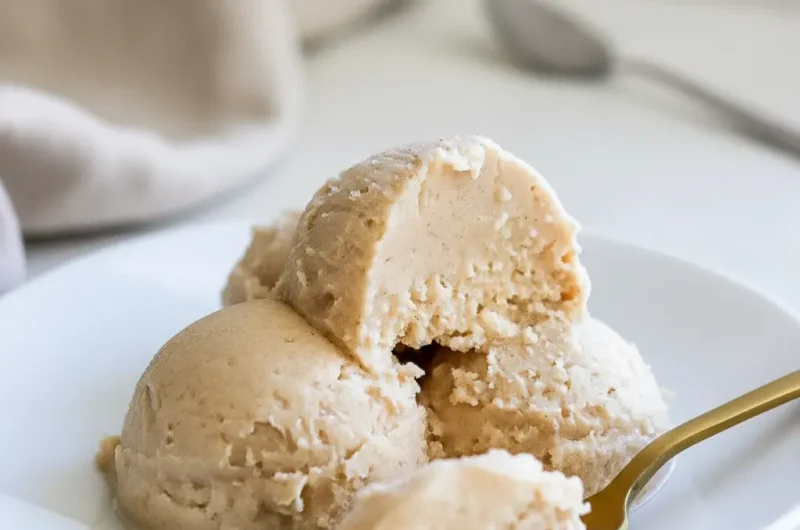
High Protein Pistachio Ice Cream
Enjoy a guilt-free frozen treat with this simple high-protein pistachio ice cream. Made easily in a Ninja Creami, it has a wonderfully nutty flavor and a smooth, creamy texture that rivals any ice cream parlor.
Ingredients
Instructions
- Mix the Base: In a Ninja Creami pint container, add the skim milk, almond milk, pistachio mix, vanilla protein powder, and monk fruit sweetener. Do not fill past the max fill line. Use a frother or whisk to mix thoroughly until no clumps remain.
- Freeze Solid: Secure the lid on the pint and place it on a level surface in the freezer. Freeze for at least 24 hours, ensuring it is completely solid.
- First Spin: Remove the pint from the freezer. Place it into the outer bowl and install it into the Ninja Creami machine. Select the “Lite Ice Cream” function and let it run a full cycle.
- Respin for Creaminess: After the first spin, the texture might be powdery. If so, reinstall the pint and press the “Respin” button. If it’s still not creamy, add 1 tablespoon of milk and respin one more time.
- Add Mix-Ins: Once the base is smooth and creamy, create a small well in the center and add the raw pistachios. Reinstall the pint and select the “Mix-In” function to incorporate them. Serve immediately.
Notes
Ensure your freezer is set to a very cold temperature for the best results.
Don’t hesitate to use the ‘Respin’ function; it’s often necessary for high-protein, low-fat bases to become creamy.
For leftover ice cream, level the top and refreeze. You will need to re-process it in the Ninja Creami before serving again.
Nutrition
Calories
Sugar
Fat
Carbs