Have you ever craved a big bowl of creamy, delicious ice cream but wanted to stick to your health goals? I know I have. It can feel like a real challenge to find desserts that are both satisfying and good for you. Well, get ready to meet your new favorite kitchen gadget and recipe.
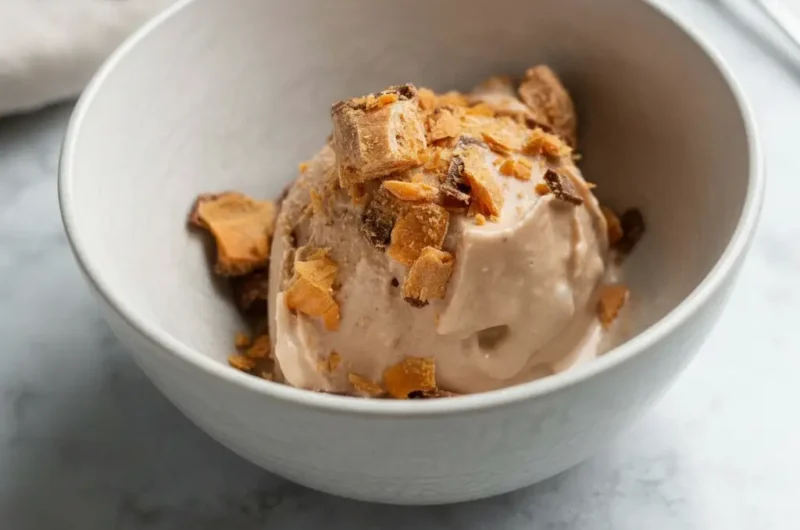
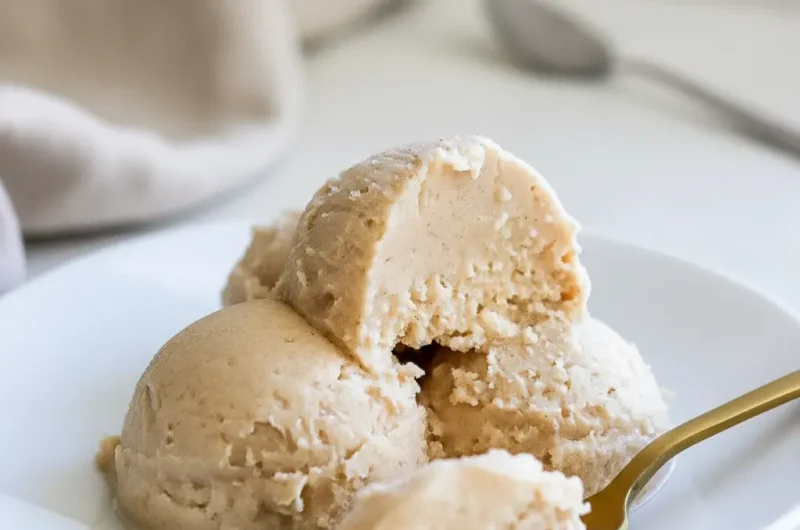
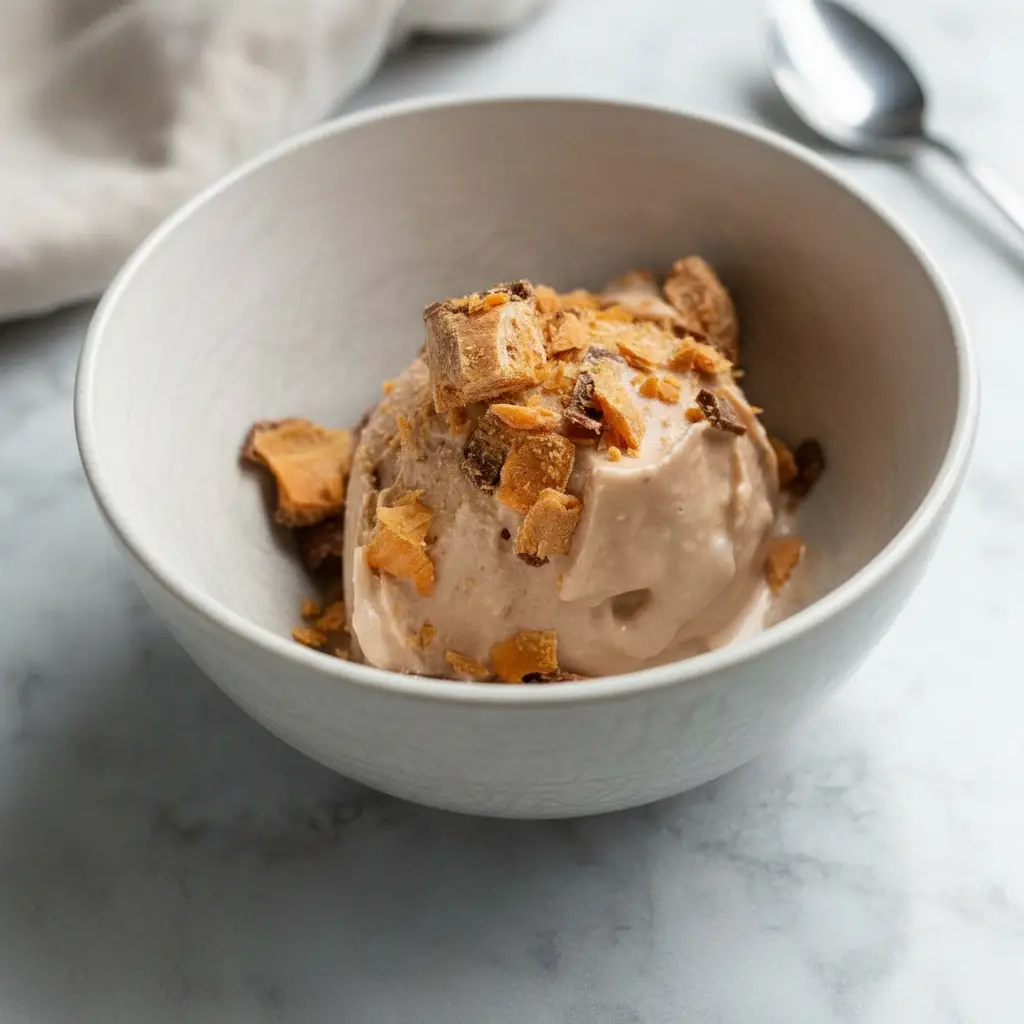
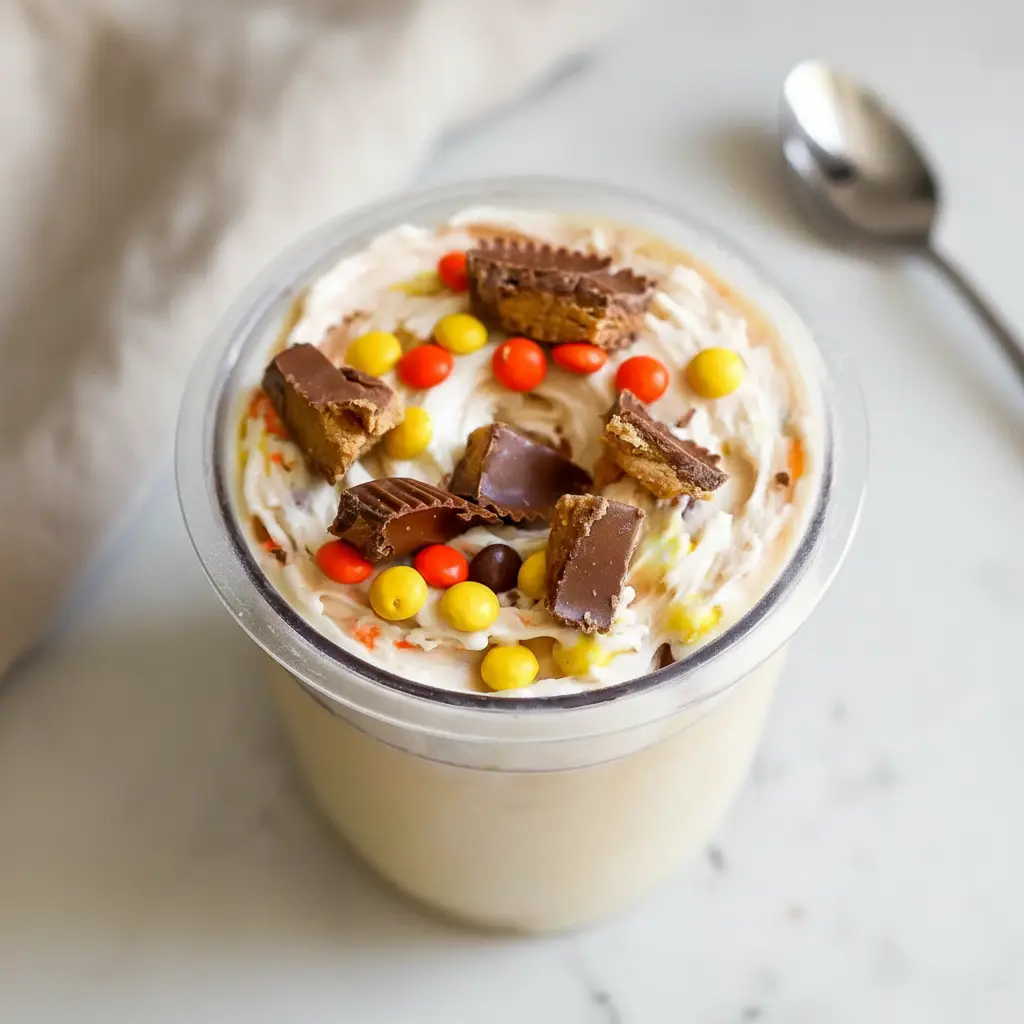
This Healthy Ninja Creami Recipe is a total game changer. It uses the amazing ninja creami machine to turn simple ingredients into a rich, smooth, and flavorful frozen treat. Seriously, this peanut butter cookie ice cream will blow you away. Let’s get started!
Jump To:
Why You’ll Love This Recipe
First off, the flavor is just incredible. We are talking rich peanut butter goodness in every single spoonful. It’s the kind of dessert that feels like a real indulgence, not a compromise. It truly is one of the best Ninja Ice Cream Recipes Healthy you will ever try.
Another great thing is the protein content. Thanks to a scoop of protein powder, this isn’t just empty calories. It’s a treat that can actually fit into your fitness routine. What a fantastic way to satisfy your sweet tooth after a workout.
The texture is also something special. The ninja creami works its magic to create an unbelievably smooth and creamy consistency. It’s just like the premium ice cream you’d buy at a shop, but you made it right at home.
And let’s talk about how easy it is. You just mix a few ingredients, freeze them, and let the machine do the hard work. This is a very straightforward Healthy Ninja Creami Recipe for beginners.
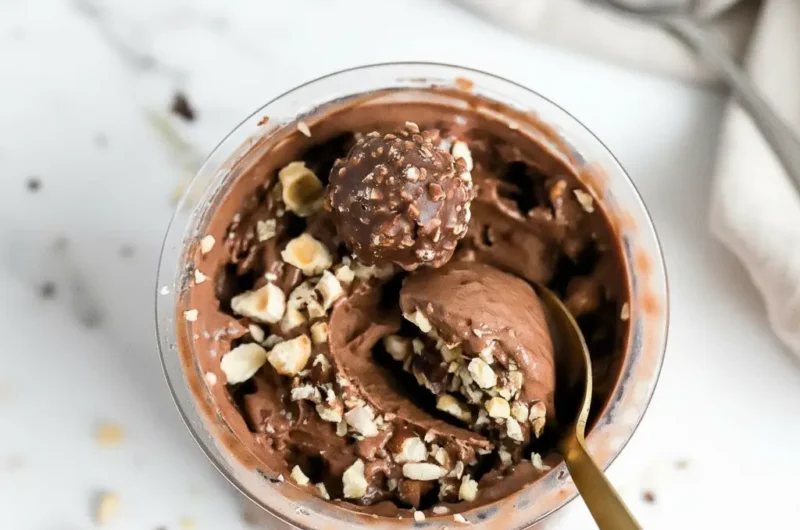
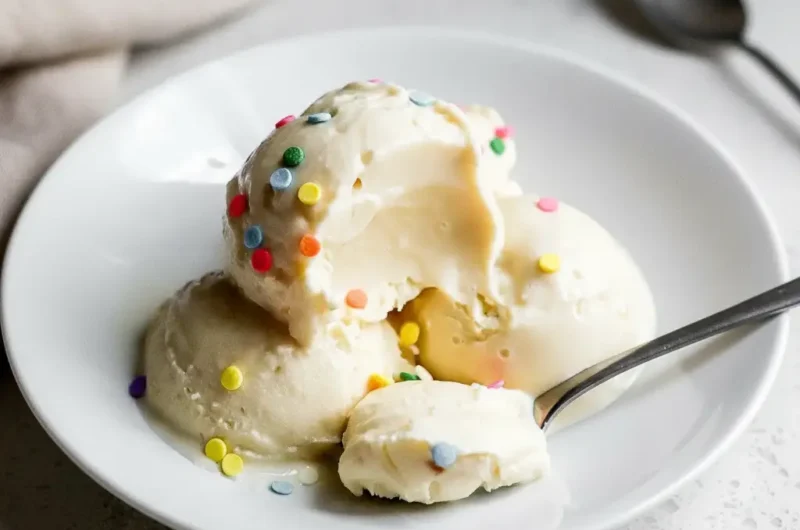
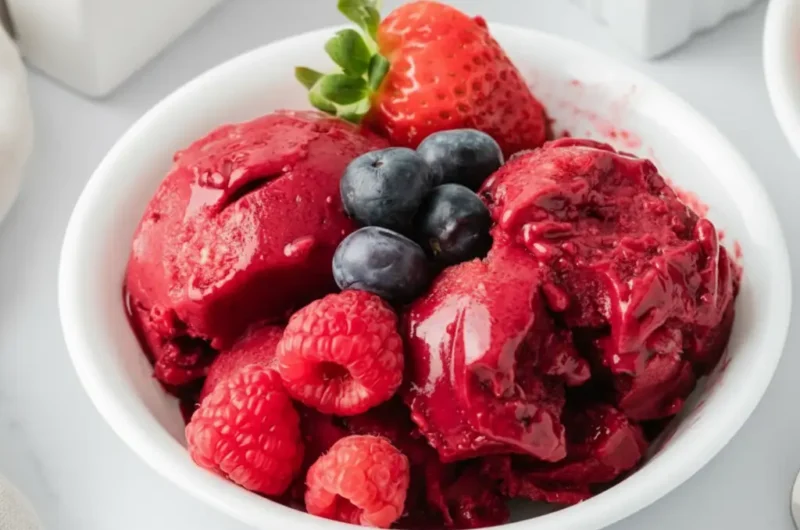
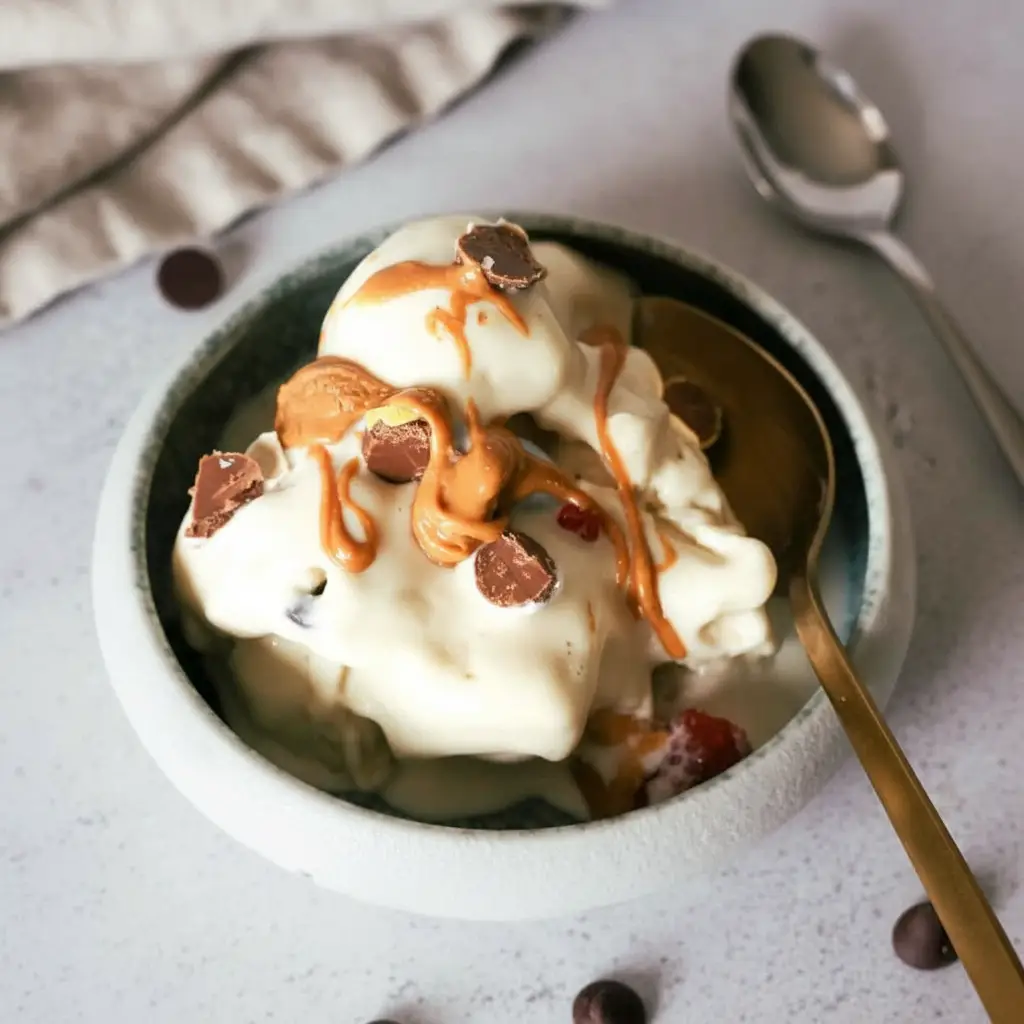
Finally, you can customize it however you like. We are using Reese’s in this version, but you could add chocolate chips, cookie dough pieces, or anything else you can dream of. The possibilities are truly endless.
Ingredients
Here is what you will need to make this fantastic treat. The ingredients are simple and easy to find. I find this combination gives the best results for Protein Ice Cream Ninja Creami Recipes.
- 1 cup Fairlife 2% milk
- 1 cup unsweetened almond milk
- 1 scoop Peanut Butter Cookie protein powder (I use PEScience)
- 1 tbsp vanilla jello pudding mix (the instant kind)
- 1.5 tbsp PB Fit or other powdered peanut butter
- Optional: Reese’s peanut butter cups or Reese’s pieces, chopped
Step-By-Step Instructions
Making this Healthy Ninja Creami Recipe is a breeze. Just follow these simple steps, and you will be on your way to frozen dessert heaven. It’s one of my favorite things to make.
Step 1: Mix The Base
First, grab your ninja creami pint container. Add all the ingredients except for your mix ins. So, that’s the Fairlife milk, almond milk, protein powder, pudding mix, and PB Fit.
Use a handheld frother to blend everything together until it’s completely smooth. Make sure you don’t fill the container past the max fill line. You want to leave room for the magic to happen.
Step 2: Freeze It Solid
Once your base is mixed, put the lid on the pint container and place it in the freezer. Make sure it is on a level surface. You will want to freeze it for a full 24 hours. This ensures it gets frozen solid, which is key for a creamy result.
Step 3: Prepare The Pint
After 24 hours, take the frozen pint out of the freezer. The outside of the container will be very cold. Run it under hot water for about 60 to 90 seconds. This helps loosen the base from the sides just a little bit.
Step 4: The First Spin
Now for the fun part. Place the pint container into the outer bowl, attach the lid with the blade, and lock it into your ninja creami machine. Press the Lite Ice Cream button and let it run through the cycle.
Step 5: Check And Respin
After the first spin, take it out and check the texture. Sometimes it can look a little powdery or crumbly. Don’t worry, this is normal! If it does, simply put it back in the machine and press the Re Spin button.
Check it again. It should now be creamy and smooth. If for some reason it’s still not quite right, you can add one tablespoon of milk and use the Re Spin setting one more time. This is a great trick for many Ninja Ice Cream Recipes Healthy.
Step 6: Add Mix Ins
Once you have that perfect creamy texture, it’s time to add your goodies. Use a spoon to create a small hole in the center of the ice cream, about an inch wide, all the way to the bottom. Drop in your chopped Reese’s pieces.
Place the pint back into the machine and press the Mix In button. This will blend your candy pieces evenly throughout the ice cream. Once it’s done, your amazing homemade Healthy Ninja Creami Recipe is ready to enjoy!
How To Store Leftovers
If you somehow have leftovers, storing them is easy. First, smooth out the top of the ice cream in the pint container as flat as you can get it. This helps prevent ice crystals from forming.
Then, just pop the storage lid back on and place it back in the freezer. When you are ready to eat it again, you will need to process it in the ninja creami once more. Just use the Lite Ice Cream or Re Spin setting to bring it back to that creamy texture.
Tips
Here are a few extra tips to make sure your Healthy Ninja Creami Recipe comes out great every time. These little tricks can make a big difference, especially if you are new to making Protein Ice Cream Ninja Creami Recipes.
- Milk Matters: You can use Fairlife skim milk instead of 2% if you prefer. Just know that a higher fat content in the milk will generally result in a richer and smoother ice cream. It adds to that dreamy mouthfeel.
- Patience is Key (Usually): While freezing for a full 24 hours gives the best results, sometimes you just can’t wait. If you only froze it for 12 to 16 hours, you can still make it work. Just skip the Re Spin button and use the Mix In cycle instead after the first spin. This prevents it from getting too soupy.
- Powdery Problems: If your ice cream comes out looking like powder after the first spin, your first instinct might be to add more liquid. Hold on! Try using the Re Spin button first. More often than not, a second spin is all it needs to become perfectly creamy.
- Prep Your Mix Ins: I always recommend chopping or crushing your mix ins before you start. It’s much easier to have them ready to go when your ice cream base is finished. This makes the final step quick and easy.
Conclusion
And there you have it! A simple, delicious, and satisfying Healthy Ninja Creami Recipe that you can feel good about eating. It’s the ideal way to enjoy a sweet treat without derailing your health and fitness goals.
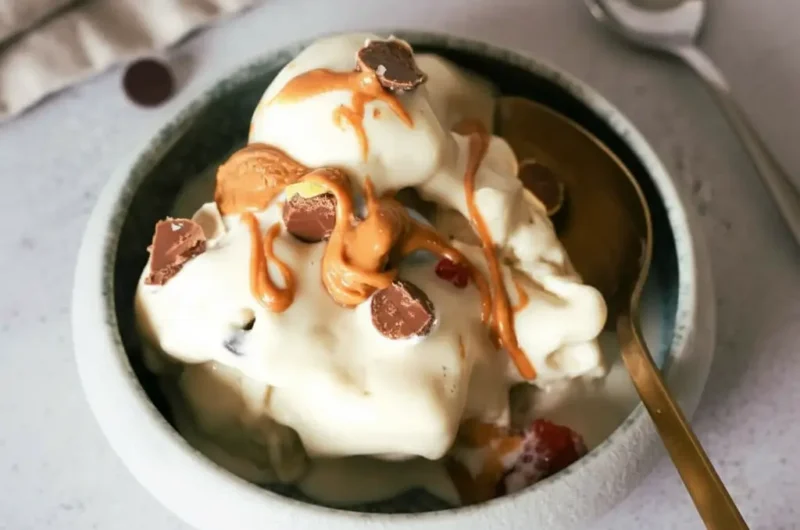
The combination of creamy peanut butter ice cream and chunks of candy is just so good. I really hope you give this recipe a try. It has become a staple in my house, and I am sure it will in yours too. Enjoy every spoonful!
FAQ
Can I Use A Different Protein Powder?
Yes, you absolutely can. However, keep in mind that different protein powders can affect both the taste and texture. Some are sweeter than others, and some blend up thicker. Feel free to experiment with your favorite brand.
What If I Don’t Have A Handheld Frother?
No problem. You can use a regular blender to mix the base ingredients. Just blend for a few seconds until smooth. You can also just add all ingredients to the pint, close the lid tightly, and shake it very vigorously for a minute.
Is This Recipe Gluten Free?
Whether this Healthy Ninja Creami Recipe is gluten free depends on your specific ingredients. Most protein powders and pudding mixes are gluten free, but you should always check the labels. Also, be mindful of your mix ins.
Can I Make This A Vegan Healthy Ninja Creami Recipe?
Yes, you can easily adapt this to be vegan. Use a plant based milk like almond or oat milk for the entire base. Then, choose a vegan protein powder. Make sure your pudding mix is dairy free, and select vegan mix ins. It works wonderfully.
Healthy Peanut Butter Cookie Ninja Creami
A simple and delicious recipe for high-protein peanut butter cookie ice cream made in the Ninja Creami. This healthy frozen treat is smooth, flavorful, and easy to customize for a satisfying dessert.
Ingredients
Instructions
- In a Ninja Creami pint, combine both milks, protein powder, pudding mix, and powdered peanut butter. Blend with a frother until smooth.
- Secure the lid and freeze on a level surface for at least 24 hours until frozen solid.
- Remove the frozen pint and run the outside under hot water for 60-90 seconds.
- Place the pint in the machine and process using the ‘Lite Ice Cream’ function.
- If the texture is powdery, place the pint back in the machine and use the ‘Re-Spin’ function. It should now be creamy.
- Create a hole down the center of the ice cream, add your chopped mix-ins, and process using the ‘Mix-In’ function.
- Serve immediately and enjoy your homemade protein ice cream!
Notes
Milk Matters: Higher fat content in milk (like 2% vs. skim) will result in a richer, creamier texture.
Patience is Key: For the best results, freeze for the full 24 hours. This ensures the base is solid enough for a creamy spin.
Powdery Problems: Always try the ‘Re-Spin’ button before adding more liquid if your ice cream is crumbly after the first spin.
Prep Your Mix-Ins: Have your candy or other mix-ins chopped and ready to go before you start spinning the ice cream base.
Nutrition
Calories
Sugar
Fat
Carbs