Have you ever found yourself staring into the freezer, wishing for a scoop of ice cream that wont derail your health goals? I know I have. It’s that classic dilemma. You want something sweet, creamy, and satisfying, but you also want to feel good about what you’re eating. It can feel like an impossible choice sometimes.
Well, what if I told you that you can have it all? Enter the world of homemade frozen treats. Specifically, I’m talking about these incredible High Protein Ninja Creami Recipes. They are a true delight for anyone who loves a good dessert but also wants to pack in some serious protein. This recipe is your new best friend.
Jump To:
Why You’ll Love This Recipe
Honestly, there are so many reasons to get excited about this. First off, it’s ridiculously easy to make. You don’t need to be a chef or have any fancy skills. If you can stir a few ingredients together in a pint, you are golden. It’s a simple process that delivers amazing results every single time.
The protein content is just amazing. We are talking about 60 grams of protein per pint. That is huge. It transforms a simple dessert into a powerful, muscle supporting snack. It’s a fantastic way to hit your protein macros while satisfying your sweet tooth. It’s one of my favorite Clean Simple Eats Ninja Creami Recipes for this very reason.
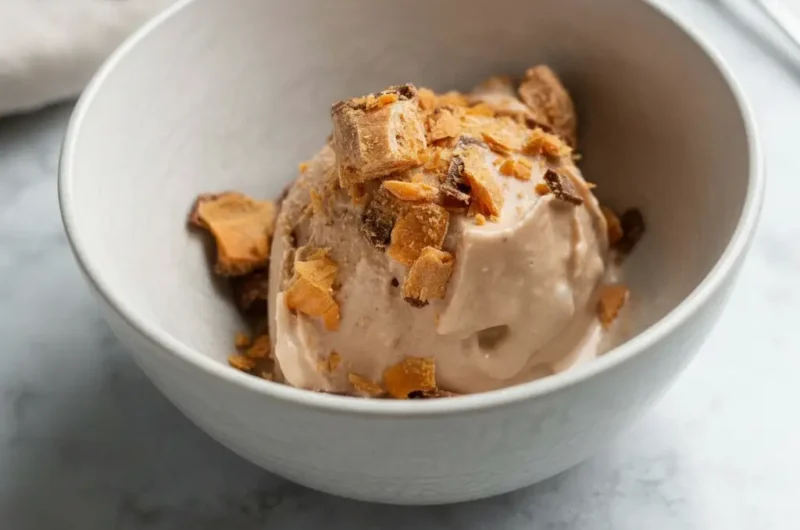
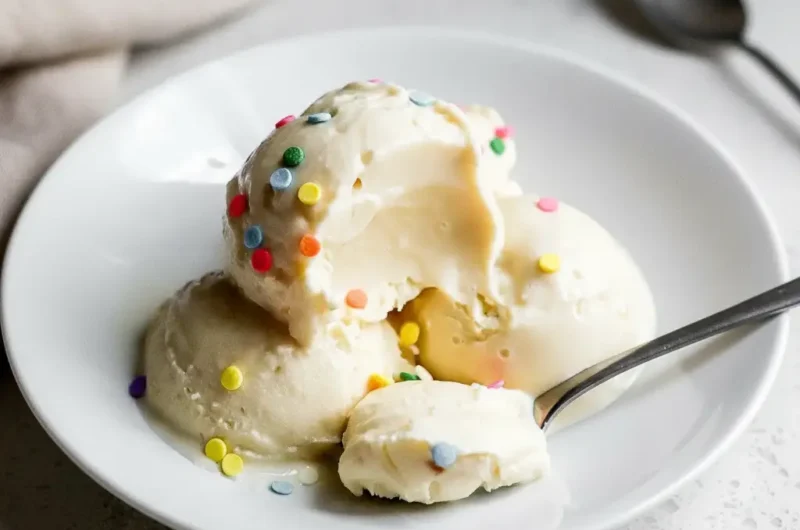
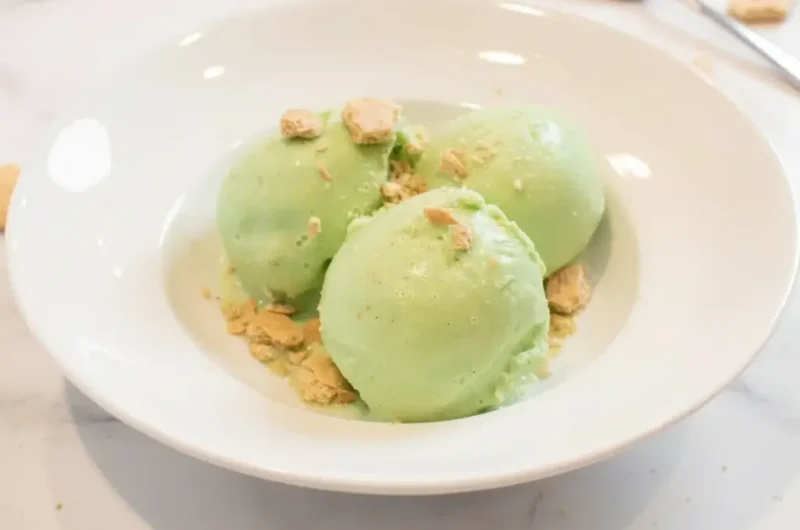
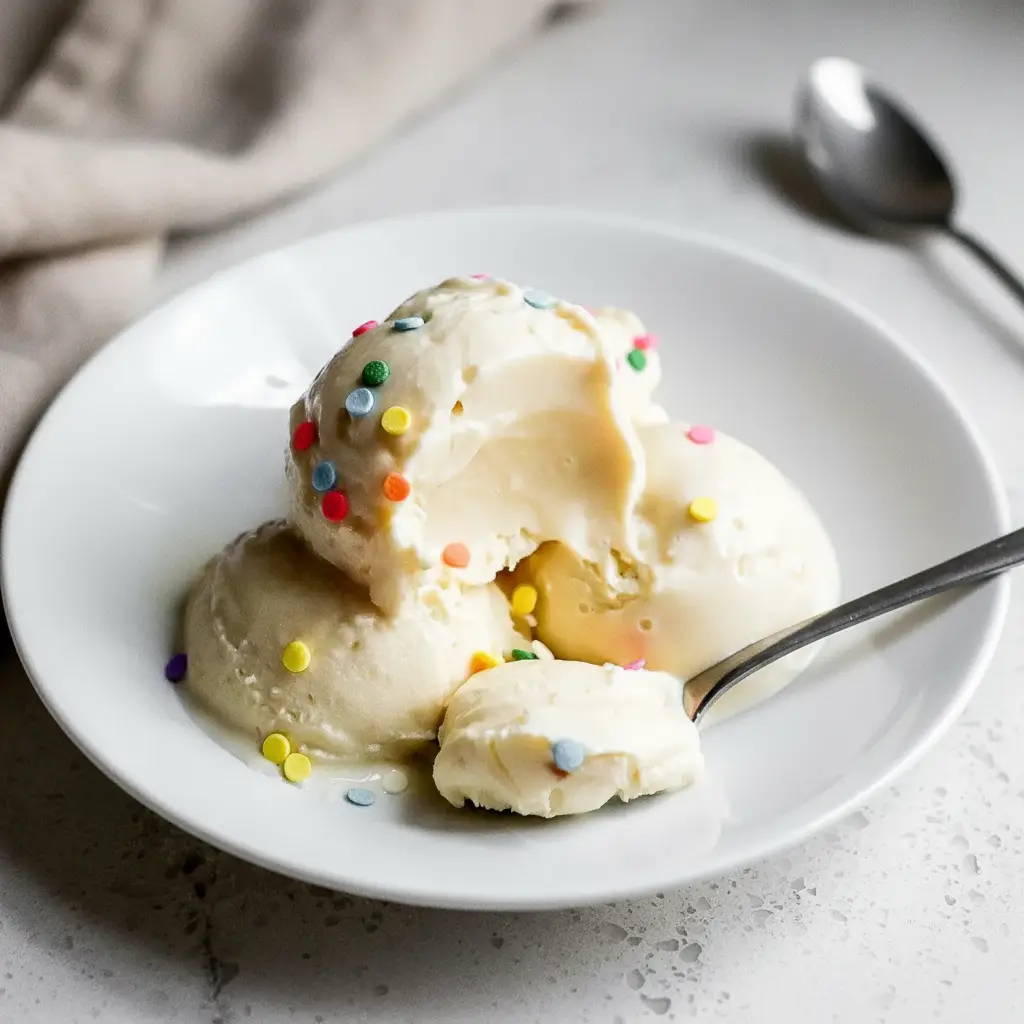
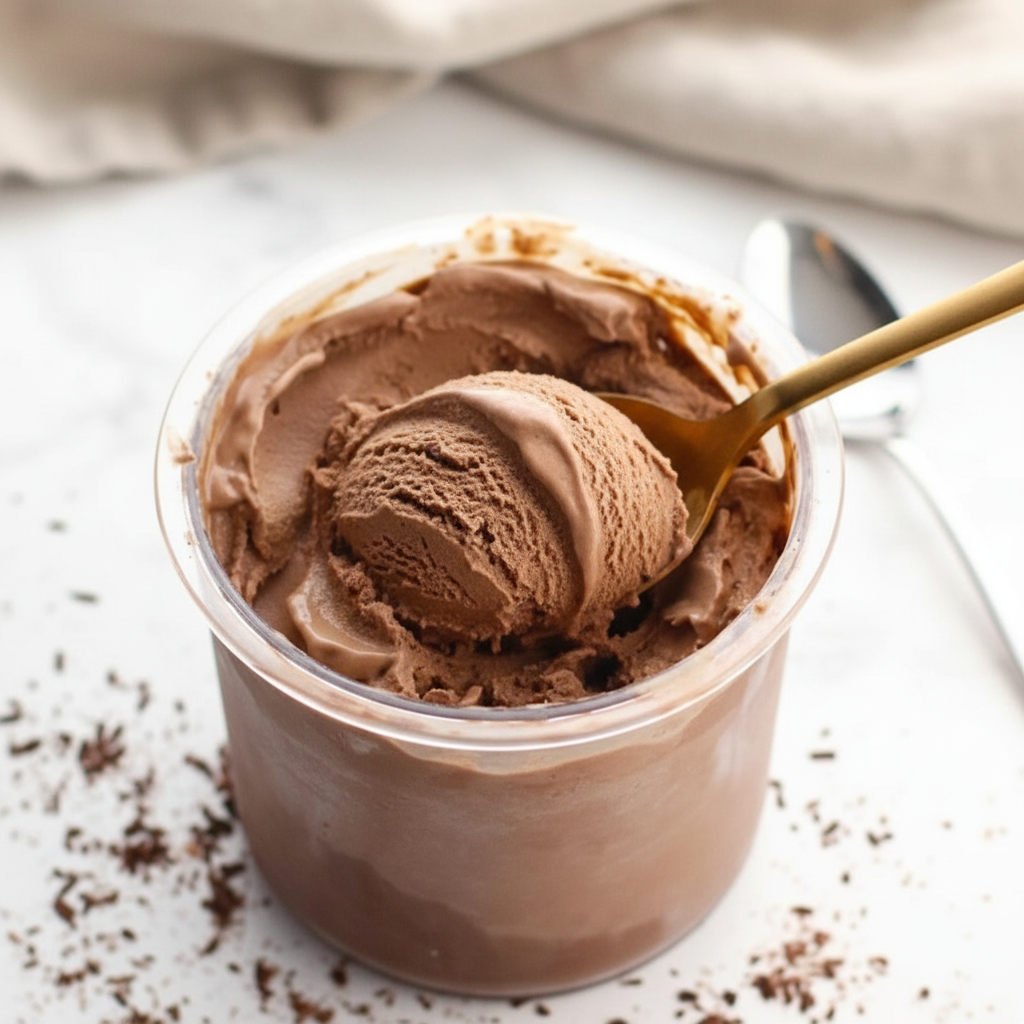
Plus, the texture is out of this world. The Ninja Creami works its magic, turning a solid frozen block into a smooth, luscious, and creamy frozen yogurt. It’s just like what you would get at a fancy frozen yogurt shop, but you made it right in your own kitchen. It’s so much fun to watch the transformation.
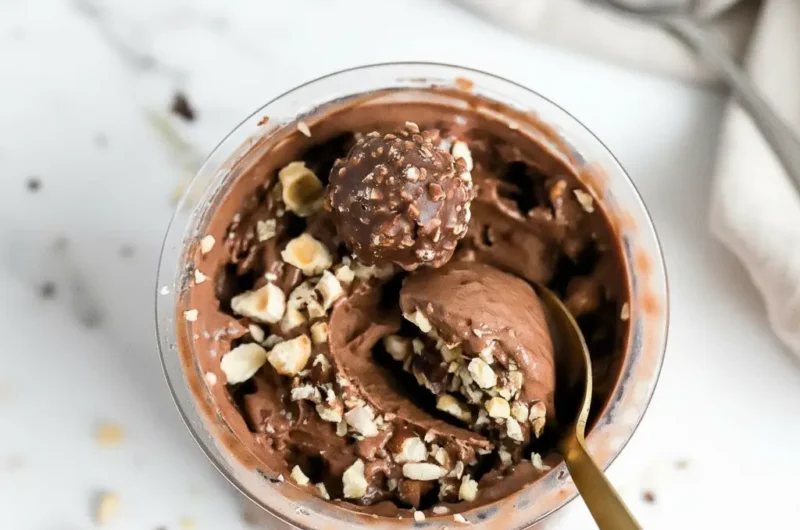
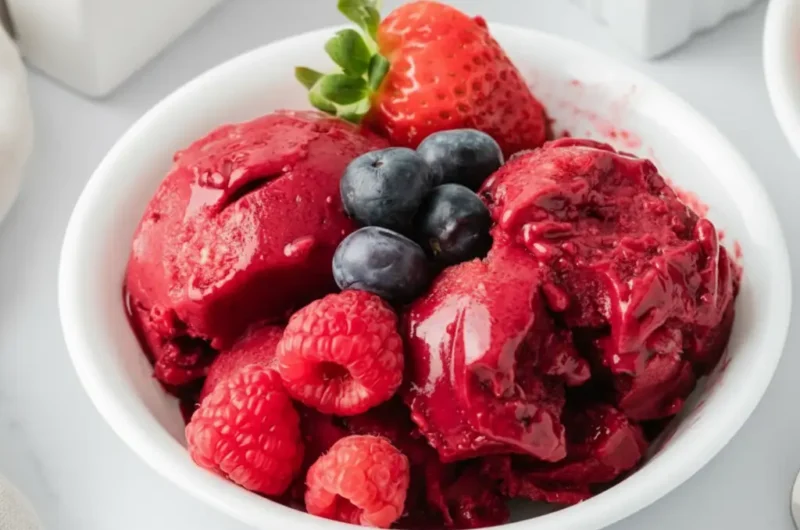
Another great thing is how customizable these High Protein Ninja Creami Recipes are. This vanilla base is just the beginning. You can add any mix ins you can dream of. Think chocolate chips, fresh berries, cookie crumbles, or a swirl of peanut butter. The possibilities are endless, allowing you to create a new flavor every single time you make it.
And let’s not forget, it’s a much healthier option. You control every single ingredient that goes into it. This means no weird preservatives, no excessive sugars, and all the good stuff. It is a treat you can truly feel great about enjoying any time of day. It is even a great option for Sugar Free Ninja Creami Recipes with a few simple swaps.
Ingredients
Alright, let’s talk about what you will need. The beauty of this recipe is its simplicity. We are using just a handful of ingredients to create something truly special. Each one plays an important part in creating that perfect creamy texture and delicious flavor.
- 1 ½ cups plain greek yogurt
- 1 scoop vanilla protein powder (about 30g)
- 1 tbsp honey
- 1 tbsp sugar free vanilla instant jello pudding mix
- ½ tsp vanilla extract
- ½ tsp salt
The Greek yogurt is the star, providing that tangy base and a huge protein boost. The protein powder not only adds more protein but also contributes to the flavor and structure. The pudding mix is a little trick to get an extra smooth, almost soft serve like consistency. It really makes a difference. Honey adds a touch of natural sweetness, but you can adjust it to your liking.
Step-By-Step Instructions
Ready to make some magic? Following these steps will give you the creamiest, most delicious frozen yogurt. Let’s walk through this process together. It’s so much easier than you think. You’ll be enjoying your homemade creation in no time. Making these High Protein Ninja Creami Recipes is a breeze.
Step 1: Combine Your Ingredients
First things first, grab your Ninja Creami pint container. Add the plain Greek yogurt, vanilla protein powder, honey, sugar free vanilla pudding mix, vanilla extract, and salt directly into the pint. It’s a one container wonder, which means less cleanup later. Who doesn’t love that?
Now, take a spoon or a small whisk and stir everything together. You want to mix it until the batter is completely smooth and uniform. Make sure there are no clumps of protein powder or pudding mix hiding at the bottom. The smoother it is now, the creamier your final product will be. Be careful not to fill past the max fill line on the pint.
Step 2: Freeze Your Base
Once everything is nicely combined, secure the lid on the pint and place it in your freezer. Here’s the important part. It needs to be on a level surface. You want the base to freeze evenly. This is crucial for the Creami to work its magic properly.
You need to freeze it for at least 24 hours. I know, waiting is the hardest part. But this long freeze time is essential. It ensures the base is frozen solid all the way through, which is necessary for the machine to create that signature creamy texture. Patience will be rewarded, I promise.
Step 3: The First Spin
The wait is over. Take your frozen pint out of the freezer. The base will be rock solid. Before you put it in the machine, run the outside of the pint under hot water for about 60 to 90 seconds. This helps loosen the edges just a tiny bit, which can help the machine process it more smoothly.
Remove the lid from the pint and place it into the outer bowl of your Ninja Creami. Lock the outer bowl lid in place, and install it into the machine. You’ll hear a click when it’s secure. For this recipe, you’ll want to press the Lite Ice Cream or Frozen Yogurt button. Then let the machine do its thing. It is pretty loud, so don’t be alarmed.
Step 4: Check and Re-Spin
After the first spin is complete, remove the pint and take a look at the texture. More often than not, it will look a little powdery or crumbly. This is completely normal, especially for High Protein Ninja Creami Recipes. It just means it needs another spin to get perfectly creamy.
If it is powdery, simply place the pint back into the machine and press the Re-Spin button. This second spin is usually where the magic happens. It will process the mixture again, breaking down the ice crystals even further and creating that wonderful, smooth consistency we are all after.
Step 5: Add Your Mix Ins
After the re spin, check the texture again. It should now be smooth and creamy. If for some reason it’s still not quite there, you can re spin one more time. Once you have that silky smooth base, it’s time for the best part. Adding mix ins.
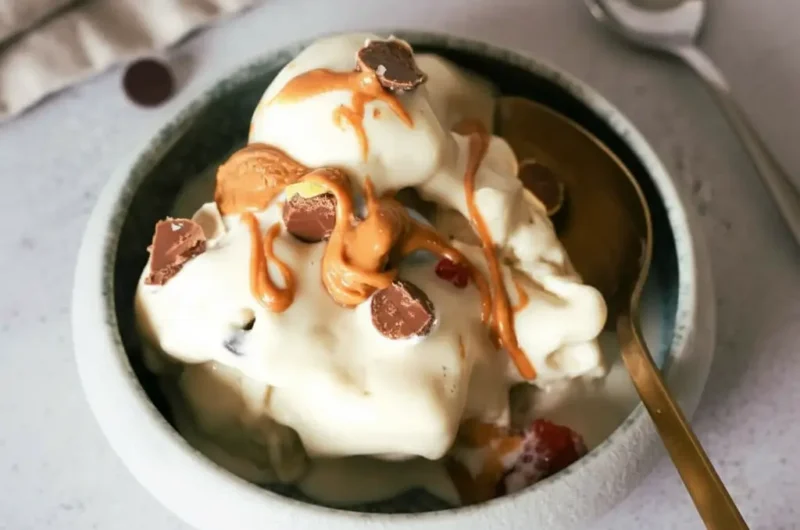
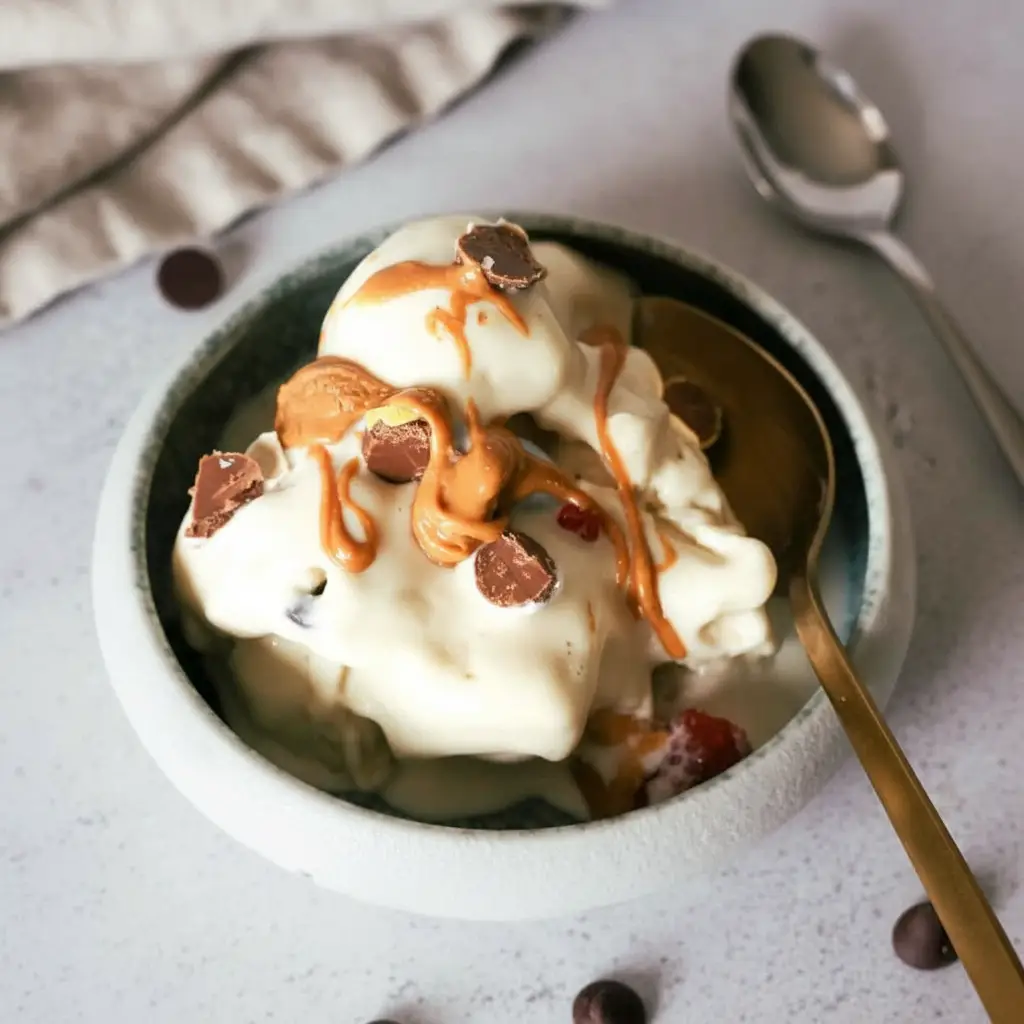
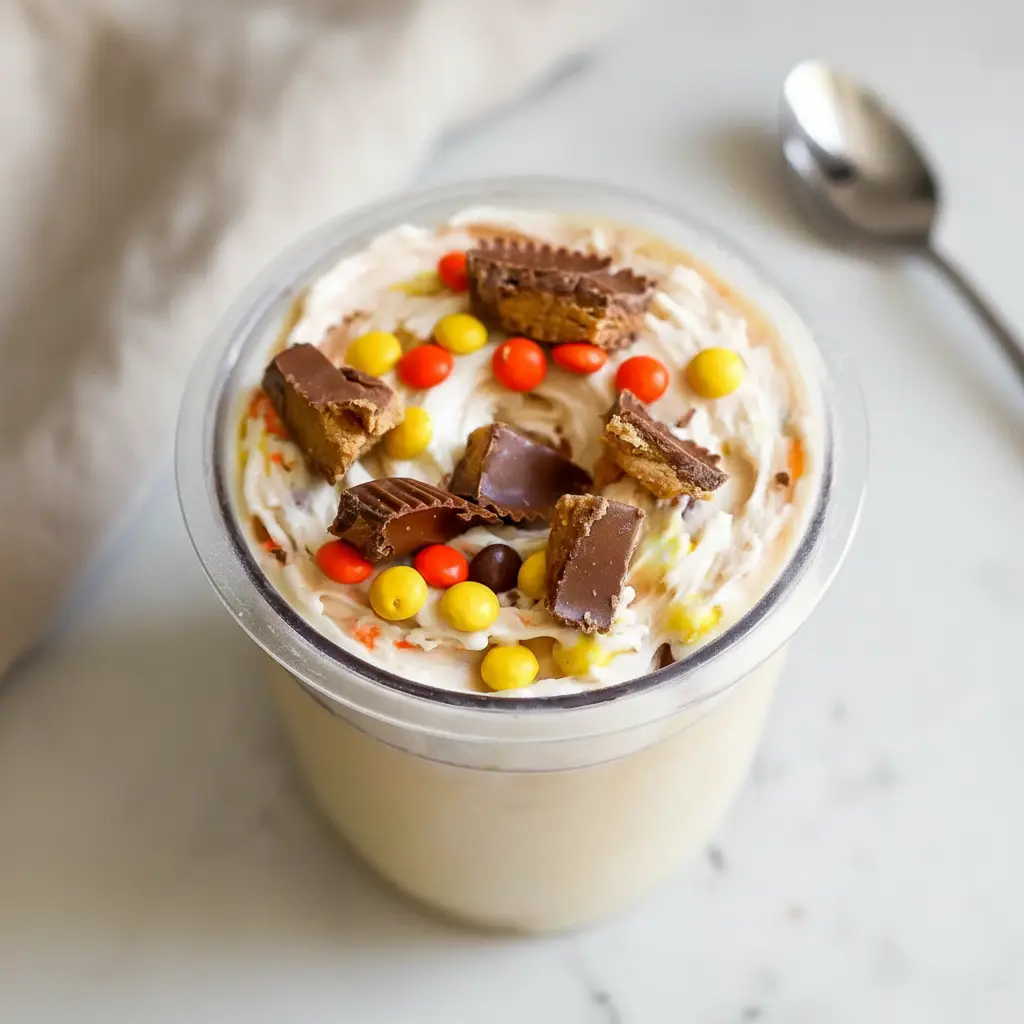
Use a spoon to dig a small hole, about an inch wide, down the center of your frozen yogurt. This is where you’ll add your favorite toppings. Think crushed cookies, chocolate chunks, fresh fruit, or sprinkles. Don’t overfill the hole. A couple of tablespoons is usually enough.
Place the pint back into the machine one last time and press the Mix In button. This cycle is very short. It just gently churns your toppings into the frozen yogurt, distributing them evenly without completely pulverizing them. This is a key step for creating fun flavor combinations.
Step 6: Serve and Enjoy
And that’s it. Your very own homemade, high protein frozen yogurt is ready to eat. Scoop it into a bowl and enjoy every single creamy, delicious bite. You have successfully made one of the best High Protein Ninja Creami Recipes out there. Give yourself a pat on the back. You deserve it.
How To Store Leftovers
What if you don’t finish the entire pint in one sitting? No problem at all. Storing leftovers is super simple. All you need to do is smooth out the top of the remaining frozen yogurt in the pint. Just use the back of a spoon to make it nice and level. This helps it freeze evenly again.
Then, just pop the original lid back on the pint container and place it back in the freezer. Make sure it’s on a flat surface. It will keep well for up to a couple of weeks, though I doubt it will last that long. The flavor and texture will be at their best within the first week.
When you are ready for another scoop, you’ll likely need to process it again. Just take the pint out, put it in the machine, and use the Re-Spin button. This will bring it right back to that fresh, creamy texture you loved the first time. It is a fantastic feature of the Ninja Creami.
Tips
Want to take your creations to the next level? Here are a few tips and tricks I’ve learned along the way. These little suggestions can make a big difference in your frozen dessert adventures. They are perfect for all your High Protein Ninja Creami Recipes.
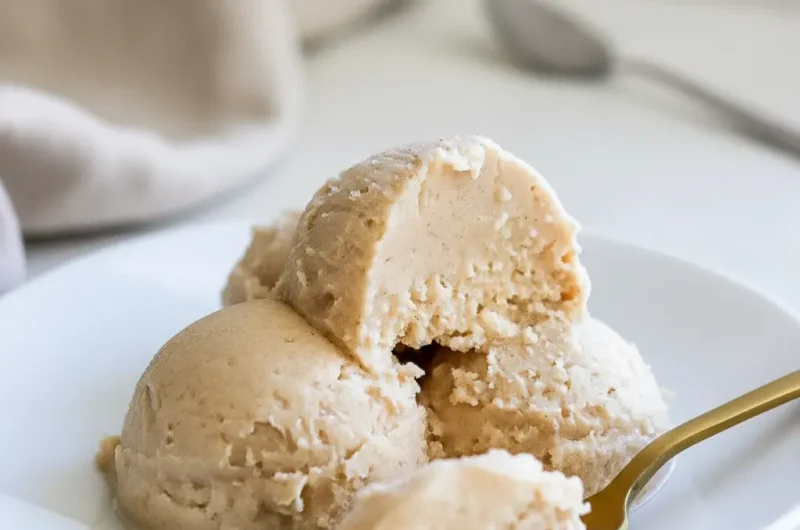
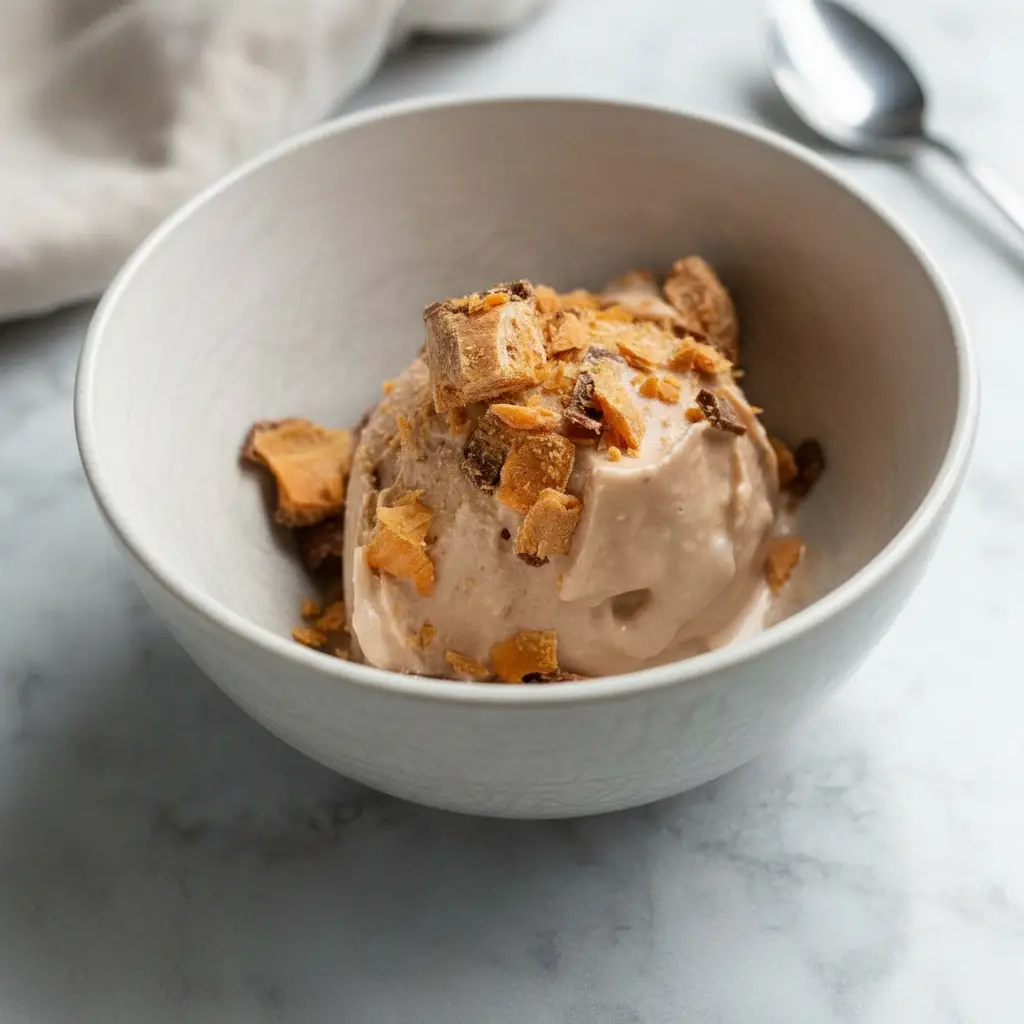
First, experiment with protein powders. The flavor of your protein powder has a big impact on the final taste. A high quality, good tasting vanilla protein is key for this base. But you can also try chocolate, strawberry, or even salted caramel protein powders to create different flavors. It’s a great way to switch things up.
Don’t skip the pudding mix. I know it might seem like an odd ingredient, but the instant pudding mix really helps with the texture. It contains emulsifiers that prevent large ice crystals from forming, which is the secret to getting that ultra smooth, soft serve like feel. You can find sugar free options in most grocery stores.
For the best Vanilla Ninja Creami Ice Cream Recipes Protein, use a good quality vanilla extract. It enhances the flavor so much. You can even try using vanilla bean paste for a richer, more intense vanilla taste. It adds those beautiful little vanilla bean specks to your frozen yogurt.
Conclusion
So there you have it. A simple, delicious, and incredibly satisfying way to enjoy a sweet treat without any of the guilt. These High Protein Ninja Creami Recipes are a fantastic way to support your health and fitness goals while still indulging in something that feels decadent. It’s the best of both worlds.
The Ninja Creami truly opens up a world of possibilities right in your kitchen. From this basic vanilla frozen yogurt, you can create countless variations and flavors. It is a tool that encourages creativity and makes healthy eating fun and exciting. These are some of the most enjoyable Clean Simple Eats Ninja Creami Recipes.
I hope you give this recipe a try and fall in love with it just as much as I have. It has become a staple in my routine, and I am sure it will in yours too. Happy churning. I encourage you to experiment with these High Protein Ninja Creami Recipes.
FAQ
Can I Use A Different Protein Powder?
Absolutely. While this recipe calls for vanilla, you can use any flavor you like. Chocolate, strawberry, or even unflavored protein powder would work. Just remember that the type of protein, whether it is whey, casein, or a plant based blend, can slightly affect the final texture.
Why Is My Ice Cream Powdery?
A powdery or crumbly texture after the first spin is very common with High Protein Ninja Creami Recipes. It’s usually because the fat and sugar content is low. Don’t worry. Just use the Re-Spin function. This second spin almost always fixes the issue and results in a perfectly creamy texture.
Do I Have To Freeze It For 24 Hours?
Yes, this is a very important step. The base needs to be frozen solid all the way through for the machine to work correctly. A shorter freeze time might result in a soft center, which will lead to a soupy consistency instead of a creamy one. It is always best to wait the full 24 hours.
What Are Some Good Mix In Ideas?
The options are endless. Some popular choices include chocolate chips, cocoa nibs, chopped nuts, fresh berries, crushed cookies like Oreos, brownie bits, or a swirl of peanut butter or caramel sauce. Just be sure to add them after you have achieved a creamy base, using the Mix In function.
Is This Recipe Keto Friendly?
As written with honey, this recipe is not strictly keto friendly due to the sugar content. However, you can easily adapt it. To make it keto, swap the honey for a keto friendly liquid sweetener. Also, ensure your protein powder and pudding mix are low in carbs. This makes for great Sugar Free Ninja Creami Recipes.
High Protein Ninja Creami Frozen Yogurt
A simple and delicious recipe for a creamy, high-protein frozen yogurt made in the Ninja Creami. This healthy treat is easy to customize and is a fantastic way to satisfy your sweet tooth.
Ingredients
Instructions
- In a Ninja Creami pint container, add the greek yogurt, vanilla protein powder, honey, pudding mix, vanilla extract, and salt. Stir with a spoon or small whisk until the mixture is completely smooth and uniform.
- Secure the lid on the pint and place it on a level surface in your freezer. Freeze for at least 24 hours to ensure the base is frozen solid.
- Remove the frozen pint from the freezer. Place the pint into the outer bowl of your Ninja Creami, lock the lid, and install it into the machine. Select the ‘Lite Ice Cream’ or ‘Frozen Yogurt’ function and let it run the cycle.
- After the first spin, check the texture. If it appears powdery or crumbly, place the pint back into the machine and press the ‘Re-Spin’ button. This second spin should make it smooth and creamy.
- Once the base is creamy, use a spoon to create a hole down the center. Add your desired mix-ins like chocolate chips, crushed cookies, or fruit.
- Place the pint back into the machine and press the ‘Mix-In’ button to gently incorporate your toppings.
- Serve immediately and enjoy your homemade high-protein frozen yogurt.
Notes
Don’t skip the instant pudding mix; it’s the key to an ultra-smooth, soft-serve-like texture by preventing large ice crystals from forming.
The 24-hour freezing time is essential. A shorter freeze will result in a soupy consistency instead of a creamy one.
For a sugar-free version, swap the honey for a sugar-free liquid sweetener like monk fruit or stevia to your taste.
Nutrition
Calories
Sugar
Fat
Carbs