Have you ever just craved a scoop of really good ice cream? I mean, the kind that’s super creamy and packed with flavor, not just sugar. For the longest time, I thought making that at home was a huge project. That was before I got my hands on a ninja creami. It has completely changed my dessert game.
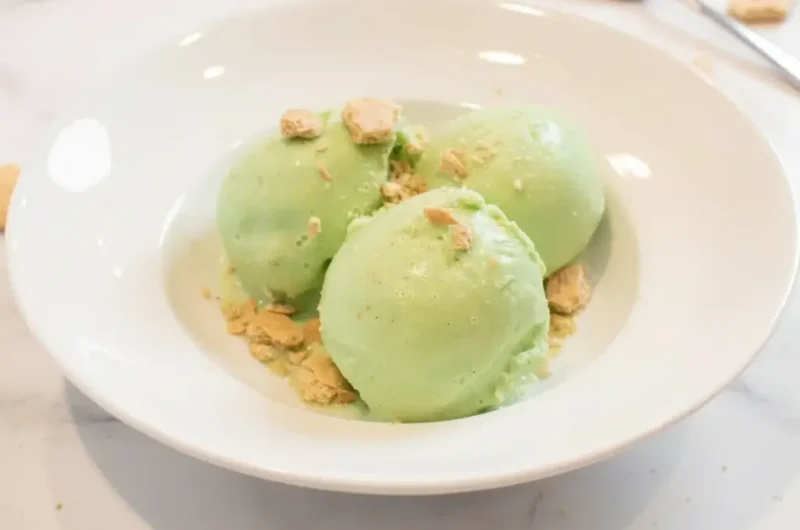
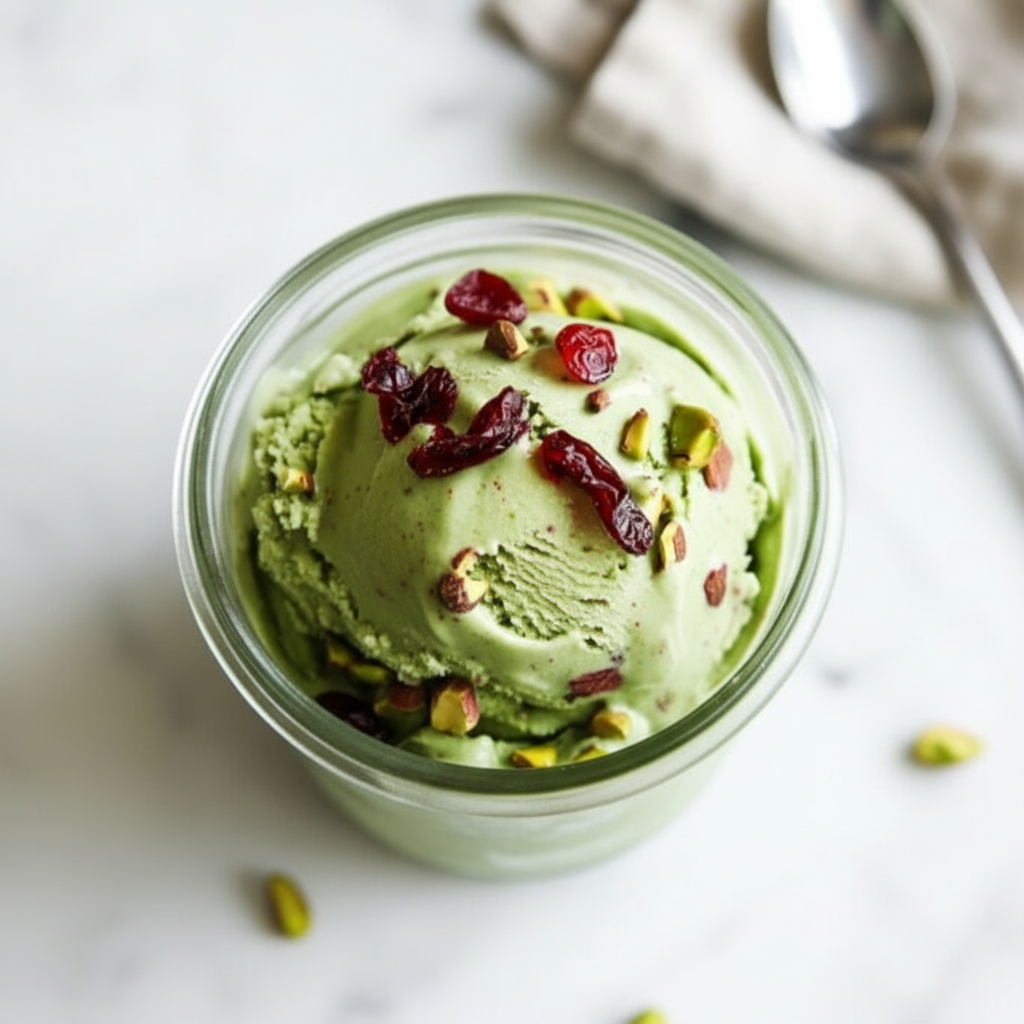
Today, I want to share one of my favorite Ninja Creami Recipes with you. It’s a Pistachio Cranberry creation that sounds fancy but is shockingly simple. Seriously. You just need a few ingredients and a little patience while it freezes. Let’s get into it.
Jump To:
Why You’ll Love This Recipe
So, what makes this particular recipe a keeper? Honestly, it’s all about getting a big reward for very little effort. It’s one of those Homemade Ice Cream Recipes that makes you feel like a kitchen pro.
First, it uses only five ingredients. You read that right. No long, complicated shopping lists. You probably have some of these items in your pantry already. It’s a budget friendly way to get gourmet flavor.
The flavor combination is just fantastic. You get the nutty, earthy taste of pistachios paired with the sweet and tangy pop of dried cranberries. It’s a balanced and interesting flavor profile that isn’t overly sweet.
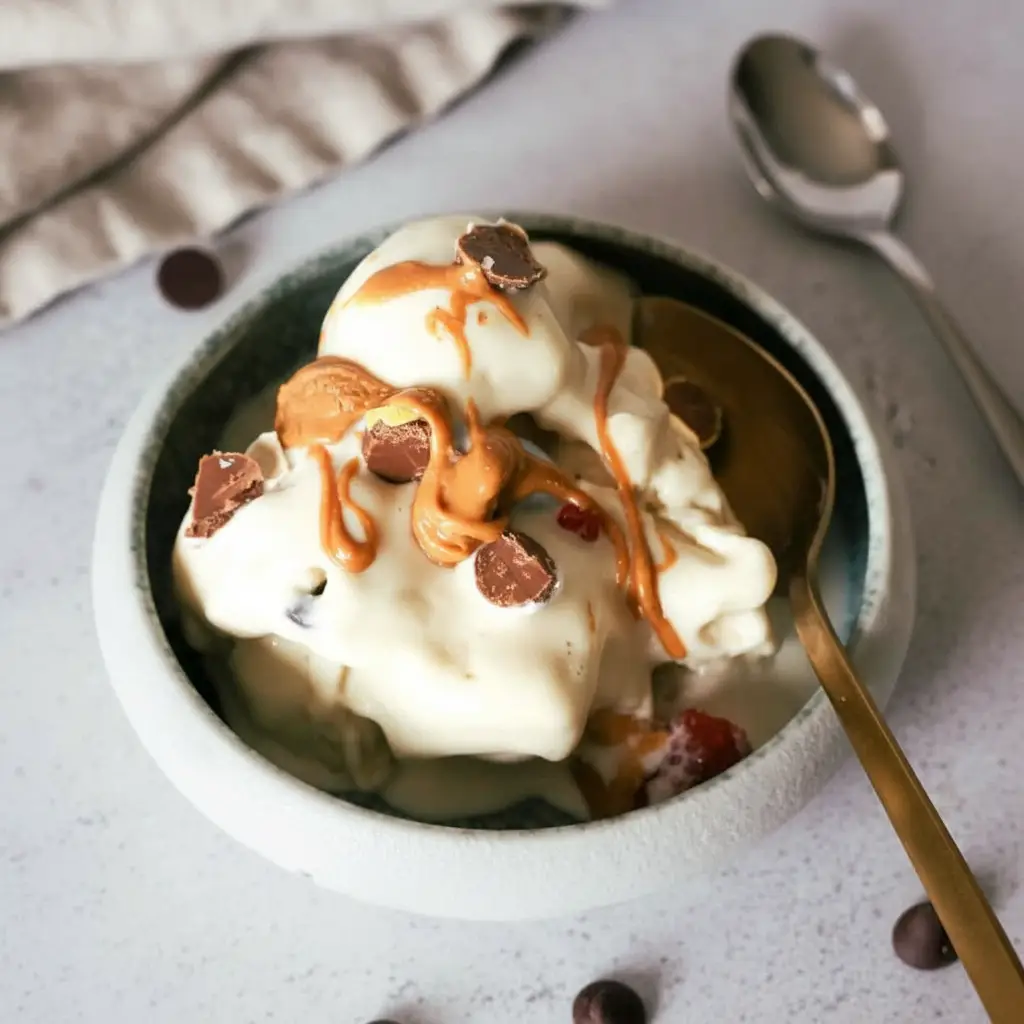
It is also incredibly easy to customize. Don’t like cranberries? Swap them for chocolate chips. Want it dairy free? Use your favorite plant based milk. This is a great base for all sorts of creative Ninja Creami Recipes.
Plus, the texture is out of this world. The ninja creami works its magic to create an unbelievably smooth and creamy final product. It’s so much better than what you can get from many store bought brands. This is one of those Ice Cream Maker Recipes that really showcases what the machine can do.
Ingredients
Here’s the short and sweet list of what you’ll need to make this delightful ice cream. It’s simple, I promise.
- 2 cups whole cream milk (or plant milk for dairy free)
- 1/2 cup pistachio nuts, deshelled and crushed
- 2 tablespoons dried low sugar cranberries
- 4 tablespoons pure maple syrup or a sugar free option like Lakanto
- Pinch of salt
A quick note on the milk. Using whole milk gives you a richer, creamier result because of the higher fat content. If you go the dairy free route, I find that a full fat oat milk or coconut milk gives a wonderful texture. Almond milk works too but might be a bit icier.
Step By Step Instructions
Making Homemade Ice Cream Recipes with the ninja creami is a breeze. Let’s walk through the process together. There are just a few simple stages.
Step 1: Blend The Ingredients
First things first, grab your blender. You don’t need a high powered one for this. Any standard blender will do the job just fine. It’s one of the best things about these Ninja Creami Recipes.
Combine your milk, pistachios, dried cranberries, maple syrup, and that tiny pinch of salt into the blender. The salt might seem odd, but trust me, it helps balance the sweetness and brings out the nutty flavor.
Now, blend everything together. You want to blend until the pistachios are finely chopped up and the mixture looks well combined. You’re not aiming for a perfectly smooth paste, a little texture is good here.
Step 2: Pour And Freeze
Next, carefully pour your blended mixture into the ninja creami pint container. Be very careful not to go over the max fill line. This is super important. The machine needs that extra space to work properly and turn your frozen block into creamy ice cream.
Once it’s poured, secure the lid on the pint container. Pop it into your freezer. Here’s the part that requires patience. You need to let it freeze for at least 24 hours. This ensures the base is frozen completely solid, which is critical for all Ice Cream Maker Recipes.
Step 3: Process In The Ninja Creami
After waiting a full day, it’s time for the fun part. Take the pint out of the freezer and remove the lid. Place the pint into the outer bowl, attach the creamerizer paddle lid, and lock it into the machine.
Select the “Ice Cream” setting on your ninja creami and press the button. Let the machine do its thing. It will be a bit loud, but that’s the sound of deliciousness being made.
Step 4: Respin For Creaminess (If Needed)
Sometimes, after the first spin, the texture might look a little powdery or crumbly. Don’t worry. This is totally normal for many Ninja Creami Recipes, especially if your freezer is very cold or your base is lower in fat.
If this happens, just add a tablespoon or two of milk directly into the pint. Then, put it back in the machine and run it on the “Respin” cycle. This little bit of extra liquid helps it turn into that super smooth, scoopable texture you’re looking for.
Step 5: Serve And Enjoy
And that’s it. Your homemade Pistachio Cranberry ice cream is ready. Scoop it out and enjoy it right away. The fresh, vibrant flavor is something you just can’t get from a carton. This is why I love making my own Homemade Ice Cream Recipes.
How To Store Leftovers
If you somehow have leftovers, which is rare in my house, storing them is simple. Just smooth the top of the ice cream in the pint container as flat as you can get it. Pop the original storage lid back on and place it back in the freezer.
When you’re ready for another scoop, you will likely need to process it again. Just run it through the “Ice Cream” or “Respin” cycle to get it back to that perfectly creamy state. It’s a small extra step that makes a huge difference.
Tips
Over time, I’ve picked up a few little tricks for getting the best results with my ninja creami. Here are some of my top tips for this recipe and other Ninja Creami Recipes in general.
- Toast your pistachios before blending them. Just a few minutes in a dry pan over medium heat will deepen their flavor and make your ice cream even more delicious.
- Make sure your freezer is set to a very cold temperature. A solidly frozen base is the key to a creamy outcome. A base that isn’t frozen enough will result in a soupy texture.
- Feel free to play with the sweetness. The amount of maple syrup is a suggestion. You can add a little more or a little less depending on your personal taste.
- If you want to add larger chunks of nuts or other mix ins, use the “Mix In” function after the initial processing. This will gently fold them in without pulverizing them.
- Let the pint sit on the counter for about 5 to 10 minutes before you process it. This can help if you find your bases often come out powdery on the first spin.
Conclusion
And there you have it. A straightforward and delicious pistachio cranberry ice cream, all thanks to the magic of the ninja creami. This is one of those Ninja Creami Recipes that proves you don’t need to be a pastry chef to create amazing frozen desserts at home.
The world of Homemade Ice Cream Recipes is vast and exciting, and this is such a great starting point. I really hope you give this recipe a try. It’s a fun way to treat yourself and your family. Enjoy every scoop.
FAQ
Can I Use A Different Kind Of Milk?
Absolutely. While whole dairy milk provides a very creamy base, you can substitute it with almost any plant based milk. Full fat coconut milk or oat milk are excellent dairy free options for achieving a creamy texture in your Ninja Creami Recipes.
What If I Don’t Have Maple Syrup?
No problem at all. You can easily substitute the maple syrup with honey, agave nectar, or a granulated sugar free sweetener like Lakanto. Just adjust the amount to your personal preference for sweetness.
Can I Add Other Mix Ins?
Definitely. This is one of the best parts about Ice Cream Maker Recipes. After the main processing is done, you can use the “Mix In” feature on the ninja creami to add things like mini chocolate chips, cacao nibs, or even a swirl of caramel.
Why Is My Ice Cream Powdery?
A powdery or crumbly texture is very common and easy to fix. It usually means the base is very cold and low in fat or sugar. Simply add a tablespoon of milk and use the “Respin” function. This should make it perfectly smooth and creamy.
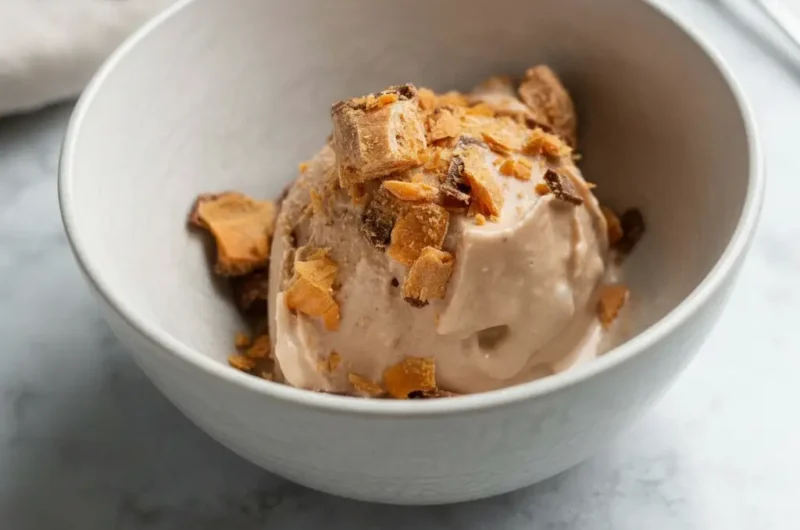
Ninja Creami Pistachio Cranberry Ice Cream
This homemade Pistachio Cranberry ice cream is a creamy, flavorful treat that’s surprisingly simple to make. Using a Ninja Creami, you can create a balanced dessert with the nutty taste of pistachios and the sweet, tangy pop of dried cranberries.
Ingredients
Instructions
- Combine milk, pistachios, cranberries, maple syrup, and salt in a blender. Blend until pistachios are finely chopped and the mixture is well combined.
- Pour the mixture into the Ninja Creami pint container, being careful not to exceed the max fill line. Secure the lid.
- Freeze the pint for at least 24 hours until completely solid.
- Remove the pint from the freezer, place it in the outer bowl, attach the paddle lid, and lock it into the Ninja Creami machine.
- Select the “Ice Cream” setting and process.
- If the texture is crumbly after the first spin, add 1 tablespoon of milk and run the “Respin” cycle until creamy.
- Serve immediately and enjoy your homemade ice cream.
Notes
Toast the pistachios in a dry pan before blending to deepen their flavor.
For a dairy-free version, full-fat oat milk or coconut milk provides a wonderful texture.
Let the frozen pint sit on the counter for 5-10 minutes before processing if it often comes out powdery on the first spin.
Nutrition
Calories
Sugar
Fat
Carbs